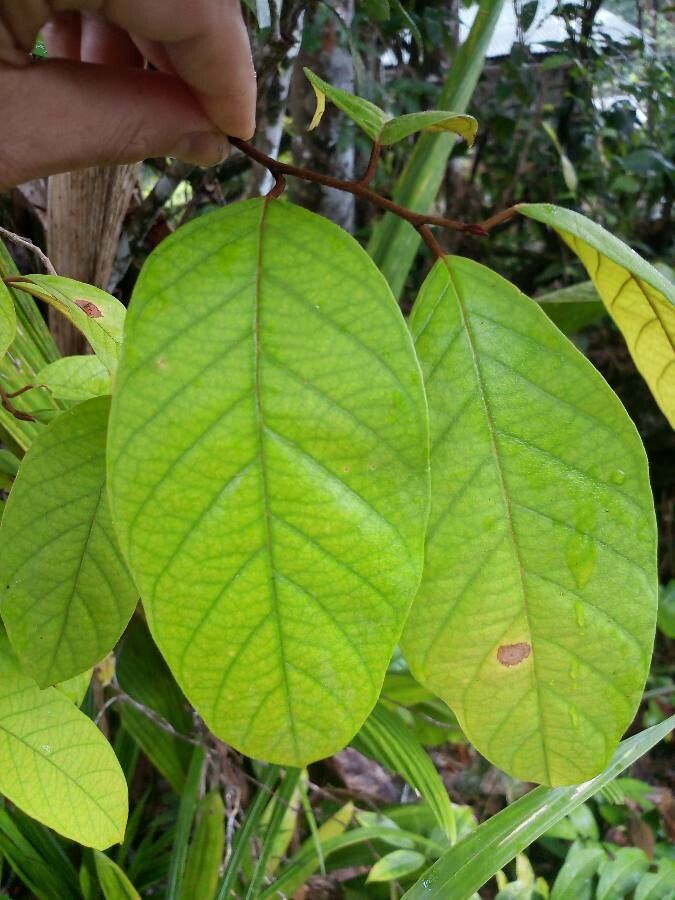
Hello fellow garden enthusiasts! Today, I want to chat about a truly special plant: Annona haematantha. If you’ve ever had the pleasure of seeing its vibrant, almost crimson flowers or the promise of its delicious, custard-apple-like fruit, you know why it’s a real showstopper. And the joy of growing your own from scratch? That’s a whole other level of satisfaction. Now, I won’t sugarcoat it – Annona haematantha isn’t the absolute easiest plant to propagate for a complete beginner, but with a little patience and these tips, I’m confident you can have success.
The Best Time to Start
For Annona haematantha, spring is your golden ticket. Think of it as when the plant is really waking up and ready to channel all its energy into new growth. You want to be taking cuttings from current season’s growth – the stems should be firm but not woody. This is when they have the most vigor and are most receptive to rooting.
Supplies You’ll Need
Here’s what I always have on hand when I’m getting ready to propagate:
- Sharp, clean pruning shears or a sharp knife: Essential for making clean cuts.
- Rooting hormone powder or gel: This is your secret weapon for encouraging root development.
- Well-draining potting mix: I like a blend of equal parts peat moss, perlite, and coarse sand. You can also find specialized seed-starting or propagation mixes.
- Small pots or trays with drainage holes: Anything from tiny starter pots to plastic cups with holes poked in the bottom will work.
- Clear plastic bags or a propagator lid: To create that humid environment new cuttings crave.
- Watering can or spray bottle: For gentle watering.
- Labels and a marker: Don’t skip this step! You’ll thank yourself later.
Propagation Methods
Let’s get our hands dirty! The most reliable method for Annona haematantha is stem cuttings.
- Take Your Cuttings: Select healthy, semi-hardwood stems from your established plant. Aim for pieces about 4-6 inches long. Make your cut just below a leaf node (where a leaf attaches to the stem).
- Prepare the Cuttings: Gently remove the leaves from the bottom half of the cutting. This prevents them from rotting in the soil. You can leave one or two leaves at the top to help with photosynthesis. If the remaining leaves are very large, you can even cut them in half to reduce water loss.
- Apply Rooting Hormone: Dip the cut end of the stem into your rooting hormone, ensuring it’s coated well. Tap off any excess.
- Plant Your Cuttings: Fill your pots with your well-draining mix. Make a small hole in the center with your finger or a pencil. Insert the cutting into the hole, making sure the bottom nodes are buried. Gently firm the soil around the base of the cutting.
- Create a Humid Environment: Water the soil lightly. Then, cover the pot with a clear plastic bag or place it inside a propagator with a lid. This traps humidity, which is crucial for cuttings that can’t yet absorb water through roots. Make sure the bag doesn’t touch the leaves too much.
The “Secret Sauce”
Now for a couple of my favorite tricks that have really upped my propagation game:
- Bottom Heat is Your Friend: Many tropical plants, Annona included, absolutely love a little warmth from below. Placing your pots on a gentle heating mat (specifically designed for plants!) can dramatically speed up root formation. Think of it as giving your cuttings a cozy, warm bed to settle into.
- Don’t Over-Water, But Keep it Consistently Moist: This is a tricky balance, I know. You want the soil to be consistently moist, not soggy or bone dry. I usually check by lightly poking the soil. If it feels dry to the touch, it’s time for a gentle watering or a light misting. The humidity from the plastic cover will do a lot of the work, but keep an eye on it.
Aftercare & Troubleshooting
Once your cuttings have happily rooted – you’ll know when you see new growth appearing or feel some resistance when gently tugging the stem – it’s time for a little more attention.
- Acclimate Gradually: Slowly remove the plastic bag or propagator lid over a week or so. This allows the young plant to adjust to lower humidity levels.
- Water as Needed: Water when the top inch of soil feels dry.
- Move to Brighter Light: Once established, gradually move your new plant to a spot with bright, indirect sunlight.
What about when things go wrong? The most common enemy is rot. If your cutting turns mushy, black, or discolored, it’s likely succumbed to rot, often caused by overwatering or poor drainage. Unfortunately, there’s not much you can do at that point except discard it and try again. Prevention is key here!
A Little Encouragement
Growing plants from cuttings is a journey, and sometimes it takes a couple of tries. Don’t get discouraged if your first attempt isn’t a roaring success. Celebrate the small victories, learn from what happens, and most importantly, enjoy the process. There’s something deeply rewarding about nurturing a new life and watching it grow. Happy propagating!
Resource:
https://identify.plantnet.org/k-world-flora/species/Annona%20haematantha%20Miq./data