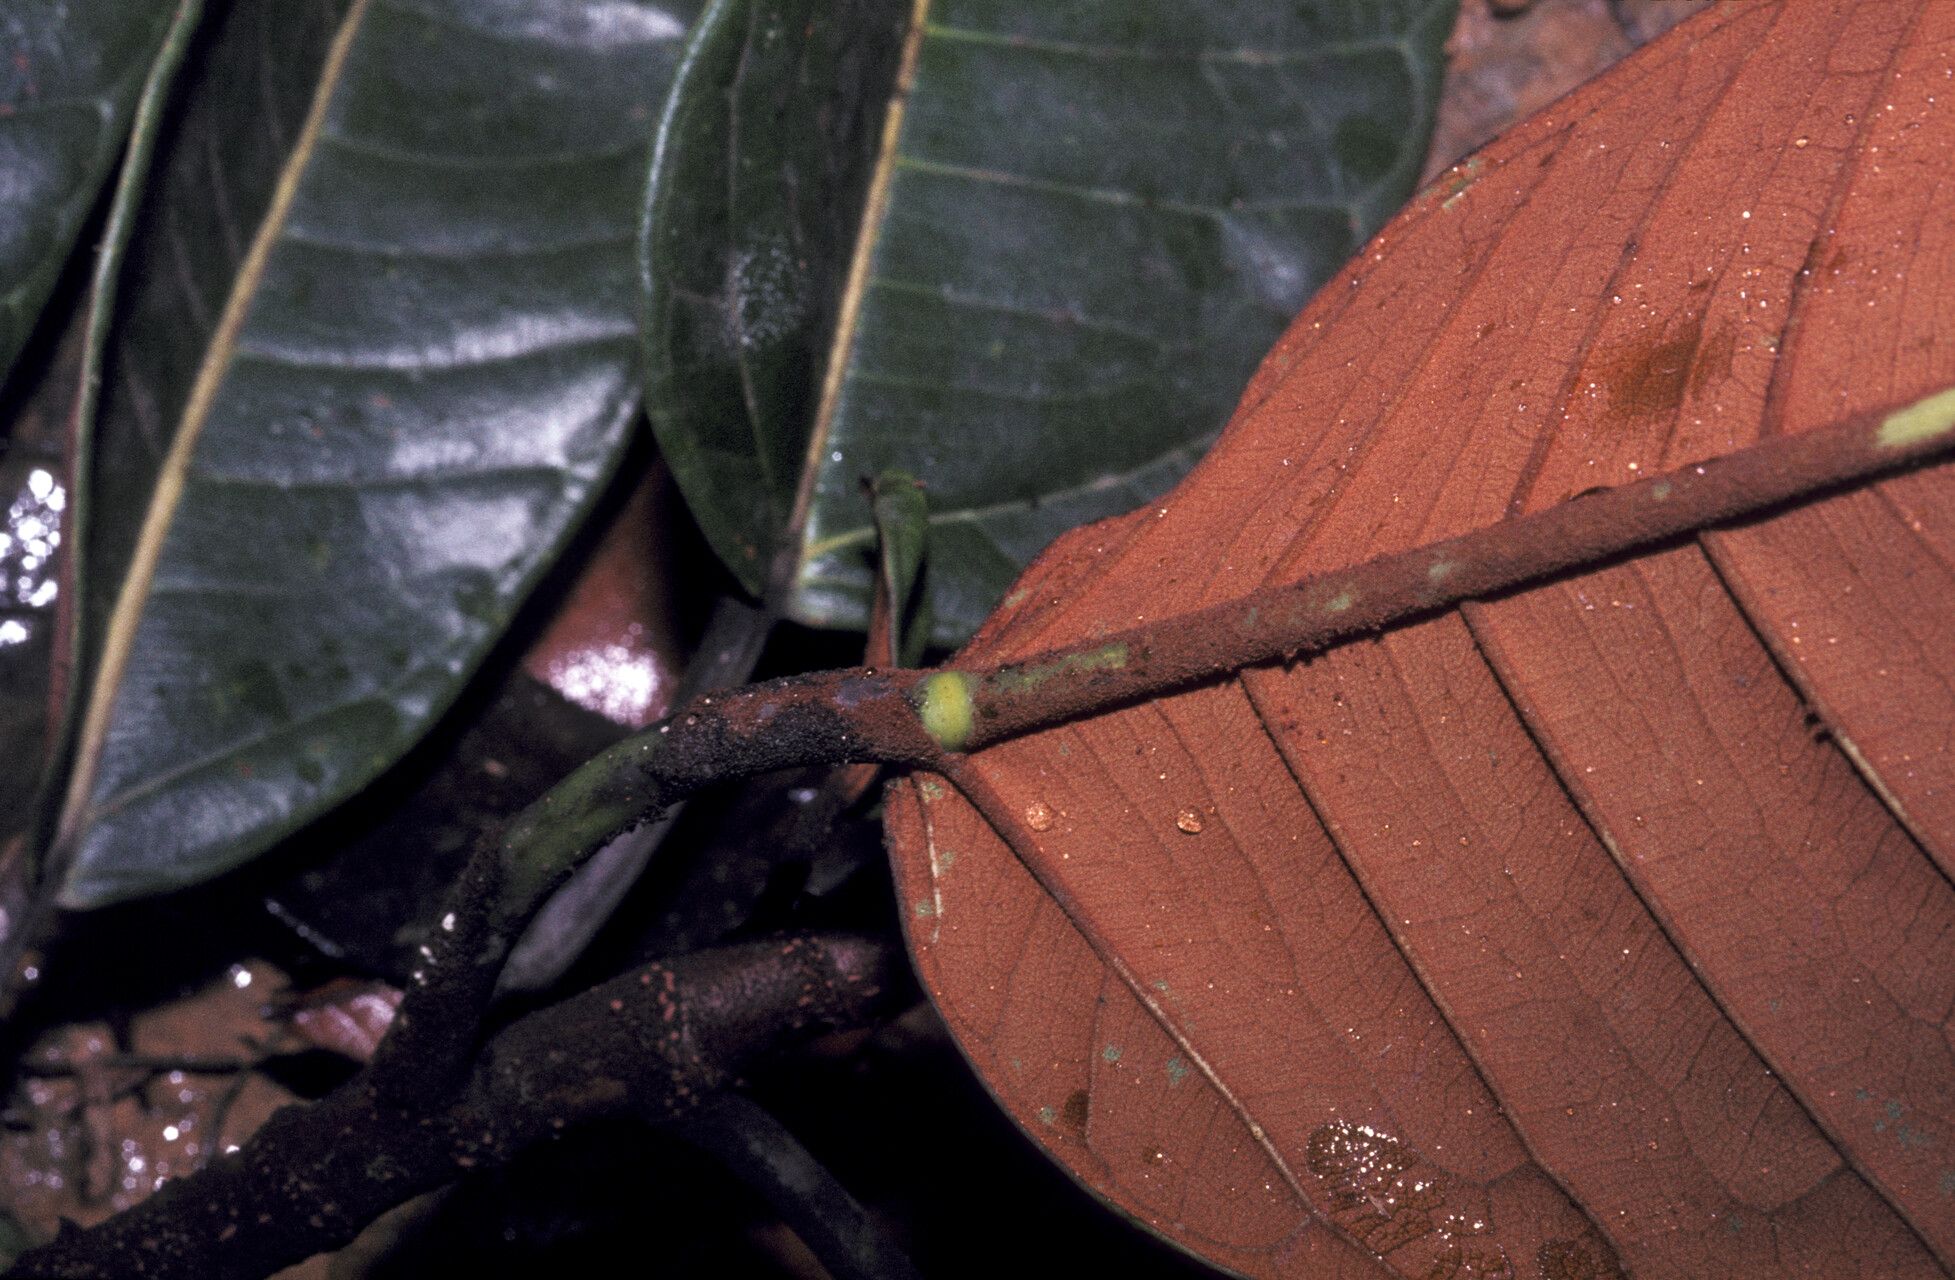
Hello, fellow plant lovers! If you’re like me, you’ve probably fallen head over heels for the Ficus albert-smithii. Its lush, glossy leaves and elegant growth habit can truly bring a touch of the tropics into your home. And the best part? You can easily multiply these beauties! Propagating your own Ficus albert-smithii is incredibly rewarding. Watching a tiny cutting transform into a thriving plant is a little bit of magic, wouldn’t you agree? For those just starting out, I’d say this one is moderately easy – with a little patience and the right approach, you’ll be successful.
The Best Time to Start
My favorite time to start propagating any Ficus, including our beloved albert-smithii, is during its active growing season. Think late spring through early summer. The plant is full of energy then, and young cuttings will have a much better chance of rooting quickly. Avoid the dark, sleepy days of winter; your efforts will likely be met with frustration. I usually look for stems that have new growth but aren’t too young and flimsy.
Supplies You’ll Need
Gathering your tools beforehand makes the whole process much smoother. Here’s what I always have on hand:
- Sharp Pruning Shears or a Clean Knife: Disinfect these with rubbing alcohol before and after use to prevent disease.
- Rooting Hormone: While not always strictly necessary, it can give your cuttings a significant boost. Look for one with IBA.
- Well-Draining Potting Mix: A blend of potting soil, perlite, and a bit of peat moss works wonderfully. Or, you can buy a specific succulent/cactus mix.
- Small Pots or Propagating Containers: Clean, with drainage holes, of course!
- Plastic Bags or Humidity Domes: These create a mini-greenhouse to keep humidity high.
- Water: For stem cuttings that go into water.
- A Small Gardening Trowel or Spoon: For gently filling pots.
Propagation Methods
Let’s get our hands dirty! Here are a couple of my go-to methods for propagating Ficus albert-smithii:
Stem Cuttings
This is my most reliable method.
- Select a Healthy Stem: Find a stem that is about 4-6 inches long and has at least two or three leaf nodes (where leaves emerge from the stem).
- Make the Cut: Using your disinfected shears or knife, make a clean cut just below a leaf node. This is where the plant is most likely to root.
- Remove Lower Leaves: Gently strip off the leaves from the bottom half of your cutting. This prevents them from rotting in the soil or water and exposes the nodes for rooting.
- Apply Rooting Hormone (Optional but Recommended): Dip the cut end into your rooting hormone, tapping off any excess.
- Planting:
- In Soil: Fill your small pots with your prepared potting mix. Make a small hole with your finger or a pencil, and gently insert the cutting. Firm the soil around it.
- In Water: Place the cutting in a jar or glass of clean water. Make sure no leaves are touching the water. You might need to trim longer cuttings or use a taller container.
- Create Humidity: Cover the potted cuttings with a plastic bag (propped up with stakes so it doesn’t touch the leaves) or place them in a propagator with a lid. For water cuttings, the open air itself provides enough.
Air Layering (A Bit More Advanced, But Fun!)
This method is fantastic for larger branches and when you want to skip the cutting stage and start with a potentially more robust plant sooner.
- Choose a Stem: Select a healthy, mature stem on your Ficus.
- Make the Wound: About 1-2 inches below a leaf node, make a slanted cut about a third of the way around the stem, just deep enough to go into the woody part. You can also remove a thin ring of bark if you prefer for easier healing and rooting.
- Apply Rooting Hormone: Dust the wound with rooting hormone.
- Wrap it Up: Wrap the wounded area with moist sphagnum moss, packing it firmly around the wound. Then, securely wrap the entire ball of moss with plastic wrap, taping the top and bottom to create a sealed environment.
- Wait and Watch: Over the next few weeks to months, you should start to see roots forming within the moss.
The “Secret Sauce” (Pro Tips)
Here are a couple of things I’ve learned over the years that really give your propagation a leg up:
- The “Sacrificial Stamen”: When you take a cutting, often you’ll have more leaves than you can support. Don’t be afraid to remove all but the very top one or two leaves. Tiny cuttings have a hard time supporting a lot of foliage. This concentrates the plant’s energy on root development.
- Bottom Heat is Your Friend: If you’re rooting in soil, placing your pots on a gentle heat mat can significantly speed up root formation. Most home thermostats are too high, but a dedicated seedling heat mat provides that perfect, consistent warmth.
Aftercare & Troubleshooting
Once you see roots emerging—hooray! For soil cuttings, you’ll know they’re ready when you feel gentle resistance when tugging lightly or see new leaf growth. For water cuttings, wait until the roots are at least an inch long before potting.
- Potting Up: Gently transplant your rooted cuttings into their own small pots filled with your well-draining mix. Water them in thoroughly.
- Gradual Acclimation: If your cuttings were in a humid environment (like under a plastic bag), you’ll need to gradually introduce them to the drier air of your home. Open the bag a little more each day over a week or so.
- Common Issues:
- Rot: This is the most common problem, usually caused by overwatering or poor drainage. If a cutting turns black and mushy, it’s likely rotted. Prevention is key: don’t let it get waterlogged!
- No Root Growth: Be patient! Some plants just take their time. If your cutting looks healthy but isn’t rooting after several weeks, try a different method or ensure it’s getting adequate light and warmth.
A Little Patience Goes a Long Way
Propagating plants is a journey, and like any good journey, it requires patience. Don’t get discouraged if your first attempt isn’t perfect. Celebrate the small victories – the first hint of new growth, the first sturdy root. Enjoy the process, learn from each cutting, and soon you’ll have a whole jungle of Ficus albert-smithii! Happy growing!
Resource:
https://identify.plantnet.org/k-world-flora/species/Ficus%20albert-smithii%20Standl./data