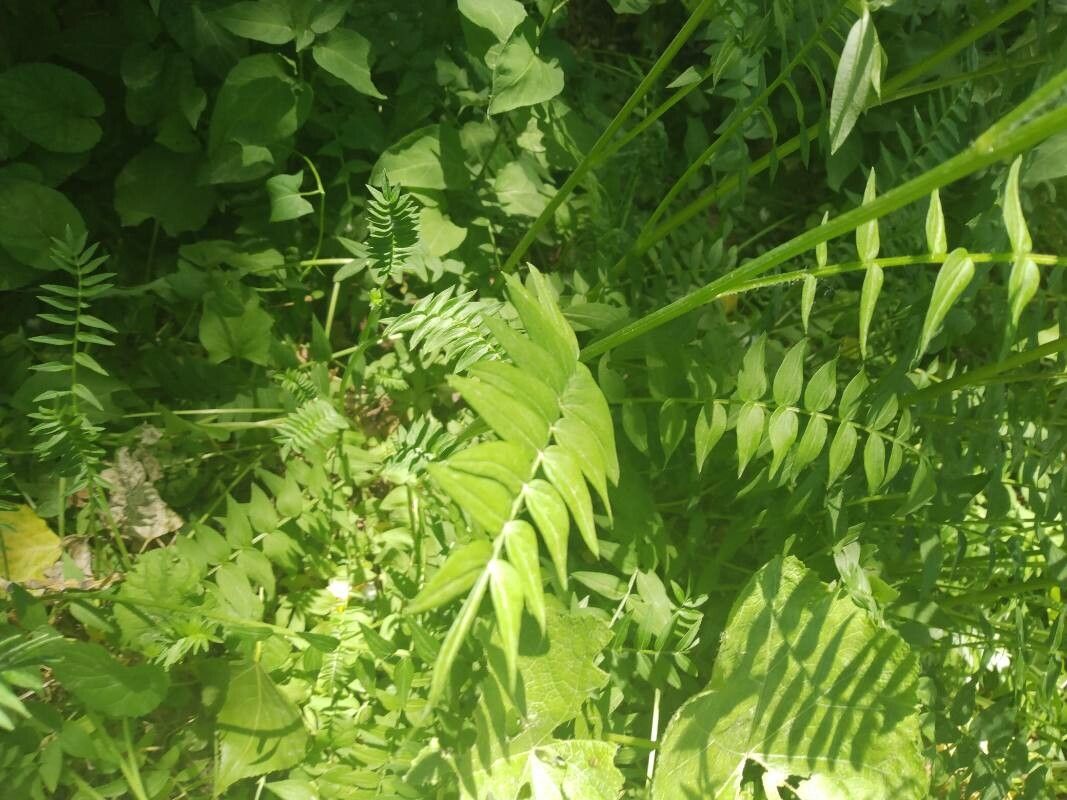
Hey there, fellow garden enthusiasts! It’s so good to have you here. Today, we’re diving into the wonderful world of Polemonium occidentale, also known as Western Jacob’s Ladder. If you’ve ever admired its delicate, often star-shaped blue flowers and unique, ladder-like foliage, you know how special this plant is. Growing new ones from your existing plants is incredibly satisfying, like sharing a little bit of your garden’s magic. And while I’ll be honest, propagating some plants can feel like a science experiment gone wrong, Polemonium occidentalis is actually quite forgiving. It’s a great plant for those dipping their toes into propagation for the first time.
The Best Time to Start
My favorite time to get started with Polemonium occidentalis propagation is in late spring to early summer. This is when the plant is actively growing after its initial spring burst. You’ll have plenty of fresh, healthy stems to work with, and the warmer temperatures give those cuttings a real boost towards rooting. Waiting until after the main flush of flowering is also a good idea, as the plant can then focus its energy on putting out new growth rather than supporting those beautiful blooms.
Supplies You’ll Need
Before we get our hands dirty, let’s gather our tools. Having everything ready makes the process so much smoother!
- Sharp Pruning Shears or a Clean Knife: For making clean cuts without crushing the stems.
- Rooting Hormone (Optional but Recommended): A powdered or liquid hormone can really speed things up.
- Small Pots or Seed Starting Trays: Clean and with drainage holes are a must.
- Well-Draining Potting Mix: I prefer a blend of equal parts peat moss, perlite, and compost. This keeps things light and airy for those developing roots.
- Plastic Bags or a Clear Dome Lid: To create a humid environment for your cuttings.
- Watering Can with a Fine Rose or a Spray Bottle: For gentle watering.
- Labels and a Pen: For keeping track of what you’ve propagated and when.
Propagation Methods
Polemonium occidentalis can be propagated in a few ways, but I find stem cuttings and division to be the most successful and straightforward.
Stem Cuttings
This is my go-to method for multiplying my Polemonium. It’s exciting to see a tiny cutting transform into a full plant!
- Take Cuttings: Using your clean shears, select pencil-thick, non-flowering stems that are at least 4-6 inches long. Make a clean cut just below a leaf node (where a leaf attaches to the stem).
- Prepare the Cuttings: Gently remove the lower leaves from the bottom inch or two of the stem. You want to avoid any leaves being buried in the soil. If the remaining leaves are very large, you can carefully cut them in half horizontally to reduce water loss through transpiration.
- Apply Rooting Hormone (Optional): Dip the cut end of the stem into your rooting hormone, following the product’s instructions. Tap off any excess.
- Insert into Potting Mix: Fill your clean pots or trays with your prepared potting mix. Make a small hole with your finger or a pencil, and gently insert the base of the cutting. Firm the soil gently around it. You can fit several cuttings in one pot, spaced a couple of inches apart.
- Water Gently: Water the potting mix thoroughly but gently, ensuring it’s moist but not waterlogged.
- Create a Humid Environment: Cover the pot with a clear plastic bag, securing it loosely around the rim, or place it under a clear dome lid. This traps moisture and mimics the humid conditions the cuttings need to root.
- Provide Light and Warmth: Place the pots in a bright location, but out of direct, harsh sunlight. A spot on a windowsill that gets morning sun is usually perfect. If you have the option, placing the pots on a heat mat can significantly speed up the rooting process by providing gentle bottom warmth.
Division
If your Polemonium occidentalis has grown into a nice clump, division is a wonderfully easy way to get more plants and also rejuvenate the parent plant!
- Dig Up the Plant: In early spring or fall, when the plant is dormant or just beginning to grow, carefully dig up the entire clump. It’s best to do this on a cooler, overcast day if possible.
- Clean Off Excess Soil: Gently shake or brush away some of the soil so you can clearly see the divisions.
- Separate the Clumps: You can often pull larger clumps apart with your hands. For more stubborn divisions, use a clean spade or your pruning shears to gently cut through the root ball. Aim for divisions that have at least a few stems and a good amount of roots.
- Replant Immediately: Replant the divided sections into their new homes, whether that’s back in the original garden bed or into pots. Make sure the crown (where the stems emerge from the roots) is at soil level.
- Water Well: Water the newly planted divisions thoroughly.
The “Secret Sauce” (Pro Tips)
Here are a couple of little tricks I’ve learned over the years that often make a big difference:
- Don’t Let Leaves Touch the Water (For Stem Cuttings): If you’re tempting fate and trying water propagation (though I personally find it less reliable for Polemonium), it’s crucial that no leaves are submerged. Rot sets in so quickly otherwise! In potting mix, this means stripping those lower leaves carefully.
- Bottom Heat is Your Friend: For stem cuttings, that gentle warmth from beneath makes a world of difference. It encourages root development much faster than sitting on a cool windowsill. I use a dedicated heat mat, but even placing pots on top of a gently warming appliance (not too hot, mind you!) can help.
- Patience with the Parent Plant: When you’re dividing, don’t be tempted to pull the clump apart too aggressively. Be gentle; the goal is to break it into healthy sections, not to rip and tear.
Aftercare & Troubleshooting
Once you’ve got your cuttings potted up or your divisions planted, the real nurturing begins!
- Keep Them Moist: Continue to keep the potting mix consistently moist but not soggy. For cuttings, the humidity is key, so don’t remove the plastic bag or dome too soon.
- Check for Roots: You’ll know your stem cuttings have rooted when you see new leaf growth, or if you gently tug on the stem and feel resistance. This can take anywhere from 3 to 6 weeks, sometimes longer. Don’t be discouraged if it’s not immediate! Once roots have formed, you can gradually acclimate the new plants to normal humidity by slowly opening the bag or dome over a few days before removing it entirely.
- Watch for Rot: The most common culprit for failure is rot, usually due to overwatering or poor drainage. If you see stems turning black and mushy, it’s a sign the environment is too wet. Pull out affected cuttings immediately and let the soil dry out a bit. Ensure your pots have good drainage!
- Transplanting: Once your new Polemonium occidentalis plants have a healthy root system (you may see roots peeking from the drainage holes if you’ve used clear containers), they’re ready to be transplanted into slightly larger pots or into their permanent garden spots.
Propagating your own plants is such a rewarding journey. It connects you to the rhythms of nature and gives you a deeper appreciation for the resilience of plants. Be patient with yourself and your new green charges. Enjoy the process, and before you know it, you’ll have an abundance of beautiful Western Jacob’s Ladders to fill your garden – and maybe even share with friends! Happy gardening!
Resource:
https://identify.plantnet.org/k-world-flora/species/Polemonium%20occidentale%20Greene/data