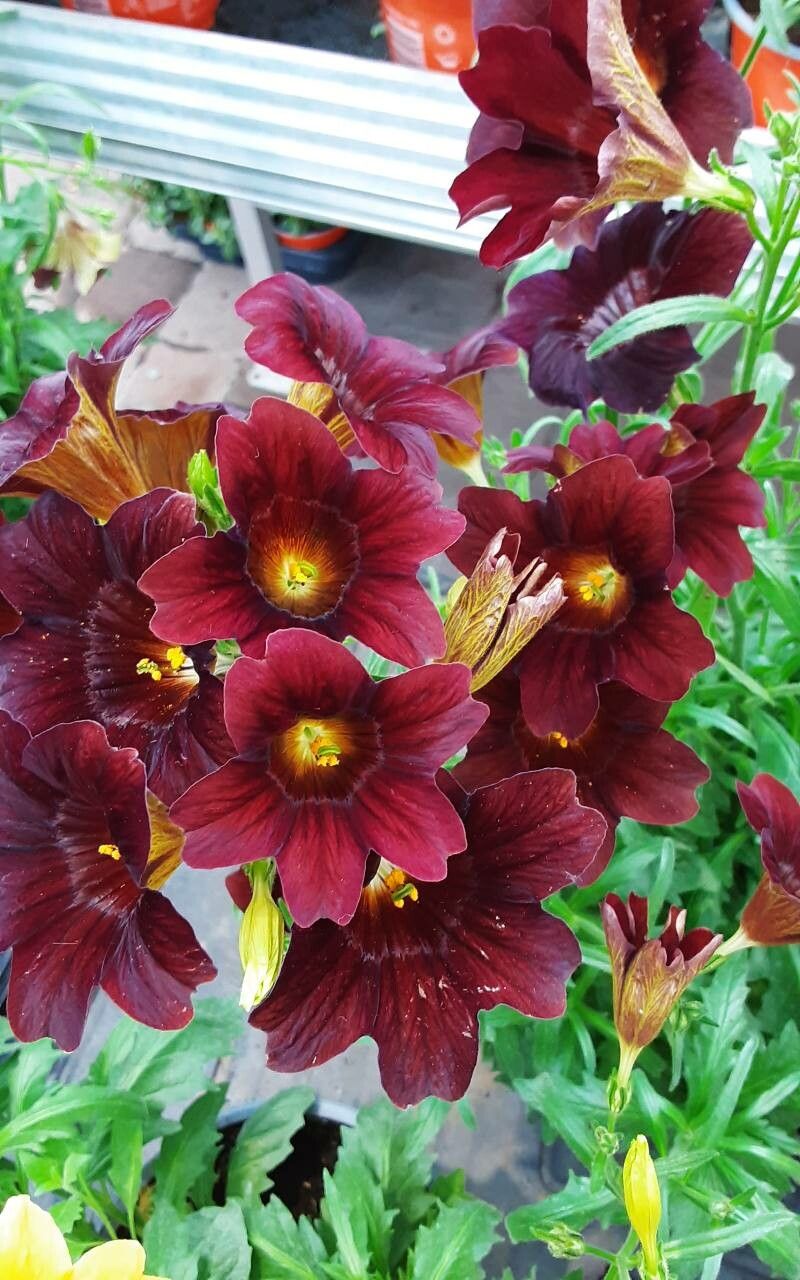
Oh, Salpiglossis! Those velvety, trumpet-shaped blooms always steal the show for me. They’re like painted angels gracing the garden, aren’t they? With their intricate veining and jewel-like colors, it’s no wonder so many of us fall head over heels for them. And the best part? You can absolutely fill your garden with these beauties by propagating them yourself! Now, if you’re just starting out, I’ll be honest, Salpiglossis sinuata can be a little bit of a diva to propagate from seed. But with cuttings? That’s where the magic truly happens and where the real satisfaction lies for us home gardeners.
The Best Time to Start
For the highest success, I always reach for my pruning shears in the late spring or early summer. This is when the plants are actively growing, and you can get nice, healthy, non-flowering shoots. Think of it as grabbing the best bits before they get too set in their ways. You want material that’s vigorous and shows promise!
Supplies You’ll Need
Here’s what I always have on hand when I’m ready to get my Salpiglossis propagation on:
- Sharp pruning shears or a clean craft knife: For making those crucial, clean cuts.
- Small pots or seed trays with drainage holes: Give those little rootlets room to breathe!
- A well-draining potting mix: I like a blend of equal parts peat moss, perlite, and coarse sand. This ensures excellent drainage, which is key for Salpiglossis.
- Rooting hormone powder or gel: This is your secret weapon for encouraging strong root development.
- A clear plastic bag or a propagation dome: To create a mini-greenhouse effect for humidity.
- A shallow tray for bottom watering: Keeps things tidy and ensures even moisture.
- Optional: A heat mat: For a gentle boost of warmth to encourage rooting.
Propagation Methods
For Salpiglossis sinuata, the most reliable route for us home gardeners is through stem cuttings. It’s incredibly rewarding to see a whole new plant emerge from what was once just a piece of your favorite!
- Take Your Cuttings: Gently identify non-flowering, healthy stems on your mature Salpiglossis. Using your clean shears or knife, take cuttings that are about 4-6 inches long. Make the cut just below a leaf node – that’s where the magic is, where roots love to form. Remove the lower leaves, leaving just a couple at the top.
- Dip and Pot: Moisten the cut end of your stem cutting. Then, dip it into your rooting hormone, tapping off any excess.
- Planting: Fill your small pots or trays with your prepared, moistened potting mix. Make a small hole with your finger or a pencil and gently insert the cut end of the Salpiglossis cutting. Firm the soil around it so the cutting stands upright.
- Create the Humid Environment: Water gently from the bottom by placing the pots in a shallow tray of water for about 15-20 minutes, until the surface of the soil is moist. Then, cover the pots loosely with a clear plastic bag or a propagation dome. This traps humidity, which is vital for cuttings that can’t yet absorb water through roots. Place your pots in a bright spot that receives indirect sunlight.
- Be Patient: Now, this is the part that requires a deep breath! It can take anywhere from 4 to 8 weeks for roots to develop. Don’t be tempted to tug at your cuttings to check for roots – you could damage them. Instead, look for new leaf growth, which is a good sign that things are happening below the soil.
The “Secret Sauce” (Pro Tips)
Here are a few little tricks I’ve learned over the years that make a big difference:
- Don’t Drown Your Leaves: When you water from the bottom like I mentioned, make sure none of the leaves are sitting in the water itself. If they are, they can rot before roots even form. A quick trim of lower leaves usually solves this.
- The Magic of Bottom Heat: If you can, place your pots on a gentle heat mat. This provides consistent warmth to the soil, mimicking spring conditions and really speeding up the rooting process. It’s like giving your cuttings a warm hug!
- Freshness is Key: Try to get your cuttings into their potting mix as soon as possible after taking them. The longer they sit out, the more stressed they become, and the less likely they are to root successfully.
Aftercare & Troubleshooting
Once you see those tell-tale signs of new growth – small leaves unfurling at the top – that means roots are developing! At this point, you can slowly start to acclimate them to normal room conditions by gradually opening up the plastic bag or dome over a few days. Continue to water from the bottom, keeping the soil consistently moist but not soggy.
The most common issue you might encounter is rot. This usually happens if the soil stays too wet or if the humidity is too high for too long. If you see a cutting turning black and mushy, unfortunately, it’s probably time to compost it and try again. Sometimes, you’ll see no signs of life at all – no rot, just… nothing. This could mean a weak cutting or unfavorable conditions. Don’t get discouraged!
A Encouraging Closing
Propagating plants is a journey, my friend! It’s about learning, observing, and sometimes, a healthy dose of patience. Don’t be afraid to experiment. Each cutting is a little experiment, a chance to bring more of that beautiful Salpiglossis magic into your world. Enjoy the process, celebrate every tiny success, and soon you’ll have a whole symphony of these stunning blooms gracing your garden. Happy propagating!
Resource:
https://identify.plantnet.org/k-world-flora/species/Salpiglossis%20sinuata%20Ruiz%20&%20Pav./data