Hey there, fellow plant lovers!
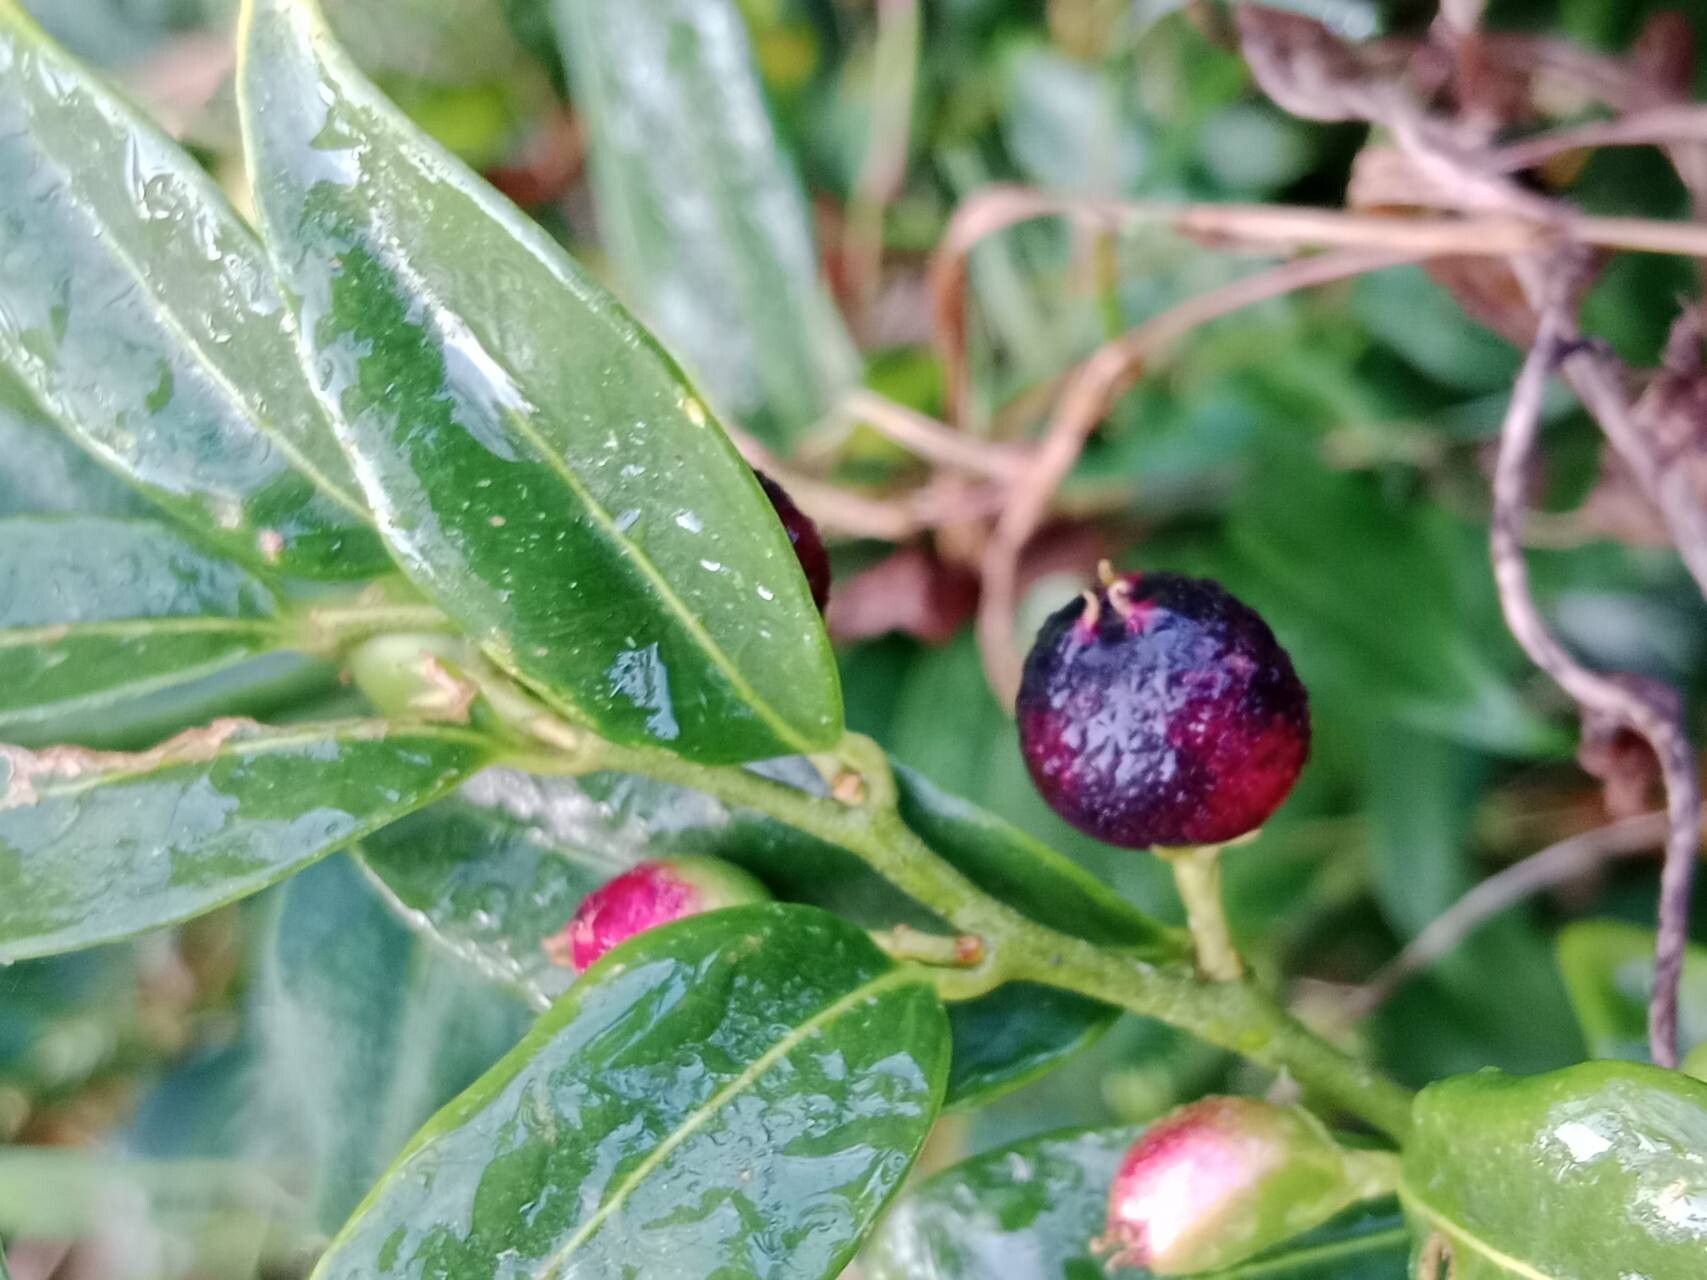
If you’ve ever admired the glossy, deep green leaves and the incredibly fragrant winter flowers of Sarcococca hookeriana, you might be thinking about getting more of these beauties for your garden. And you’re absolutely right to! These plants, often called Sweet Box, are little powerhouses of winter cheer, offering a sweet perfume when so many other plants are asleep. Propagating them is a truly rewarding experience, and I’m here to guide you through it. Good news – for the most part, Sweet Box is pretty forgiving, making it a great plant for beginners eager to expand their green collection!
The Best Time to Start
For the highest success rate with Sarcococca hookeriana, late spring to early summer is your golden window. Think of it as the plant’s most vigorous growing period. You want to take cuttings (more on that in a bit!) when the new growth has started to stiffen up a little – not the super soft, floppy tips, but not the old, woody stems either. This is often referred to as semi-hardwood cuttings.
Supplies You’ll Need
Gathering your tools before you start makes the whole process much smoother. Here’s what I always have on hand:
- Sharp pruning shears or a clean, sharp knife
- A small bag or container for your cuttings
- A good quality all-purpose potting mix blended with perlite or coarse sand for drainage (about a 50/50 ratio works wonders)
- Rooting hormone (powder or gel – I personally prefer a gel, but either works)
- Small pots or seedling trays with drainage holes
- A plastic bag or clear plastic dome to create a mini-greenhouse effect
- A watering can with a fine rose or a mister
- Optional: A heating mat if your propagation area is cool
Propagation Methods
Sweet Box is wonderfully amenable to propagation from stem cuttings. It’s usually the most straightforward and successful method.
Taking Stem Cuttings:
- Select your parent plant: Choose a healthy, vigorous Sarcococca hookeriana that’s free from pests or diseases.
- Make the cut: Using your clean pruning shears or knife, take cuttings that are 4-6 inches long. Cut just below a leaf node (where the leaves attach to the stem). This is crucial because that’s where the magic happens for root development.
- Prepare the cuttings: Gently remove the lower leaves, leaving just 2-3 leaves at the top. If the remaining leaves are very large, you can cut them in half horizontally to reduce water loss.
- Apply rooting hormone: Dip the cut end of each stem into the rooting hormone, tapping off any excess. This really gives them a good head start.
- Plant the cuttings: Fill your small pots or trays with your prepared potting mix. Make a hole in the center of the soil with a pencil or your finger, deep enough for the cutting. Insert the treated end of the cutting into the hole, and gently firm the soil around it.
- Water well: Water the pots thoroughly until water drains from the bottom. This helps settle the soil around the cuttings.
- Create the humidity dome: Cover each pot with a plastic bag or place the pots under a clear plastic dome. This is vital! It keeps the humidity high, preventing the cuttings from drying out before they can root. You can prop the bag up with a stake or a few unrooted cuttings to keep it from touching the leaves directly.
The “Secret Sauce” (Pro Tips)
Here are a couple of things I’ve learned over the years that can really boost your success rate:
- Don’t let the leaves touch the water (if you try water propagation): While I primarily recommend soil, if you do want to try water propagation for a few, only the stem should be submerged. Any leaves underwater will rot quickly and can take the whole cutting down with them.
- Bottom heat is your friend: If you have a naturally cool spot for your cuttings, a gentle bottom heat from a heating mat can significantly speed up root formation. It mimics the warmth of early summer and really encourages those roots to get going. Just make sure the temperature isn’t too hot; it should feel slightly warm to the touch, not hot.
Aftercare & Troubleshooting
Once your cuttings are planted, find them a spot that gets bright, indirect light. Avoid direct sun, which can scorch them. Keep the soil consistently moist but not waterlogged. You can check the moisture by gently pressing the soil; it should feel damp.
You’ll know your cuttings have rooted when you see new leaf growth, or when you gently tug on a cutting and feel resistance. This usually takes anywhere from 4 to 8 weeks, sometimes longer.
The most common issue is rot. This happens when there’s too much moisture and not enough air circulation. If you see a cutting turning black and mushy, it’s best to discard it to prevent it from spreading. Make sure your potting mix drains well and remove the plastic cover for a little while each day to let them breathe.
A Little Patience Goes a Long Way
Propagating plants is a journey, and Sarcococca hookeriana is no exception. Don’t be discouraged if not every cutting takes. Celebrate the ones that do! Watch for that first sign of new leaves – it’s a truly magical moment of seeing your efforts pay off. Enjoy the process, and soon you’ll have even more of those wonderfully fragrant Sweet Box plants to enjoy.
Happy gardening!
Resource:
https://identify.plantnet.org/k-world-flora/species/Sarcococca%20hookeriana%20Baill./data