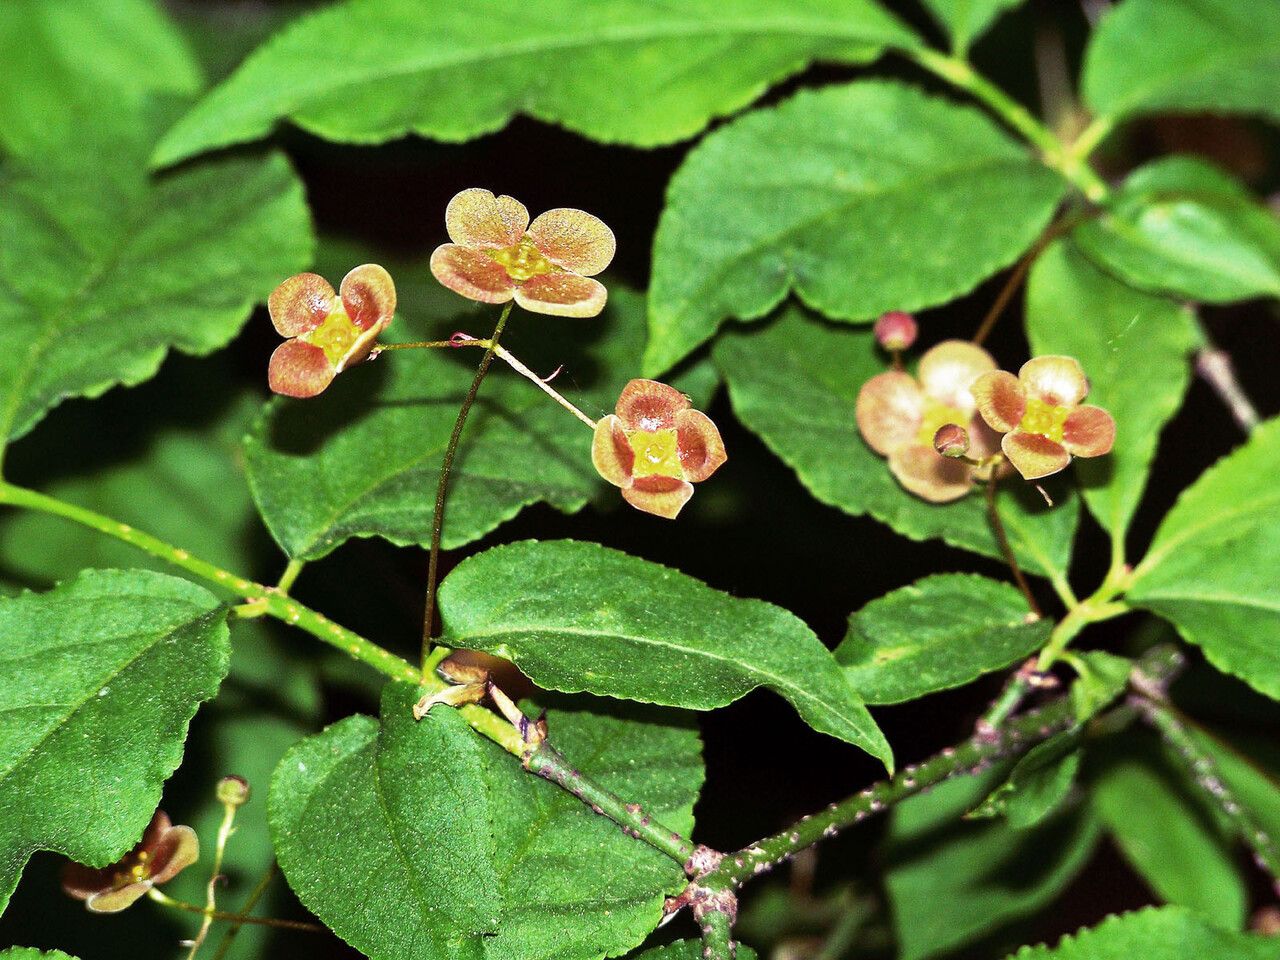
Hello green thumbs! Ever admire those stately Euonymus verrucosus plants, with their intricate bark and subtle beauty? I certainly have! Propagating them is a wonderful way to expand your garden, share with friends, or simply enjoy the immense satisfaction of growing something from a tiny piece. And the good news? Euonymus verrucosus is quite a cooperative plant to propagate, making it a rewarding project for most gardeners, even those just dipping their toes into plant propagation.
The Best Time to Start
The sweet spot for taking cuttings of Euonymus verrucosus is generally late spring to early summer. This is when the plant has new, vigorous growth – what we often call “semi-hardwood” cuttings. Young, flexible shoots that are just starting to firm up are ideal. Avoid taking cuttings from very soft, brand-new growth or from woody, mature stems.
Supplies You’ll Need
Before we get our hands dirty, let’s gather our tools. Having everything ready beforehand makes the process so much smoother!
- Sharp pruning shears or a clean, sharp knife: Essential for taking clean cuts.
- Rooting hormone (optional but recommended): A powder or gel that encourages root development.
- Small pots or seed trays: With drainage holes, of course!
- Well-draining potting mix: A good blend is typically equal parts peat moss or coir, perlite, and coarse sand. You can also find commercial propagation mixes.
- Plastic bags or a propagator: To create a humid environment.
- Watering can or spray bottle: For gentle watering.
- Labels and a marker: To keep track of your precious cuttings!
Propagation Methods
Let’s get down to business! I find stem cuttings to be the most reliable method for Euonymus verrucosus.
Taking Stem Cuttings:
- Select your cuttings: Look for those semi-hardwood shoots I mentioned. Aim for pieces about 4-6 inches long.
- Make the cut: Using your clean shears or knife, make a clean cut just below a leaf node (where a leaf attaches to the stem). This node is where roots are likely to emerge.
- Prepare the cutting: Gently remove the leaves from the bottom half of the cutting. If the remaining leaves are very large, you can cut them in half to reduce water loss.
- Apply rooting hormone: Dip the cut end of the stem into rooting hormone powder or gel, tapping off any excess.
- Plant your cuttings: Fill your pots or trays with the prepared potting mix. Make a small hole with a pencil or your finger and insert the cutting, ensuring the leaf nodes are buried. Gently firm the soil around the stem.
- Water gently: Water thoroughly but gently, allowing excess water to drain away.
The “Secret Sauce”
Here are a few tricks I’ve learned over the years that can really boost your success:
- Bottom heat is your friend! If you can, place your pots on a heat mat designed for propagation. This gentle warmth encourages roots to form much faster. I’ve seen a significant difference when I use it.
- Don’t crowd your cuttings. Give them a little breathing room in the pot. Overcrowding can lead to air circulation issues and increase the risk of rot. Space them a couple of inches apart.
- Humidity is key, but watch out for dampness. Tent your pots with a clear plastic bag, or use a propagator lid. This traps moisture, creating that crucial humid environment. However, ensure good air circulation within the bag or propagator to prevent fungal diseases from setting in. You might need to “vent” them for a few minutes each day.
Aftercare & Troubleshooting
Once your cuttings are planted, they’ll need a consistent environment. Keep them in a bright spot, but out of direct, harsh sunlight. Continue to keep the soil consistently moist but not waterlogged. You’ll know your cuttings have rooted when you see new leaf growth, or feel a gentle resistance when you tug ever so slightly on the stem. This can take anywhere from four weeks to a couple of months.
If your cuttings start to look wilty and don’t perk up with watering, or if the stem turns black and mushy, that’s usually a sign of rot. This often happens due to overwatering or poor drainage. Don’t be discouraged if you have failures! It’s all part of the learning process. Just pull out the affected cuttings, check your watering habits, and try again.
A Bit More Patience, A Lot More Plants!
Propagating Euonymus verrucosus is incredibly rewarding. Take your time, follow these steps, and trust in the process. With a little bit of care and a dash of patience, you’ll soon have an abundance of these lovely plants to enjoy. Happy gardening!
Resource:
https://identify.plantnet.org/k-world-flora/species/Euonymus%20verrucosus%20Scop./data