Hey there, fellow plant lovers!
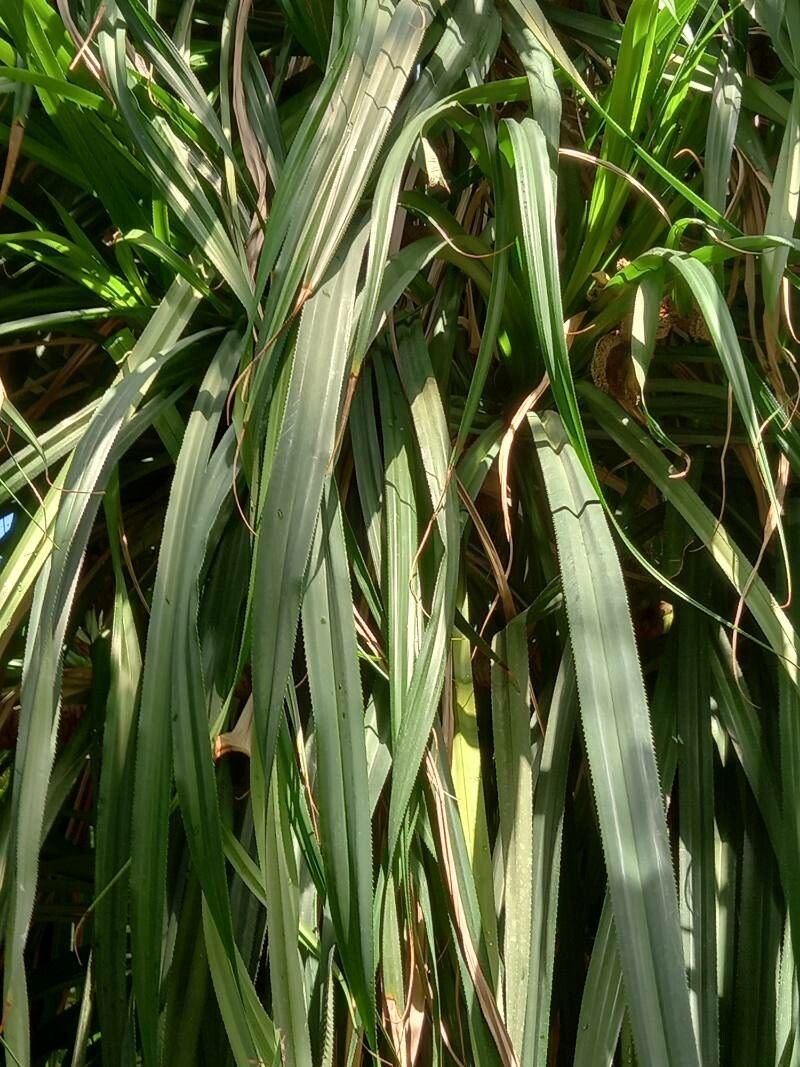
Today, we’re diving into the wonderful world of propagating Pandanus myriocarpus, also known as the Dwarf Screw Pine. If you’re captivated by its unique, architectural leaves and want to fill your home with more of these beauties, you’re in the right place. And I’m happy to report, propagating these guys is a really rewarding experience, even for those just starting out!
The Best Time to Start
Honestly, I find the spring and early summer months to be your best bet. This is when the plant is in its active growth phase, meaning it’s got the energy to put out roots and new shoots more readily. Whenever you see your mature plant sending up healthy new growth, that’s a good sign it’s ready for a little propagation experiment.
Supplies You’ll Need
Gathering your supplies ahead of time makes the whole process much smoother. Here’s what I always have on hand:
- Sharp Pruning Shears or a Clean Knife: For making clean cuts.
- Well-Draining Potting Mix: I love a mix of equal parts peat moss, perlite, and sterile potting soil.
- Small Pots or Containers: Clean, with drainage holes, of course!
- Rooting Hormone (Optional, but helpful): A powder or gel can give it a good start.
- Spray Bottle: For keeping humidity up.
- Plastic Bag or Clear Dome: To create a mini-greenhouse effect.
- Gloves: Some Pandanus can have sharp edges.
- A Mature, Healthy Pandanus myriocarpus plant: The source of your new babies!
Propagation Methods
For Pandanus myriocarpus, the most straightforward and successful method is usually by offsets, also called pups. You’ll see these little plantlets emerge from the base of your mature plant.
Step 1: Identify and Prepare the Offset
Look at the base of your mature plant. You’ll likely see small, young plants emerging. Gently clear away some of the soil around the base of an offset that looks like it has its own roots starting and is a decent size (at least a few inches tall). You want to see those little white root nubs!
Step 2: Make the Cut
Using your sharp, clean pruning shears or knife, carefully cut the offset away from the mother plant. Try to get as much of the root structure as possible. If it’s a particularly stubborn offset, you might have to make a careful cut through the connecting tissue. Just be gentle!
Step 3: Let it Callus (Optional but Recommended)
This is a little trick I learned early on. Before potting, let the cut end of the offset dry and callus over for a day or two in a dry, airy spot (out of direct sunlight). This helps prevent rot when you pot it.
Step 4: Potting Up
Fill your small pots with your well-draining potting mix. Make a little hole in the center and gently insert the callused end of the offset. Press the soil gently around its base to secure it.
Step 5: Water and Cover
Water the soil lightly. You don’t want it soggy, just moist. Then, cover the pot with a clear plastic bag or a clear dome to create a humid environment. This is crucial for helping the new plant get established and encourage root development.
The “Secret Sauce” (Pro Tips)
Here are a couple of things I always do that make a difference:
- Don’t Be Afraid to Trim Too-Large Leaves: If the leaves on your offset are really long and floppy, you can trim them back by about a third or half. This reduces water loss through the leaves while the plant is trying to grow roots. Think of it as helping it conserve energy.
- Bottom Heat is Your Friend: If you can, place the potted offsets on a gentle heat mat. Warm soil temperatures really encourage root formation. Just make sure it’s not scorching hot, a gentle warmth is perfect.
Aftercare & Troubleshooting
Once your offsets are potted and covered, place them in a spot with bright, indirect light. Avoid direct sun, which can scorch those delicate new plants.
Keep the soil consistently lightly moist, but never waterlogged. The condensation you see on the inside of your plastic bag or dome is a good indicator of the humidity level.
You’ll know your Pandanus myriocarpus has rooted when you see new leaf growth emerge from the center of the plant. This can take anywhere from 4 to 8 weeks, sometimes longer. Be patient!
The most common issue you’ll encounter is rot, usually caused by overwatering or not letting the cutting callus. If you notice the base of the offset turning mushy and black, or the leaves wilting and yellowing despite being watered, it’s likely rot. Unfortunately, if rot sets in, it’s hard to save. Prevention through good drainage and proper watering is key!
A Sweet Farewell
Propagating your Pandanus myriocarpus is a wonderful way to expand your collection and share these unique plants with friends. Remember, gardening is a journey, and every new plant is a little victory. So, get your hands dirty, trust your instincts, and enjoy the magic of watching new life emerge. Happy planting!
Resource:
https://identify.plantnet.org/k-world-flora/species/Pandanus%20myriocarpus%20Baker/data