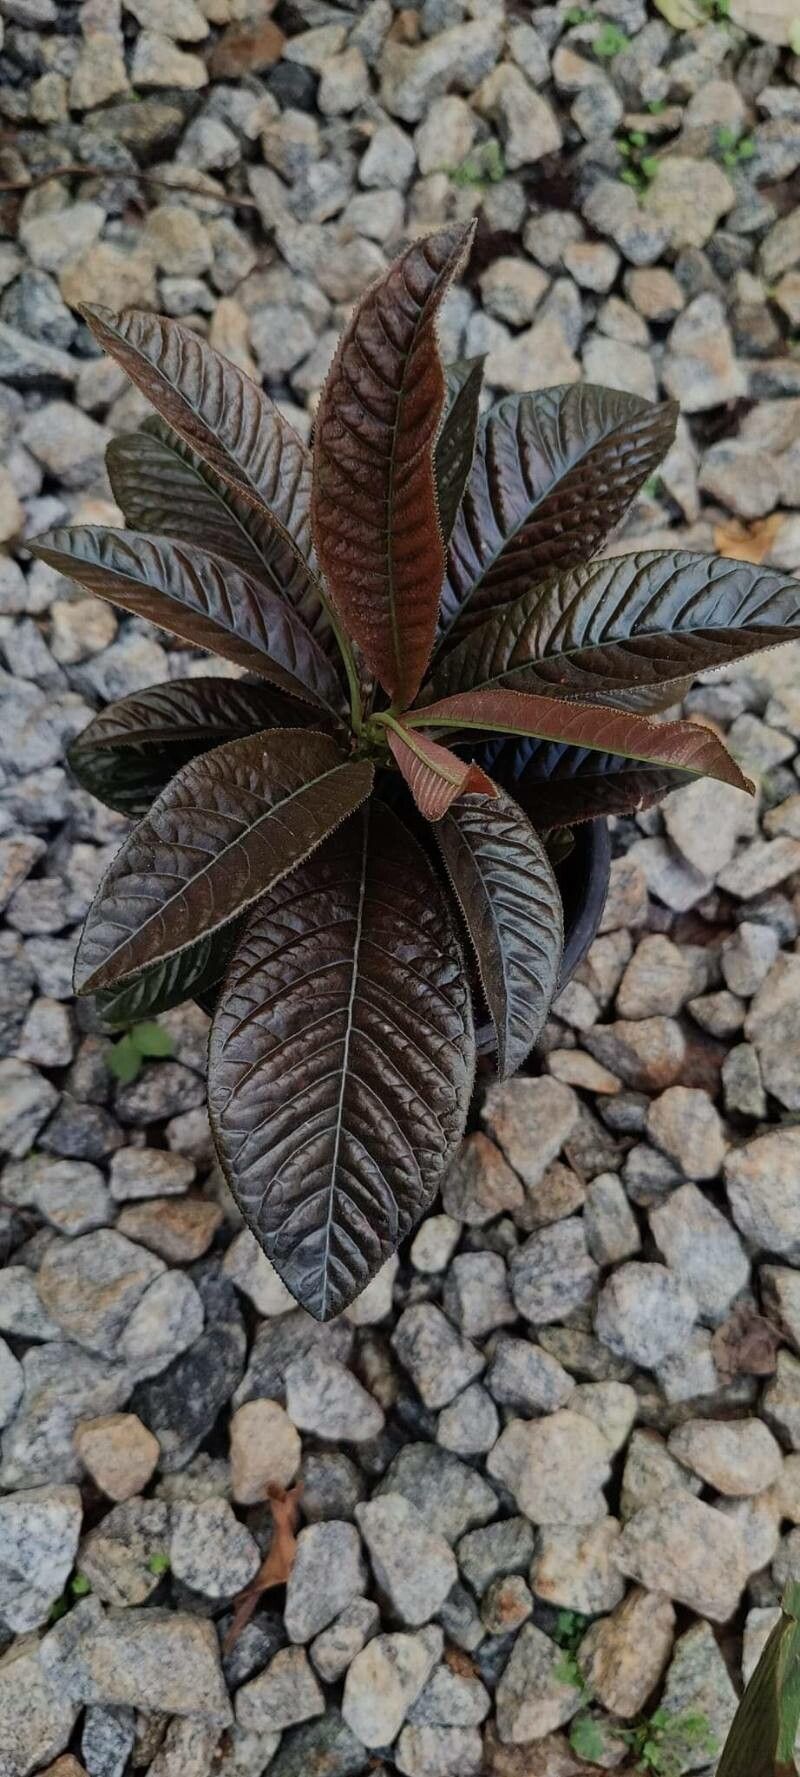
Hello there, fellow plant enthusiasts! Today, I want to chat about a truly delightful plant that often flies a bit under the radar: Ardisia affinis. If you’re looking for a plant that brings a touch of elegance to your home with its glossy leaves and, if you’re lucky, charming clusters of red berries, you’ve come to the right place. Propagating Ardisia affinis is a wonderfully rewarding experience, like watching a little piece of your green thumb magic bloom. While it might be a tad trickier than, say, a spider plant, I promise, with a little care and attention, you’ll be rewarded with new plant babies in no time.
The Best Time to Start
For Ardisia affinis, the sweet spot for propagating is usually in late spring or early summer. This is when the plant is actively growing, meaning it has plenty of energy to put into developing new roots. You’ll want to look for stems that are semi-hardwood, meaning they’re not brand new and floppy, but they also haven’t turned completely woody and rigid. Think of it as the perfect stage between being a tender young shoot and an old, established branch.
Supplies You’ll Need
Before we get our hands dirty, let’s gather our tools:
- Sharp Pruning Shears or a Clean Knife: For making clean cuts.
- Rooting Hormone (Optional but Recommended): Powder or liquid, this helps give cuttings a boost.
- Well-Draining Potting Mix: A good blend is crucial. I often use a mix of peat moss, perlite, and a bit of orchid bark for excellent aeration.
- Small Pots or Seedling Trays: Clean and with drainage holes, of course.
- Plastic Bags or a Clear Propagating Dome: To create a humid environment.
- Water: For misting and, if you choose, for water propagation.
- Labels: So you don’t forget what you’ve planted!
- Patience! This is a vital ingredient.
Propagation Methods
Here are the ways I’ve found most successful with Ardisia affinis:
Stem Cuttings
This is my go-to method, and it’s quite reliable.
- Take Your Cuttings: Using your clean shears or knife, select a healthy stem and take cuttings that are about 4-6 inches long. Make a clean cut just below a leaf node (where a leaf meets the stem).
- Prepare the Cuttings: Gently remove the lower leaves from the cutting, leaving just a few at the top. This prevents them from rotting when they’re buried in the soil.
- Dip in Rooting Hormone: If you’re using rooting hormone, dip the cut end into the powder or liquid, tapping off any excess. This step isn’t strictly necessary, but it can significantly speed up root development.
- Plant the Cuttings: Fill your small pots with your well-draining potting mix. Make a small hole in the center with your finger or a pencil, and insert the cut end of the stem, ensuring at least one leaf node is buried. Gently firm the soil around the cutting.
- Create a Humid Environment: Water the soil lightly. Then, cover the pot with a plastic bag (making sure the leaves don’t touch the plastic if possible) or place it under a propagating dome. This traps moisture, creating the humid conditions cuttings crave.
- Place in Bright, Indirect Light: Find a warm spot for your cuttings, away from direct sunlight which can scorch them.
The “Secret Sauce” (Pro Tips)
Now for a couple of my insider tips that can make all the difference:
- Don’t Drown the Leaves: When you water your cuttings, especially those in pots, make sure the water drains well. Avoid letting the leaves sit in soggy soil or water. Rot is the quickest way to lose a cutting, and excess moisture is often the culprit.
- Bottom Heat is Your Friend: If you have a heat mat, use it! Placing your pots on a gentle heat source can really encourage root growth. It mimics the warmth of spring soil and gives your cuttings that extra encouragement to sprout roots. Just a low, steady warmth is all that’s needed.
Aftercare & Troubleshooting
Once your cuttings have been planted, the waiting game begins.
- Check for Roots: After 4-8 weeks, gently tug on a cutting. If you feel resistance, it’s a good sign roots are forming! You might also see new leaf growth, which is a fantastic indicator.
- Acclimatize: Once roots are established, gradually remove the plastic bag or dome over a week or two, to help the new plant get used to drier air.
- Watering: Water your new plant when the top inch of soil feels dry. Ensure good drainage.
- Troubleshooting – Rot: The most common issue is rot. If your cutting turns black and mushy, or leaves start dropping off rapidly, it’s likely due to too much moisture and not enough air circulation. Sadly, a rotten cutting is usually a goner, but don’t despair – try again with better drainage or try a new cutting.
- Troubleshooting – No Growth: If you don’t see any signs of roots or new growth after a few months, it’s possible the cutting wasn’t viable, the conditions weren’t quite right, or it just needs more time. Don’t give up too soon!
Propagating plants is such a special way to connect with nature and expand your indoor jungle. Be patient, observe your cuttings closely, and enjoy the slow, steady process. Each new plant you nurture is a testament to your green thumb and a little piece of living art. Happy propagating!
Resource:
https://identify.plantnet.org/k-world-flora/species/Ardisia%20affinis%20Hemsl./data