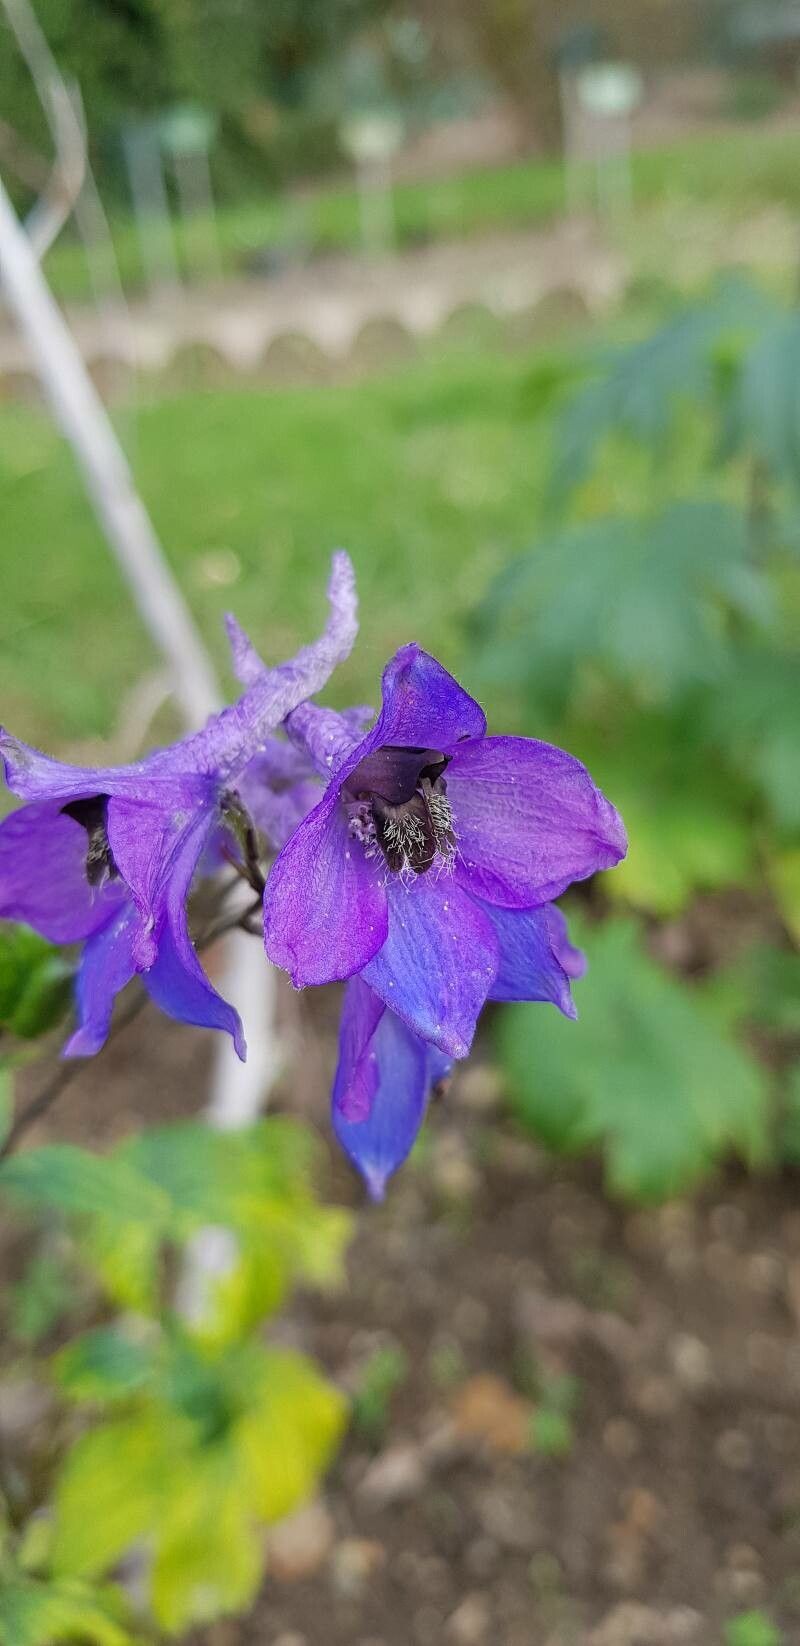
Oh, hello there! Come on in, pull up a chair. I’ve got a fresh pot of coffee brewing, and I’m so excited to chat about Delphinium formosum. If you’ve ever seen these beauties gracing a garden, you know what I mean by “majestic.” Those spires of vibrant blue, reaching for the sky – they’re just breathtaking. And the best part? You can grow them yourself!
Propagating Delphinium formosum might sound a bit intimidating, but honestly, I find it to be an incredibly rewarding process. While they can be a touch fussy sometimes, I wouldn’t call them impossible for beginners. A little patience and the right approach go a long way. Think of it as a fun challenge, and the payoff is a garden full of those gorgeous blue blooms.
The Best Time to Start
For Delphinium formosum, I’ve found the absolute sweet spot is late spring or early summer. This is when the plant is actively growing and has plenty of energy to put into new roots. You want to catch it when the stems are still somewhat soft and pliable, not woody. Think fresh, vigorous growth.
Supplies You’ll Need
Before we dive in, let’s gather our tools. You don’t need much, but having the right bits and pieces will make all the difference.
- Sharp Pruning Shears or a Craft Knife: For clean cuts.
- Rooting Hormone (Powder or Gel): This isn’t always strictly necessary, but it can give your cuttings a real boost.
- A Well-Draining Potting Mix: I like a 50/50 blend of seed starting mix and perlite. This ensures good aeration and prevents waterlogging.
- Small Pots or Trays: Clean, with drainage holes.
- A Plastic Bag or Dome: To create a humid environment.
- A Watering Can with a Fine Rose: For gentle watering.
Propagation Methods
While you can try water propagation with some plants, with Delphinium formosum, I find stem cuttings to be the most reliable method. It gives you a stronger start with a better chance of success.
Here’s how I do it:
- Take Your Cuttings: In late spring or early summer, look for healthy, non-flowering stems. Using your clean shears or knife, cut a stem just below a leaf node (where a leaf attaches to the stem). You’re looking for cuttings that are about 4-6 inches long. Remove any lower leaves, leaving just a few at the top.
- Prepare the Cutting: If you’re using rooting hormone, dip the cut end of the stem into the powder or gel. Gently tap off any excess.
- Plant the Cutting: Fill your small pots with the potting mix. Make a hole in the center with your finger or a pencil, and gently insert the prepared cutting. Firm the soil around the base of the stem.
- Water Gently: Give the pot a good but gentle watering. You want the soil to be moist, but not soggy.
- Create Humidity: This is crucial! Place the potted cutting in a plastic bag, making sure the leaves don’t touch the plastic. You can also use a clear plastic dome. This creates a mini-greenhouse effect, keeping the humidity high, which is what cuttings need to root.
- Find a Bright Spot: Place the pots in a bright location, but out of direct, harsh sunlight. A sunny windowsill is usually perfect.
The “Secret Sauce” (Pro Tips)
Now for a couple of little tricks I’ve picked up over the years that can really help your Delphinium cuttings thrive:
- Bottom Heat is Your Friend: Delphiniums, especially when rooting, really appreciate a little warmth from below. If you have a heat mat, placing your pots on it can significantly speed up root development. It mimics the warmth of the soil in the growing season.
- Don’t Be Afraid to Mist: While the plastic bag or dome keeps in humidity, a light misting of the leaves every day or two can also provide that extra moisture they crave. Just a quick spritz is all they need.
- Patience is a Virtue (for Cuttings Too!): Don’t be tempted to pull up your cuttings every few days to check for roots. You’ll disturb them! It can take 4-6 weeks, sometimes longer, for roots to form. Trust the process.
Aftercare & Troubleshooting
Once you see signs that your cuttings have rooted (you might see new leaf growth, or if you gently tug, there will be resistance), it’s time to transition them.
- Acclimatize: Slowly remove the plastic bag or dome over a few days. This helps them adjust to the regular greenhouse humidity.
- Repotting: Once they have a good root system, you can pot them up into slightly larger containers. Continue to keep them in bright, indirect light and water when the top inch of soil feels dry.
- Signs of Trouble: The most common issue you’ll face is rot. If your cutting turns mushy and black, it’s usually a sign of too much moisture and not enough air circulation. This is where that well-draining soil and avoiding overwatering are so important. If you see mold on the soil surface, it’s also a sign of excessive dampness.
So there you have it! A little journey into propagating your own Delphinium formosum. It’s a wonderful way to expand your garden and share these magnificent blooms with friends. Just remember to be patient, keep things clean, and enjoy watching those tiny roots begin to form. Happy gardening!
Resource:
https://identify.plantnet.org/k-world-flora/species/Delphinium%20formosum%20Boiss.%20&%20A.Huet/data