Oh, hello there! It’s lovely to have you join me. Today, we’re diving into the wonderful world of propagating Warneckea membranifolia. If you’ve ever admired this plant with its striking foliage and delicate charm, you’re in for a treat. Sharing your favorite plants is one of the most satisfying parts of gardening, and Warneckea is a joy to start from scratch.
Introduction
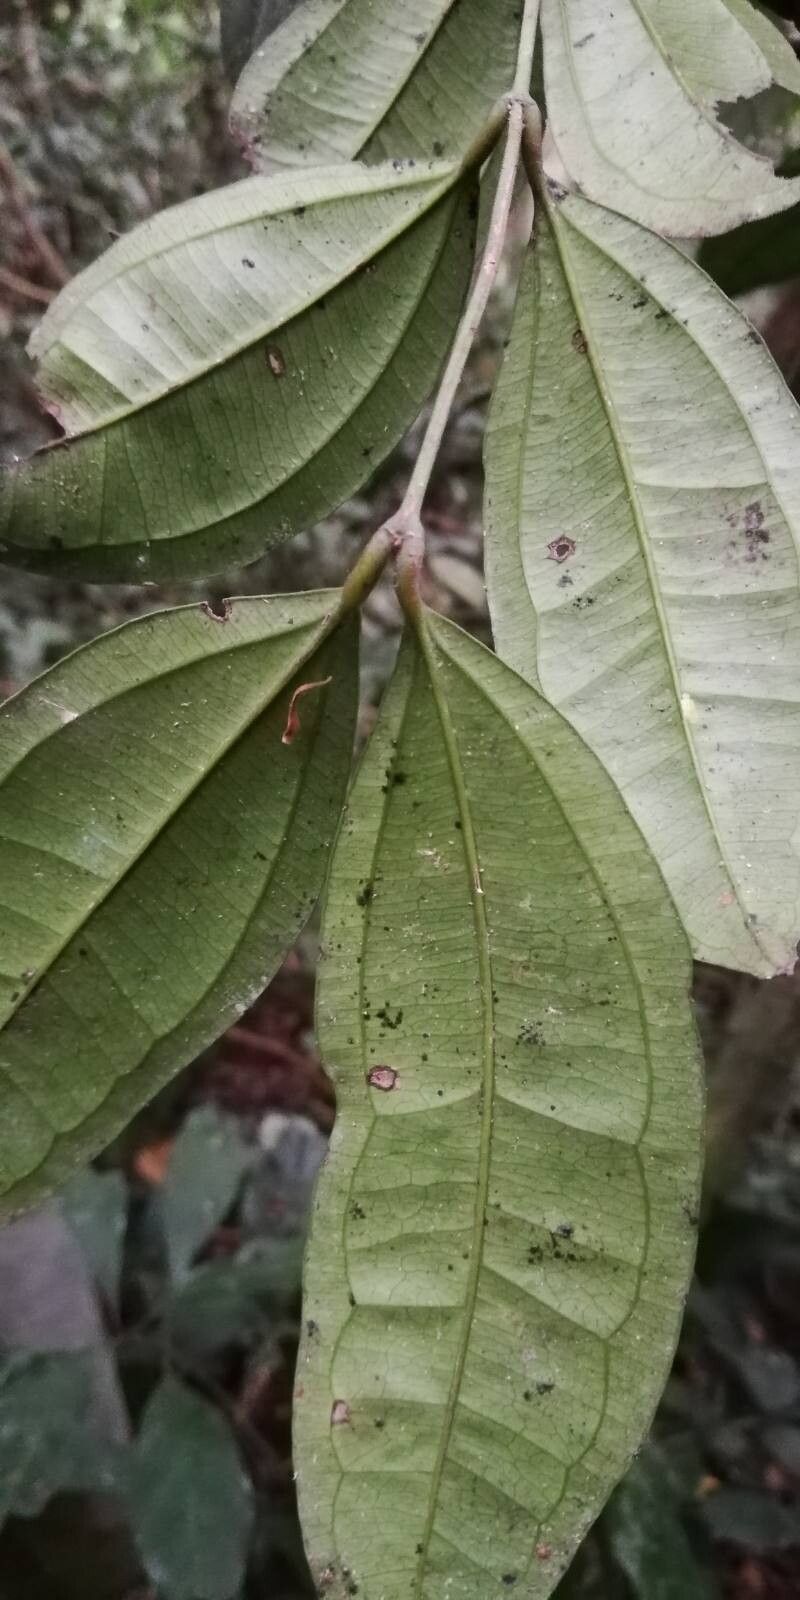
Warneckea membranifolia, with its glossy, often variegated leaves, brings a touch of elegance to any space. It’s a plant that whispers sophistication. While it might look a little fussy, I’ve found propagating it to be quite forgiving, making it a great project for both seasoned gardeners and those just dipping their toes into the propagation waters. Getting a new plant to root and thrive from a tiny piece of its parent is a truly magical experience.
The Best Time to Start
For the highest success rate with Warneckea membranifolia, I always recommend starting in the spring or early summer. This is when the plant is actively growing, bursting with energy and ready to put that energy into developing new roots. You want to work with healthy, vigorous material.
Supplies You’ll Need
Gathering your tools beforehand makes the whole process smoother. Here’s what I usually have on hand:
- Sharp pruning shears or a clean knife: For making clean cuts.
- Rooting hormone (optional but helpful): Especially for woody stems.
- Small pots or seed trays: With drainage holes, of course!
- Well-draining potting mix: A classic blend of perlite, peat moss, and vermiculite works wonders. Or, grab a good quality seed starting mix.
- Clear plastic bags or a propagator lid: To create a humid environment.
- Watering can with a fine rose: For gentle watering.
- Labels and a pen: To keep track of your precious cuttings.
Propagation Methods
I find that stem cuttings are the most reliable way to propagate Warneckea membranifolia. It’s straightforward and often yields excellent results.
Stem Cuttings:
- Select your stem: Look for a healthy, non-flowering stem that’s about 4-6 inches long. Make a cut just below a leaf node (where a leaf attaches to the stem). This is crucial for successful rooting.
- Prepare the cutting: Gently remove the lower leaves from the cutting, leaving just 2-3 leaves at the top. This prevents them from rotting in the soil.
- Apply rooting hormone (if using): Dip the cut end of the stem into your rooting hormone. Tap off any excess.
- Plant the cutting: Make a small hole in your prepared potting mix with a pencil or your finger. Insert the cut end of the stem into the hole, ensuring it’s deep enough to be stable. Gently firm the soil around it.
- Water gently: Water the soil thoroughly but avoid waterlogging. You want it to be moist, not soggy.
- Create humidity: Place a clear plastic bag over the pot, securing it around the rim with a rubber band, or use a propagator lid. This traps moisture and creates a mini-greenhouse effect.
- Find a bright spot: Place your pot in bright, indirect light. Avoid direct sunlight, which can scorch the delicate cuttings.
The “Secret Sauce” (Pro Tips)
Here are a couple of little tricks I’ve learned that can really boost your success:
- Bottom Heat is Your Friend: If you can, place your propagation tray or pots on a heat mat. Warneckea roots are much more enthusiastic when they have a bit of warmth from below. It significantly speeds up the rooting process.
- Don’t Overwater, Ever: This is probably the most common mistake. It’s better to have slightly dry soil than waterlogged. Rot is unforgiving, and overwatering is usually the culprit. I like to check the soil moisture by gently pressing it with my finger. If it feels dry about an inch down, it’s time for a drink.
Aftercare & Troubleshooting
Once you start to see tiny roots peeking out from the drainage holes, or you gently tug on the cutting and feel resistance, congratulations! Your Warneckea has rooted.
Slowly start to acclimate your new plant to normal humidity by gradually opening the plastic bag or propagator lid over a week or so. Continue to provide bright, indirect light and keep the soil consistently moist but not wet. You can even move it to a slightly larger pot once it’s well-established.
Now, about troubleshooting. The most common issue you might encounter is rot. If your stem turns mushy and black, it’s likely rot due to overwatering or poor drainage. Unfortunately, once rot sets in, the cutting is usually lost. If you see signs of wilting that isn’t due to dryness, it could be something else, but rot is the big one to watch for.
A Encouraging Closing
There you have it! Propagating Warneckea membranifolia is a journey, and like any good journey, it requires a little patience. Don’t be discouraged if your first attempt isn’t a runaway success. Keep learning, keep trying, and most importantly, enjoy the process of nurturing new life. Happy propagating!
Resource: