Bringing Home the Beauty: Your Guide to Propagating Spotted Coralroot
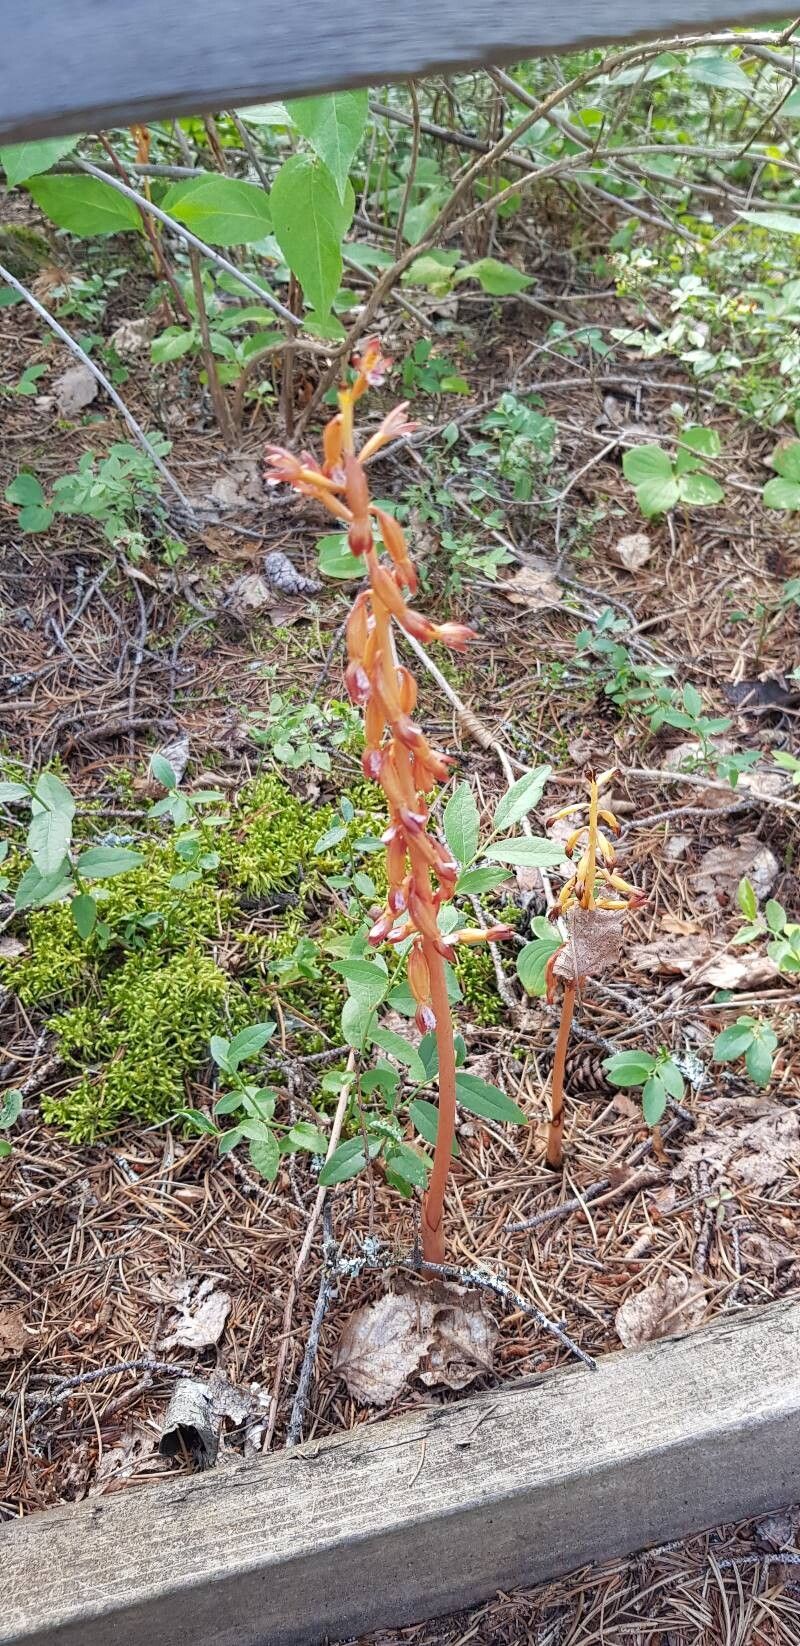
Ah, Corallorhiza maculata! Isn’t she a stunner? The delicate, speckled blooms of the spotted coralroot orchid always bring a smile to my face. It’s a plant that whispers of shady woodlands and the quiet magic of the forest floor, and I know many of you have been captivated by its understated charm. Sharing that beauty by propagating it is such a rewarding endeavor. Now, I’ll be honest, this one isn’t quite as straightforward as a marigold cutting, but with a little patience and the right approach, you can absolutely succeed. Let’s dive in!
The Best Time to Start
For spotted coralroot, spring is your best bet, right as new growth is emerging. You’re looking for those tender, young shoots that are just beginning to push up from the soil. This is when the plant has the most energy stored and is primed for growth, giving your propagation efforts the best chance of success. Avoid attempting this during the heat of summer or when the plant is actively flowering.
Supplies You’ll Need
To give your spotted coralroot cuttings the best start, gather these essentials:
- Sharp, sterile pruning shears or a razor blade: Cleanliness is paramount to prevent disease.
- Small pots or propagation trays: With good drainage holes!
- A specialized orchid mix: Think a blend of bark, perlite, and a bit of sphagnum moss. I like a mix that’s airy and drains exceptionally well.
- A rooting hormone powder (optional but recommended): Look for one formulated for woody or herbaceous cuttings, though some orchid-specific ones are available.
- A spray bottle: For gentle misting.
- Clear plastic wrap or a propagator lid: To maintain humidity.
- A label and waterproof pen: To keep track of your projects!
Propagation Methods: Let’s Get Our Hands Dirty!
While spotted coralroot is technically an orchid, its propagation doesn’t involve the complex tissue culture often associated with its more exotic cousins. We’ll focus on a more accessible method: stem cuttings.
- Find Your Source: Select a healthy, actively growing stem that has at least two or three leaf nodes. A node is where a leaf attaches to the stem. You want to see a bit of new growth at the tip.
- Make Your Cut: Using your sterile shears or razor, make a clean cut just below a leaf node. This is where the magic of root development will happen. If you’re taking cuttings from something that’s already bloomed and fading, you can sometimes use the new basal shoots as well.
- Prepare the Cutting: Gently remove any lower leaves, being careful not to damage the stem. You want to expose at least one or two leaf nodes.
- Dip in Rooting Hormone (Optional): If you’re using rooting hormone, lightly dip the cut end of the stem into the powder, tapping off any excess. This can give your cutting a helpful boost.
- Planting Time: Fill your small pots with the orchid mix. Make a small hole in the center with your finger or a pencil. Insert the prepared cutting, ensuring that at least one leaf node is submerged in the mix. Gently firm the mix around the stem.
- Create a Humid Environment: Water the pot gently so the mix is moist but not soggy. Then, cover the pot with clear plastic wrap or place it inside a propagator lid. This trap humidity, which is crucial for cuttings to form roots before they dry out.
The “Secret Sauce”: Insider Tips
Here are a few little tricks I’ve picked up over the years that can make a real difference:
- Don’t Over-Water: This is a big one for coralroots, and orchids in general. They hate sitting in soggy soil. The goal is consistent moisture, not saturation. Too much water is a fast track to rot.
- Warmth Encourages Roots: While you don’t want direct sun, providing gentle bottom heat can significantly speed up root formation. A seedling heat mat set on a low setting works wonders. Just ensure the pot isn’t sitting directly in water on the mat.
- Watch the Airflow: While we need humidity, you don’t want stagnant, stuffy air. Ventilate the propagator for a few minutes each day to prevent fungal issues.
Aftercare & Troubleshooting
Once your cutting has rooted—you’ll know because you’ll see new leaf growth or gentle resistance when you tug ever so slightly—it’s time for a little adjustment.
- Gradually Acclimate: Slowly begin to reduce the humidity by lifting the plastic wrap or opening the propagator lid for longer periods each day. This helps the new plant adjust to normal air conditions.
- Watering: Continue to water sparingly, allowing the potting mix to dry slightly between waterings.
- Light: Place your newly potted coralroot in bright, indirect light. Think dappled shade.
Troubleshooting: The most common issue you’ll encounter is rot. If you see your cutting turning black and mushy, it’s likely due to too much moisture and poor air circulation. If you catch it early, you might be able to salvage a healthy section, but often, it’s best to discard it and start again, paying close attention to your watering and ventilation. Wilting can also occur if the cutting dries out too quickly before rooting, which is why that humid environment is so important.
A Little Patience Goes a Long Way
Propagating spotted coralroot is a journey, not a race. There will be times when things don’t quite go as planned, and that’s perfectly okay. Learn from it, adjust your approach, and try again. The act of nurturing a new plant from a small cutting is incredibly fulfilling. So, take a deep breath, enjoy the process, and soon you’ll have more of these woodland gems to admire! Happy propagating!
Resource:
https://identify.plantnet.org/k-world-flora/species/Corallorhiza%20maculata%20Raf./data