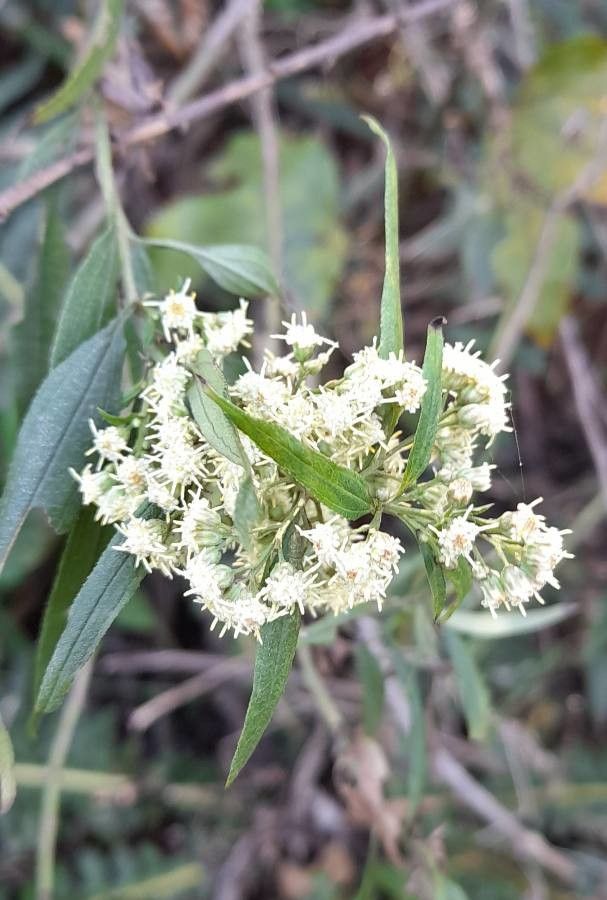
Hello fellow plant lovers! Oh, let me tell you about Baccharis punctulata. If you’re looking for a plant that brings a touch of wild, natural beauty to your garden, this is it. It’s that lovely, often understated shrub that adds texture and a subtle charm, especially its delicate foliage and often surprisingly resilient nature. And the best part? Propagating it is incredibly rewarding. You get to multiply that charm, sharing it with friends or simply expanding your own green paradise. For beginners, I’d say it’s moderately easy. With a little patience and a few key steps, you’ll be a pro in no time.
The Best Time to Start
For the highest success rate with Baccharis punctulata, late spring or early summer is your golden window. This is when the plant is actively growing and has plenty of fresh, sappy stems. You’re looking for stems that are semi-hardwood – not too soft and bendy (that’s new growth) and not too woody and stiff (that’s older growth). Gently bend a shoot; if it snaps cleanly, it’s usually about right.
Supplies You’ll Need
- Clean, sharp pruning shears or a sharp knife: Essential for clean cuts that heal better.
- Small pots or seed trays: Clean ones are important to prevent disease.
- Rooting hormone (optional but recommended): This really gives your cuttings a boost. Look for one with IBA.
- A good quality potting mix: I prefer a light, well-draining mix. A blend of equal parts peat moss or coco coir, perlite, and a little bit of compost works wonders.
- Small plastic bags or a propagation dome: To maintain humidity around your cuttings.
- Water: For misting.
Propagation Methods
Let’s get our hands dirty with the most reliable ways to propagate Baccharis punctulata.
1. Stem Cuttings: My Go-To Method
This is usually the most successful and straightforward approach for this plant.
- Take your cuttings: From your healthy parent plant, select those semi-hardwood stems. Aim for cuttings about 4-6 inches long. Make your cuts just below a leaf node (where a leaf attaches to the stem).
- Prepare the cuttings: Gently remove the leaves from the bottom half of each cutting. This prevents them from rotting in the soil and encourages the plant to focus energy on root development. Leave a few leaves at the top to photosynthesize.
- Apply rooting hormone: Dip the cut end of each prepared cutting into your rooting hormone, shaking off any excess.
- Plant the cuttings: Fill your clean pots or trays with your prepared potting mix. Make a little hole with your finger or a pencil, and insert the cutting. Gently firm the soil around the stem to ensure good contact.
- Water and cover: Water the soil gently but thoroughly. Then, cover the pots with a plastic bag or propagation dome to create a humid environment. You can prop up the bag with skewers if it looks like it might touch the leaves. Place them in a bright spot, but out of direct sunlight.
2. Water Propagation: A Visual Treat
While I lean towards soil for Baccharis punctulata, water propagation can also work and it’s fascinating to watch those tiny roots emerge.
- Take your cuttings: Same process as above – 4-6 inch semi-hardwood cuttings, make cuts below a leaf node.
- Prepare the cuttings: Remove the lower leaves.
- Place in water: Put the cuttings into a clean jar or vase filled with water. Make sure no leaves are submerged. This is crucial to prevent rot.
- Find a good spot: Place the jar in bright, indirect light. You’ll want to change the water every few days to keep it fresh.
The “Secret Sauce” (Pro Tips)
Here are a few things I’ve learned over the years that can really make a difference.
- Bottom Heat is Your Friend: If you’re serious about cuttings, especially in cooler weather, a heating mat designed for plants can significantly speed up root formation. It mimics the warmth of spring soil and encourages roots to sprout much faster.
- Don’t Overcrowd: Give your cuttings space! Whether in pots or if you decide to try a community tray, don’t pack them in too tightly. Good air circulation is vital to prevent fungal diseases.
- A Gentle Mist is Best: While you need humidity, don’t drench your cuttings in water. A light misting with plain water every day or two, especially if using a propagation dome, is usually sufficient to keep the leaves turgid without waterlogging the soil.
Aftercare & Troubleshooting
Once you start seeing those tiny white roots emerging from the drainage holes or pushing down into the water, you’ve done it! Congratulations!
- For soil cuttings: Gradually introduce them to less humidity. You can start by propping open the plastic bag a little each day for about a week, then remove it completely. Continue to keep the soil consistently moist but not soggy.
- For water cuttings: Once a good root system has developed (I like to see at least an inch or two of roots), gently pot them up into your well-draining potting mix. Treat them as you would any newly potted plant.
- Troubleshooting: The most common issue you might face is rot. If a cutting turns black and mushy, it’s a sign of too much moisture and not enough airflow, or possibly a fungal issue. Unfortunately, a rotten cutting is usually a goner, so remove it immediately to prevent it from affecting others. If your cuttings seem to be wilting and not rooting, they might be too dry, or they just haven’t developed enough roots yet to support themselves. Patience is key here!
A Gentle Encouragement
Propagating plants is a journey, and with Baccharis punctulata, it’s a really enjoyable one. Don’t be discouraged if your first attempt isn’t a resounding success. Every gardener has had their share of setbacks. Celebrate the small victories – those first little roots are a cause for real joy! So go on, gather your supplies, find your healthy plant, and give it a try. You’ll be rewarded with more of that wonderful Baccharis punctulata beauty, and that’s always a good thing. Happy propagating!
Resource:
https://identify.plantnet.org/k-world-flora/species/Baccharis%20punctulata%20DC./data