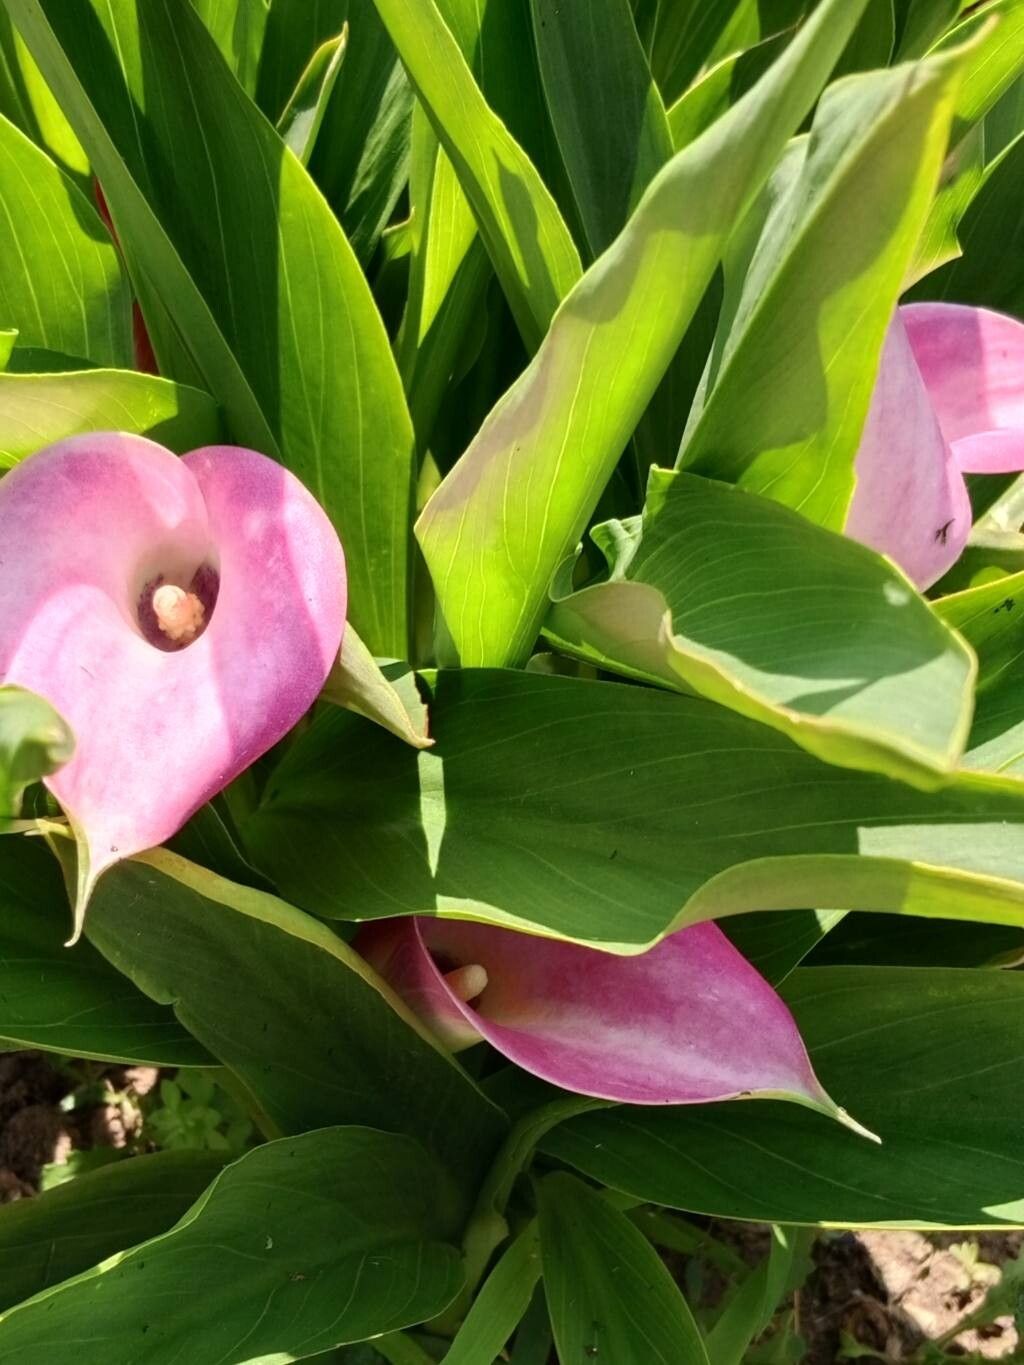
Oh, hello there! So, you’ve fallen for the graceful elegance of Zantedeschia rehmannii, haven’t you? Those trumpet-shaped blooms are just stunning, and coaxing new life from an existing plant is one of the most satisfying gardening joys. I’ve been growing these beauties, and sharing them, for two decades now, and I can tell you, propagating Zantedeschia rehmannii is surprisingly doable, even for those just starting their green-thumb journey. It’s like giving your garden a little extra hug and seeing it blossom into more of itself.
The Best Time to Start
For these beauties, the sweet spot for propagation is generally after flowering has finished, when the plant is starting to enter its natural dormancy, or just as it’s beginning its vigorous new growth phase in spring. Think late spring or early summer. This gives the plant a chance to recover and gather its strength before you ask it to share a bit of that energy.
Supplies You’ll Need
Gathering your supplies before you begin makes the whole process so much smoother. Here’s what I find essential:
- Sharp Pruning Shears or a Clean Knife: For making clean cuts. Sterilize them with rubbing alcohol before you start!
- Well-Draining Potting Mix: A mix designed for bulbs or a blend of equal parts potting soil, perlite, and coarse sand works wonderfully.
- Small Pots or Seedling Trays: Clean pots are a must to prevent disease.
- Rooting Hormone (Optional, but helpful): Especially if you’re going for cuttings. A powder or gel works fine.
- Watering Can with a Fine Rose: To provide gentle moisture.
- Labeling Sticks and a Pen: You’ll thank yourself later for remembering what you planted where!
- A Sunny Spot: Bright, indirect light is ideal.
Propagation Methods
The most common and successful way to propagate Zantedeschia rehmannii is through division. These plants naturally form clumps, and you can gently separate them.
- Gently Excavate: Carefully dig up the entire plant from its pot or the ground. Try to disturb the roots as little as possible. You want to see the main rhizome (it looks like a thick, fleshy root).
- Inspect the Rhizome: Clean off any excess soil so you can clearly see how the rhizome is growing. You’ll often see new shoots or smaller tubers attached to the main one.
- Divide with Care: Using your sharp pruning shears or knife, carefully separate the rhizome into sections. Each section should have at least one healthy “eye” or growing point and a good portion of the root system attached. Don’t be afraid to be firm but deliberate; you need to make a clean break for healthy new growth. If you’re having trouble, give the rhizome a gentle twist.
- Let Them Breathe (Optional but recommended): Some gardeners like to let the divided sections air dry for a few hours, or even overnight, to allow any cut surfaces to callus over. This helps prevent rot.
- Plant Them Up: Fill your clean pots with your prepared potting mix. Make a small hole in the center with your finger and place the divided rhizome section inside, with the growing eye facing upwards. Cover it gently with about an inch of soil.
- Water Lightly: Water the soil gently but thoroughly. You want it moist, not soggy.
The “Secret Sauce” (Pro Tips)
After years of coaxing new life from my plants, I’ve picked up a few tricks that seem to make all the difference:
- First off, don’t overwater those newly divided rhizomes! They’re prone to rot if they sit in soggy soil. Think “just moist” rather than “soggy bottom.” It’s better to err on the side of underwatering when they’re taking root.
- If you’re propagating a particularly precious specimen, consider using bottom heat. A propagation mat placed underneath the pots can provide gentle warmth that encourages root development much faster and more reliably.
- When you’re dividing, look for rhizomes with multiple growth buds. These are the ones most likely to sprout vigorously and give you strong new plants right from the start.
Aftercare & Troubleshooting
Once your rhizomes are planted, place the pots in a spot with bright, indirect light. Keep the soil consistently lightly moist until you see signs of new growth – a tiny shoot emerging from the soil is your cue that roots are forming and the plant is happy!
The most common issue you might encounter is rot. If you notice a rhizome turning mushy or developing a foul smell, it’s likely succumbed to rot. This usually means it’s been too wet. Unfortunately, once rot sets in, it’s hard to save. Make sure your soil is well-draining and adjust your watering schedule. Sometimes, a rhizome just doesn’t have enough stored energy to sprout, and that’s okay too! Don’t get discouraged if a few don’t make it; it’s part of the learning process.
A Encouraging Closing
Taking cuttings or dividing plants is a beautiful dance with nature. Be patient with your Zantedeschia rehmannii. Sometimes they take their sweet time, and that’s perfectly fine. Enjoy the anticipation, the gentle care, and the absolute joy when those first tender shoots break through the soil. Happy propagating!
Resource:
https://identify.plantnet.org/k-world-flora/species/Zantedeschia%20rehmannii%20Engl./data