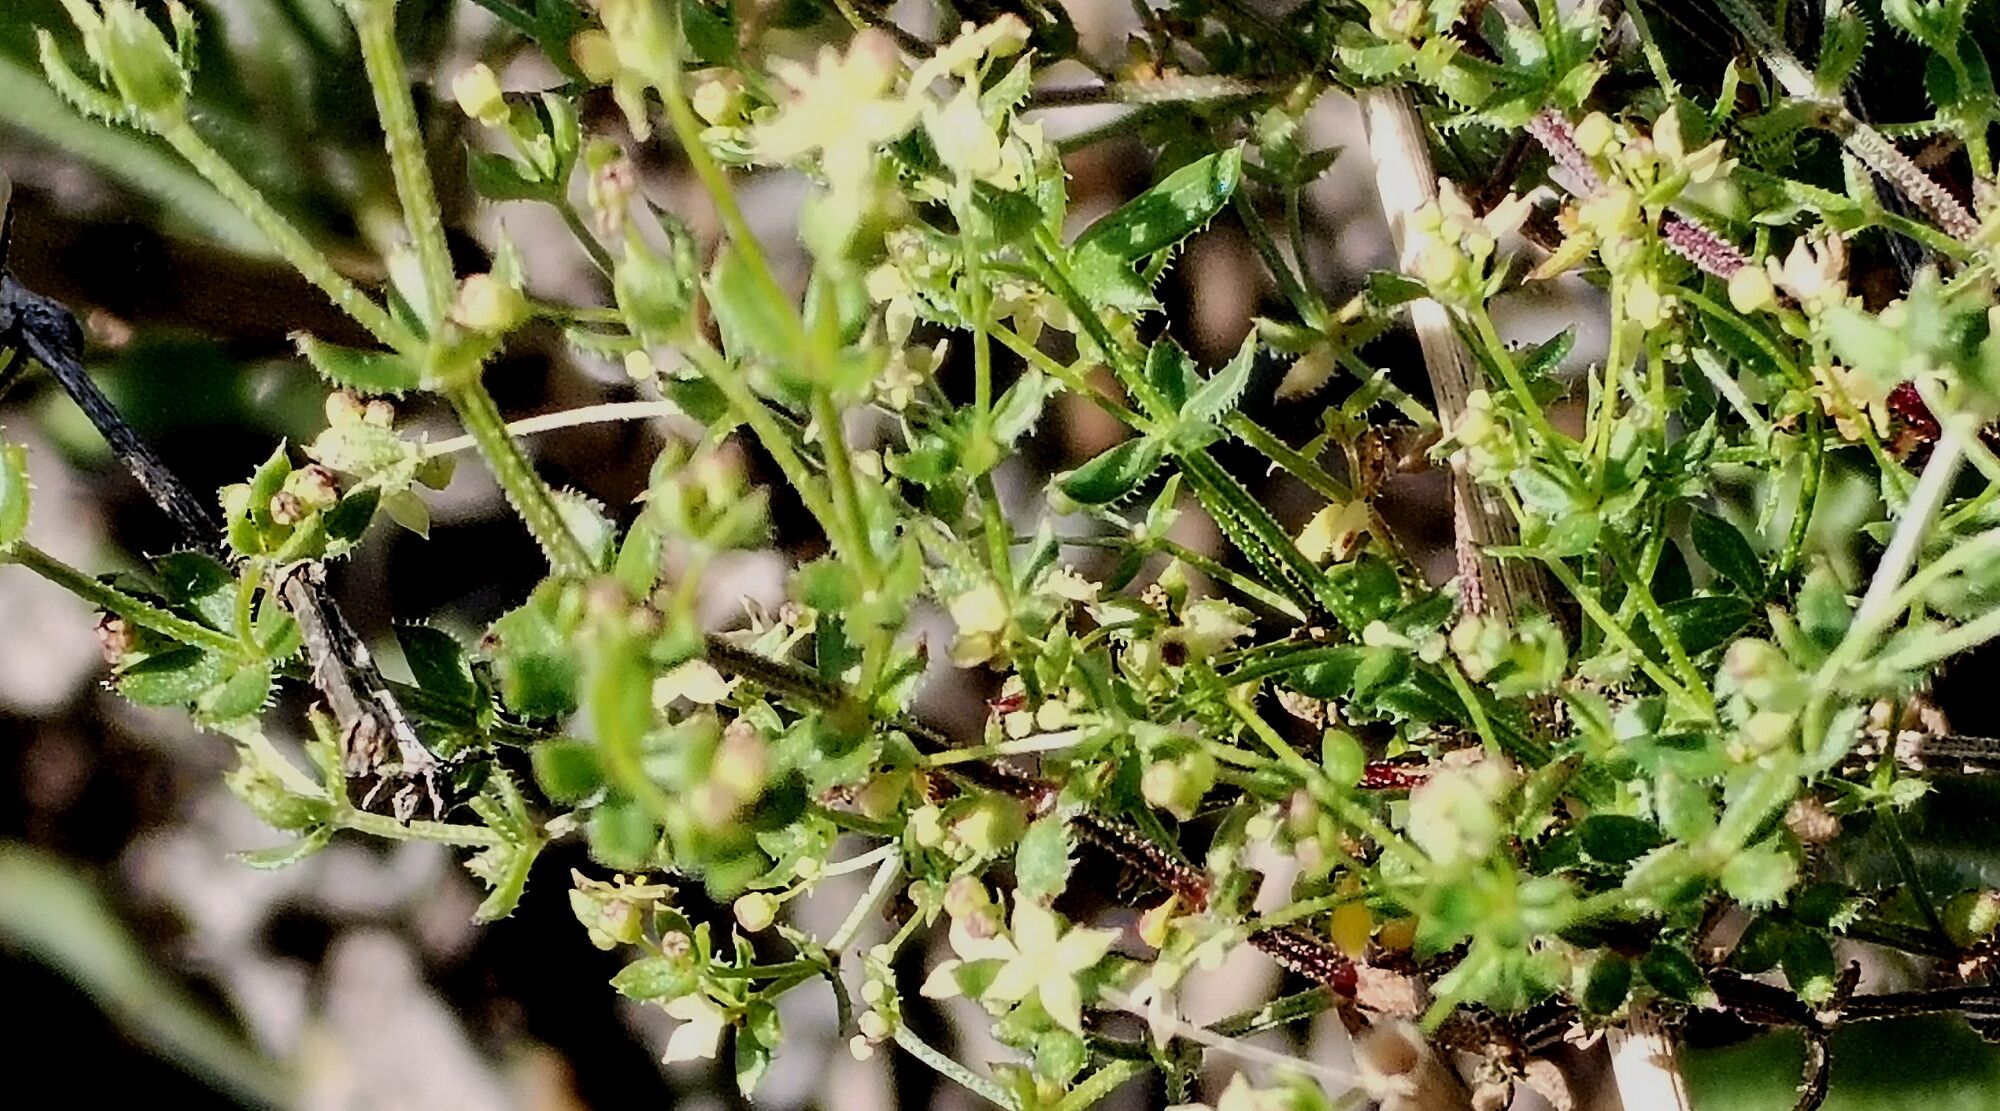
Oh, hello there! Pull up a chair, grab a mug, and let’s talk about one of my favorite little plants: Galium angustifolium. You know, the one with those delightful, dainty whorls of leaves and, if you’re lucky, tiny white flowers that look like delicate stars? It’s such a charming addition to any garden border or even a woodland-style container. And the best part? Propagating it yourself is wonderfully rewarding. You get more of that lovely greenery for free, and it’s a fantastic way to get to know your plants better. Now, as for beginners, I’d say Galium angustifolium is moderately easy. It’s not as tricky as some of the fussier specimens, but it does appreciate a little understanding.
The Best Time to Start
For the highest success rate, I always suggest working with Galium angustifolium in late spring or early summer. This is when the plant is actively growing, putting out plenty of fresh, healthy shoots that are perfect for taking cuttings. You want to aim for stems that are somewhat firm but not woody – think of them as being in that perfect “pencil-lead” stage of development.
Supplies You’ll Need
Gathering your supplies beforehand makes the whole process much smoother. Here’s what I usually have on hand:
- Sharp pruning shears or a clean, sharp knife: For making clean cuts.
- Rooting hormone (optional, but recommended for a boost): A powder or gel you can dip your cuttings into.
- A well-draining potting mix: I like a blend of peat moss, perlite, and a bit of coarse sand. A good quality seed-starting mix works wonders too.
- Small pots or propagation trays: Clean and with drainage holes, of course.
- Plastic bags or a propagation dome: To create a humid environment.
- A watering can with a fine rose attachment: For gentle watering.
- A small shovel or trowel: For filling pots.
Propagation Methods
My go-to method for Galium angustifolium is stem cuttings. It’s straightforward and usually yields great results.
- Take Your Cuttings: Using your clean shears, select a healthy stem and cut a piece about 3-4 inches long. Make a clean cut just below a leaf node (that’s where a leaf attaches to the stem). You can take several cuttings from one plant.
- Prepare the Cuttings: Gently remove the lower leaves, leaving just two or three sets of leaves at the top. If the remaining leaves are quite large, you can even snip them in half to reduce water loss.
- Apply Rooting Hormone (If Using): Dip the cut end of the stem into your rooting hormone, tapping off any excess.
- Plant Your Cuttings: Fill your small pots or trays with your prepared potting mix. Make a small hole with a pencil or your finger, and gently insert the cut end of the stem. Firm the soil lightly around it.
- Water Gently: Water thoroughly but gently. You don’t want to dislodge the cuttings.
The “Secret Sauce” (Pro Tips)
Having gardened for a while, I’ve picked up a few tricks that can really make a difference:
- Bottom Heat is Your Friend: Galium angustifolium absolutely loves a bit of warmth from below. If you have a heat mat designed for propagation, use it! It significantly speeds up root formation. If not, placing your pots in a warm spot, out of direct sun, can still work.
- Don’t Let Leaves Touch the Water (If Water Propagating): While I primarily use soil for Galium angustifolium, some people like to try water propagation. If you do, be absolutely sure that no leaves are submerged. Even a tiny bit of leaf in the water can lead to rot very quickly. You’ll want to change the water frequently.
- The “Wiggle Test” for Readiness: When you think your cuttings might be rooted, give a very gentle wiggle to one of the stems. If you feel resistance, it means roots are forming. Don’t yank! If there’s no resistance, give them more time.
Aftercare & Troubleshooting
Once your cuttings are potted, the care is all about creating a good environment to encourage rooting.
- Create Humidity: Cover your pots or trays with a clear plastic bag or a propagation dome. This traps moisture and keeps the humidity high, which is crucial for cuttings to root without drying out. Make sure the leaves aren’t touching the plastic.
- Provide Bright, Indirect Light: Place your cuttings in a bright spot, but avoid direct sunlight. Too much sun will scorch the leaves and dry out your cuttings.
- Water Sparingly: Check the soil moisture regularly. Water only when the top inch of soil feels dry. Overwatering is the quickest way to cause problems.
- Signs of Success: You’ll start to see new leaf growth appearing. This is the best indicator that roots are developing. Keep your cuttings covered until you see this new growth.
- Common Issues – Rot: The most common problem is rot, usually caused by overwatering and poor drainage. If you see stems turning mushy or developing black spots, it’s a sign of rot. Sadly, rotten cuttings are usually a goner. That’s why good drainage and not overwatering are so important!
And there you have it! Propagating Galium angustifolium is a delightful journey. Be patient with your little cuttings. Sometimes they take a bit longer than you expect, but that’s all part of the gardening charm. Enjoy the process, and soon you’ll have a whole host of these lovely plants to share or to fill your own garden with. Happy growing!
Resource:
https://identify.plantnet.org/k-world-flora/species/Galium%20angustifolium%20Nutt./data