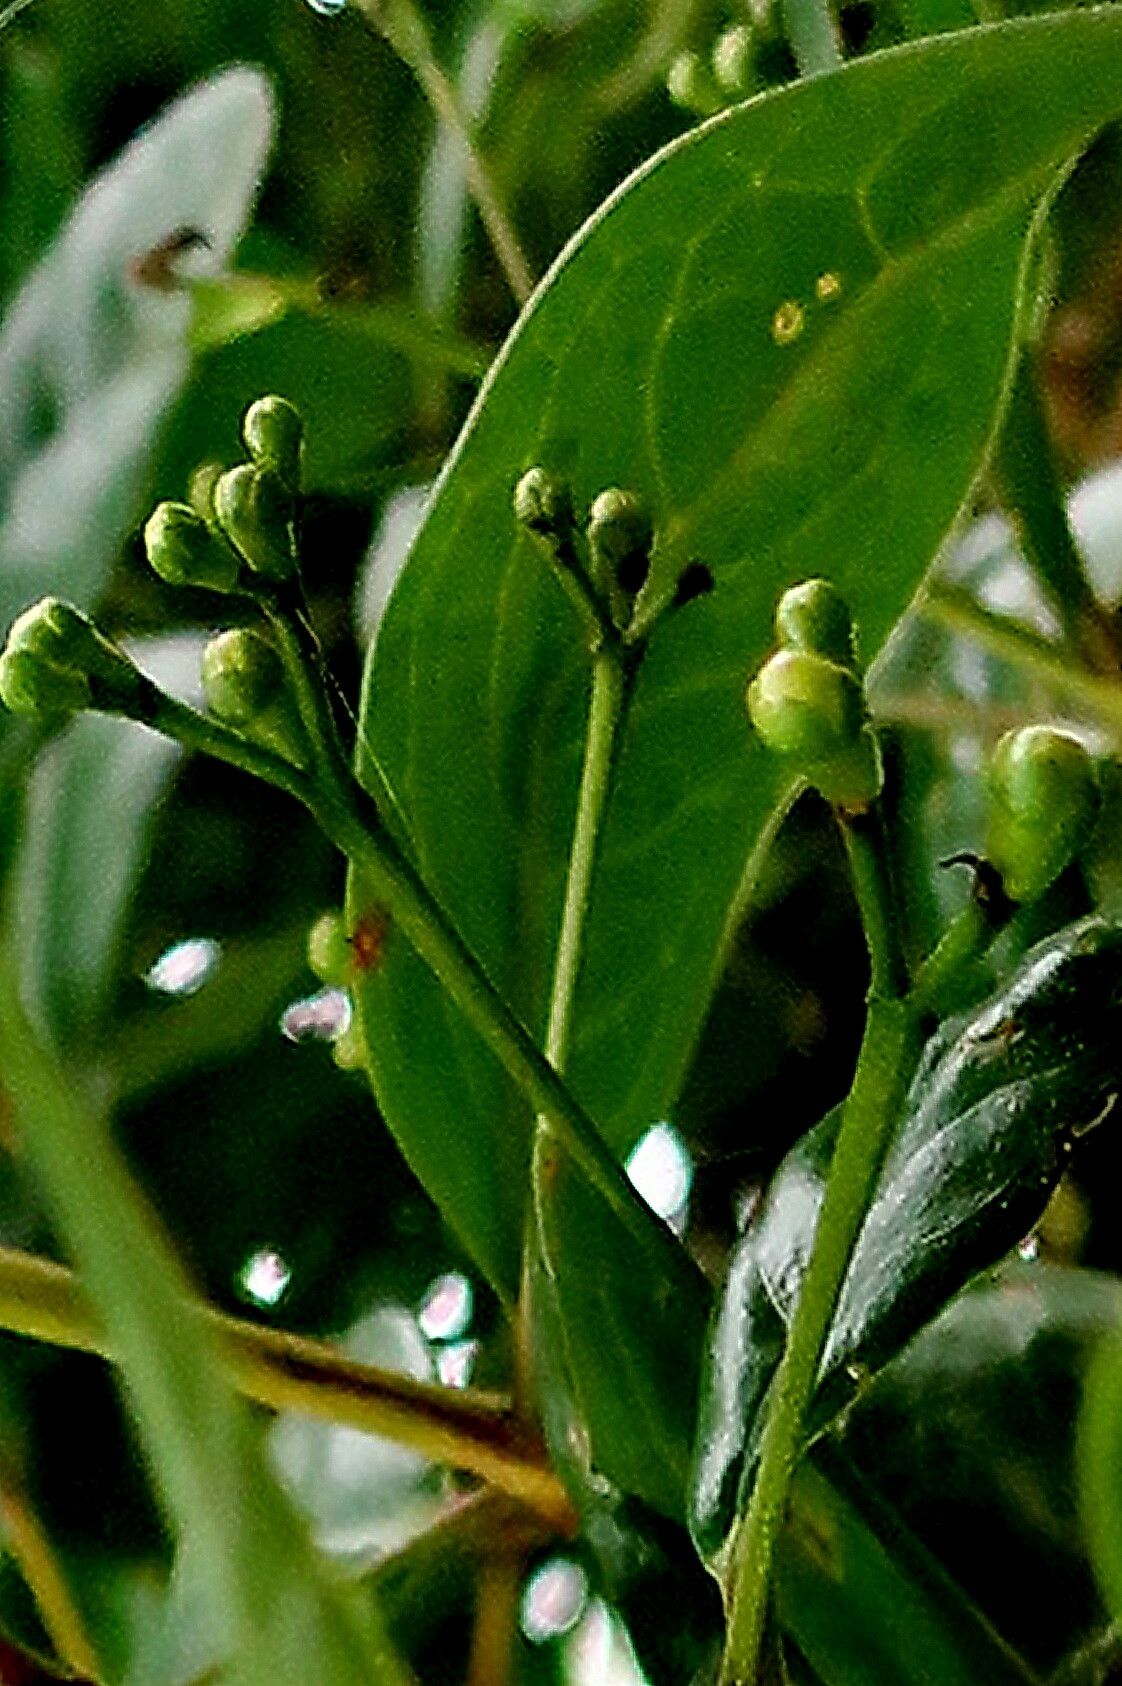
Oh, hello there, fellow plant enthusiast! It’s so lovely to have you join me. Today, we’re going to dive into something truly special: propagating Myrcianthes rhopaloides, affectionately known as the Eugenia or Yavilla. If you’ve ever admired its glossy, dark green leaves and the promise of tiny, charming fruits, you’re in for a treat. Growing these beauties from scratch is incredibly rewarding. Think of it: a whole new plant, born from your own hands! Don’t be intimidated; while it requires a little care, propagating Myrcianthes rhopaloides is achievable even for those planting their first seeds.
The Best Time to Start
Myrtle, as I like to call it, enjoys a good bit of warmth and active growth. For the highest success rate, I always recommend starting your propagation efforts in late spring or early summer. This is when the plant is buzzing with energy, making it more receptive to new beginnings. You’ll want to use stems that are semi-hardwood, meaning they’re not brand new and flimsy, but not old and woody either. Think of a stem that’s just starting to firm up – that’s the sweet spot.
Supplies You’ll Need
Let’s gather our tools. A well-prepared station makes all the difference:
- Sharp Pruning Shears or a Craft Knife: Clean cuts are crucial for healthy healing and rooting.
- Rooting Hormone (Optional but Recommended): This really gives your cuttings a boost. Look for one formulated for woody cuttings.
- A Well-Draining Potting Mix: I personally love a blend of equal parts peat moss, perlite, and coarse sand. This ensures good aeration and prevents waterlogging.
- Small Pots or Seed Trays: Clean, sterile containers are a must.
- Plastic Bags or a Propagation Dome: To create a humid environment.
- Watering Can with a Fine Rose: Gentle watering is key.
- Labels: To remember what you’ve planted and when!
Propagation Methods
Myrcianthes rhopaloides is best propagated using stem cuttings. It’s straightforward and effective.
- Take Your Cuttings: In your chosen window (late spring/early summer!), select healthy stems from your mature plant. Using your clean shears, take cuttings that are about 4-6 inches long. Make the cut just below a leaf node – that little bump where a leaf meets the stem. This is where most of the magic happens for root development.
- Prepare the Cuttings: Gently remove the lower leaves from your cuttings, leaving just 2-3 leaves at the very top. This reduces water loss and prevents leaves from rotting in the soil. If your leaves are quite large, you can even cut them in half horizontally to further minimize transpiration.
- Apply Rooting Hormone (if using): Dip the cut end of each cutting into your rooting hormone powder or gel. Tap off any excess.
- Plant Your Cuttings: Fill your clean pots with your prepared potting mix. Make a small hole in the center with your finger or a pencil. Gently insert the cut end of the stem cutting into the hole, making sure the base of the cutting is nestled firmly in the soil.
- Water Gently: Water the soil thoroughly but gently, so it’s moist but not soggy.
The “Secret Sauce”
Now, for a couple of tricks that have saved many a cutting for me:
- The Bottom Heat Trick: This is a game-changer, especially if your home is a bit on the cooler side. Placing your pots on a heating mat designed for plant propagation provides consistent, gentle warmth to the base of the cuttings. This encourages root formation much faster than relying solely on ambient room temperature.
- Humidity is King (within reason): Once you’ve potted your cuttings, create a mini greenhouse effect by placing a clear plastic bag over each pot or covering the tray with a propagation dome. You want to keep the humidity high, but it’s crucial to ventilate every few days by lifting the bag or opening the dome for a short while. This prevents fungal issues.
Aftercare & Troubleshooting
Once your cuttings are planted, place them in a bright spot that receives indirect sunlight. Direct sun can scorch those tender new leaves! Keep the soil consistently moist but never waterlogged.
You’ll know your cuttings are rooting when you see new leaf growth emerge, or if you gently tug on a cutting and feel resistance. This can take anywhere from 4 to 8 weeks, sometimes longer.
The most common culprit for failure is rot. If you notice your cuttings turning black and mushy, or if you see mold on the soil surface, it’s a sign of too much moisture and not enough air circulation. This is where that occasional ventilation becomes so important!
A Encouraging Closing
And there you have it! Propagating Myrcianthes rhopaloides is a journey of patience and observation. Don’t get discouraged if a few cuttings don’t make it – that’s part of the learning process for every gardener. Celebrate each success, and enjoy the wonder of coaxing new life from your existing plants. Happy propagating!
Resource: