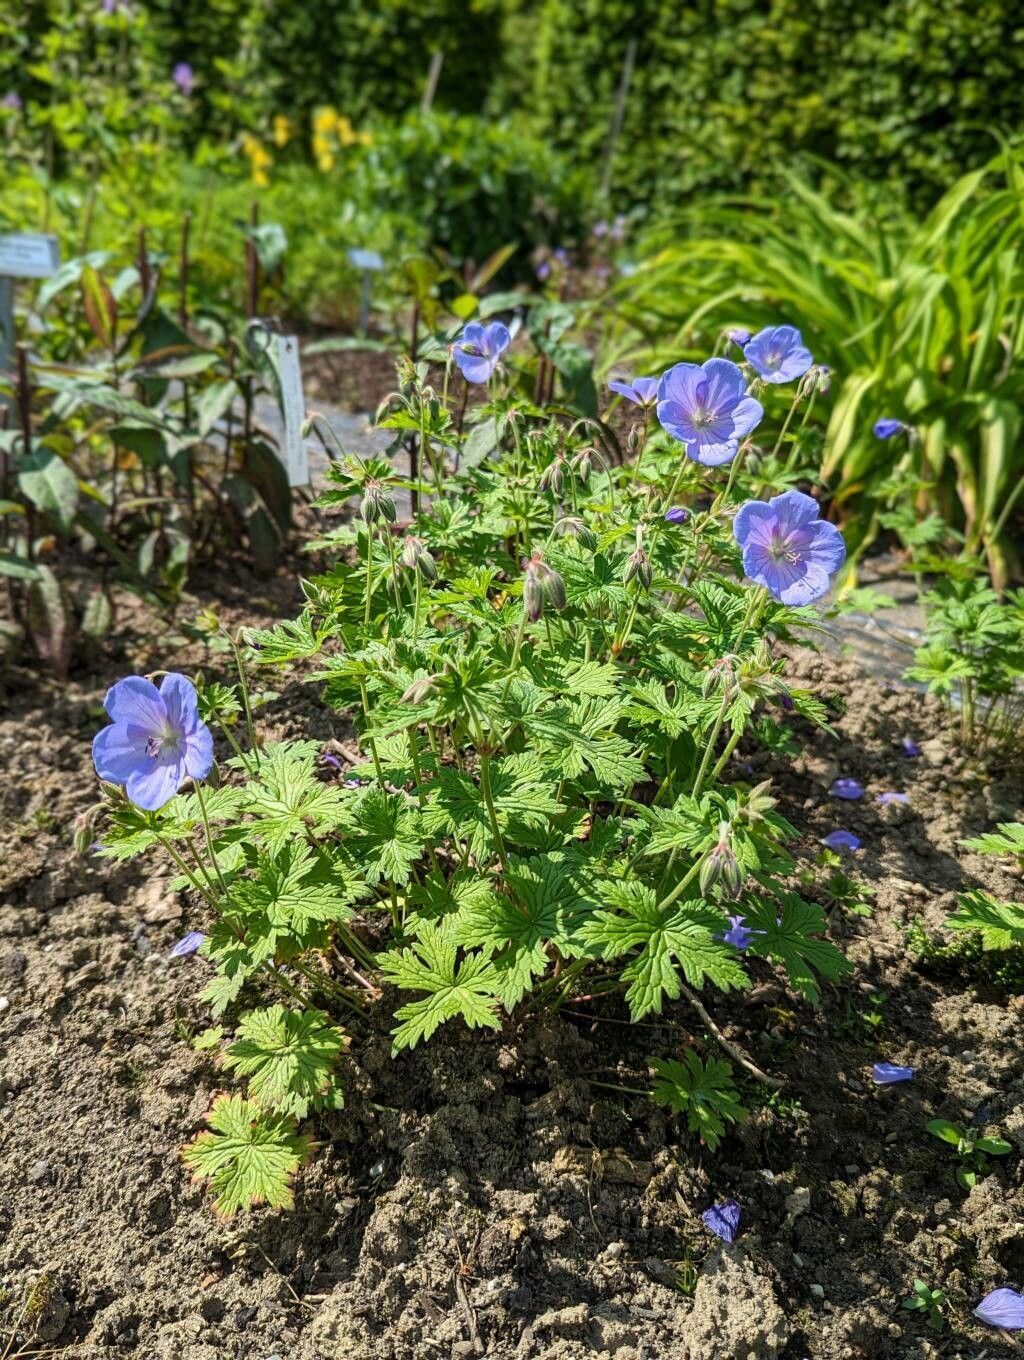
Oh, hello there! Pull up a chair and let’s chat about something really lovely for the garden: Geranium himalayense. You know, the one with those vibrant, often deeply veined magenta or violet flowers, usually blooming generously through summer? They’re just such cheerful performers, aren’t they? And the best part? Propagating Geranium himalayense is a wonderfully rewarding endeavor. It’s a plant that’s quite forgiving, making it a great choice, even if you’re just starting your propagation journey. It brings me so much joy to see a little piece of my garden come to life and multiply, and I’m sure you’ll feel the same.
When’s the Magic Moment to Start?
Generally, the best time to propagate Geranium himalayense is when the plant is actively growing but before it really gets into its peak flowering stride. Think late spring or early summer. This is when the plant has plenty of energy to put into establishing new roots. You’re looking for healthy, non-woody stems. If you’ve just had a good flush of growth after a trim, that’s often a prime time to grab some cuttings.
Your Propagation Toolkit
You don’t need a fancy greenhouse for this, just a few trusty things:
- Sharp Pruning Shears or a Craft Knife: Cleanliness is key! Make sure your cutting tool is sterilized to prevent disease. A quick wipe with rubbing alcohol does the trick.
- Rooting Hormone (Optional but Recommended): This gives your cuttings a helpful boost. Look for a powder or gel specifically for herbaceous cuttings.
- Small Pots or Trays: Clean pots with drainage holes are essential. Yogurt cups with holes poked in the bottom will work in a pinch!
- A Good Potting Mix: A light, well-draining mix is crucial. I like to use a blend of equal parts peat moss (or coco coir for a more sustainable option) and perlite. Sometimes I add a little compost for extra goodness.
- Watering Can with a Fine Rose: Gentle watering is important, especially for delicate cuttings.
- Plastic Bags or a Clear Lid: To create a humid environment for your cuttings.
- Labels: Trust me, you’ll thank yourself later!
Getting Your Geraniums to Multiply
I find that stem cuttings are usually the most straightforward and successful method for Geranium himalayense. It’s my go-to, and I bet it will be yours too.
- Taking the Cuttings: Head out to your healthy Geranium himalayense plant. Look for a sturdy side shoot that’s about 3-4 inches long. Using your clean shears, make a clean cut just below a leaf node (that little bump where a leaf attaches to the stem). Try to choose stems that are green and flexible, not woody and brittle.
- Preparing the Cuttings: Once you have your cuttings, carefully remove the lower leaves. You want to leave only the top one or two sets of leaves to reduce water loss. If any leaves are very large, you can even cut them in half horizontally. This prevents them from wilting too quickly.
- Applying Rooting Hormone (if using): Dip the cut end of each stem into your rooting hormone, tapping off any excess.
- Planting the Cuttings: Fill your clean pots or trays with your prepared potting mix. Make a small hole with your finger or a pencil. Gently insert the prepared cutting into the hole, ensuring the roots and the bottom leaf node are covered by the soil. You want the stem to be snug.
- Watering and Covering: Water gently after planting to settle the soil around the cuttings. Then, place the pots inside a plastic bag or cover them with a clear lid. This creates a mini-greenhouse effect, keeping moisture levels high around the leaves, which is vital for rooting. Make sure the leaves don’t touch the sides of the bag too much if possible.
My Little “Secret Sauce” for Success
There are a few things I’ve learned over the years that really make a difference.
- Bottom Heat is Your Friend: If you have a seedling heat mat, now’s the time to use it! Placing your pots on a gentle heat source can dramatically speed up root development. It’s like giving them a cozy, warm bed to sprout in.
- Don’t Be Afraid to Experiment with Timing: While spring/early summer is ideal, I’ve had success with cuttings taken in early autumn before temperatures drop too much. Just watch the weather and try to get them indoors before frost.
- Observe, Observe, Observe: I always have my propagation pots in a visible spot where I can check on them daily. You’ll get a feel for what they need.
Nurturing Your New Sprouts and What to Watch For
Once your cuttings have roots (you might see them peeking out the drainage holes, or gently tugging on a leaf might reveal resistance), it’s time for a little extra care.
- Gradual Acclimatization: Before removing the plastic bag or lid permanently, gradually introduce your cuttings to drier air over a few days. Open the bag a little more each day.
- Watering: Water when the top inch of soil feels dry to the touch. Avoid letting them sit in soggy soil, as this is a fast track to rot.
- Light: Place your newly rooted plants in a bright spot, but out of direct, scorching sunlight for now. They’re still a bit delicate.
Now, if things don’t quite go to plan, don’t get discouraged! The most common issue is rot. If your cuttings turn black and mushy, it’s usually a sign of too much moisture and not enough air circulation. If they just seem to shrivel up and die, they might have been too dry, or perhaps they weren’t quite ready. It happens to the best of us! Learning is part of the fun.
So, there you have it! Propagating Geranium himalayense is a beautiful way to expand your garden and share these lovely blooms. Be patient, keep your tools clean, and enjoy the magic of watching new life emerge from a simple cutting. Happy gardening!
Resource:
https://identify.plantnet.org/k-world-flora/species/Geranium%20himalayense%20Klotzsch/data