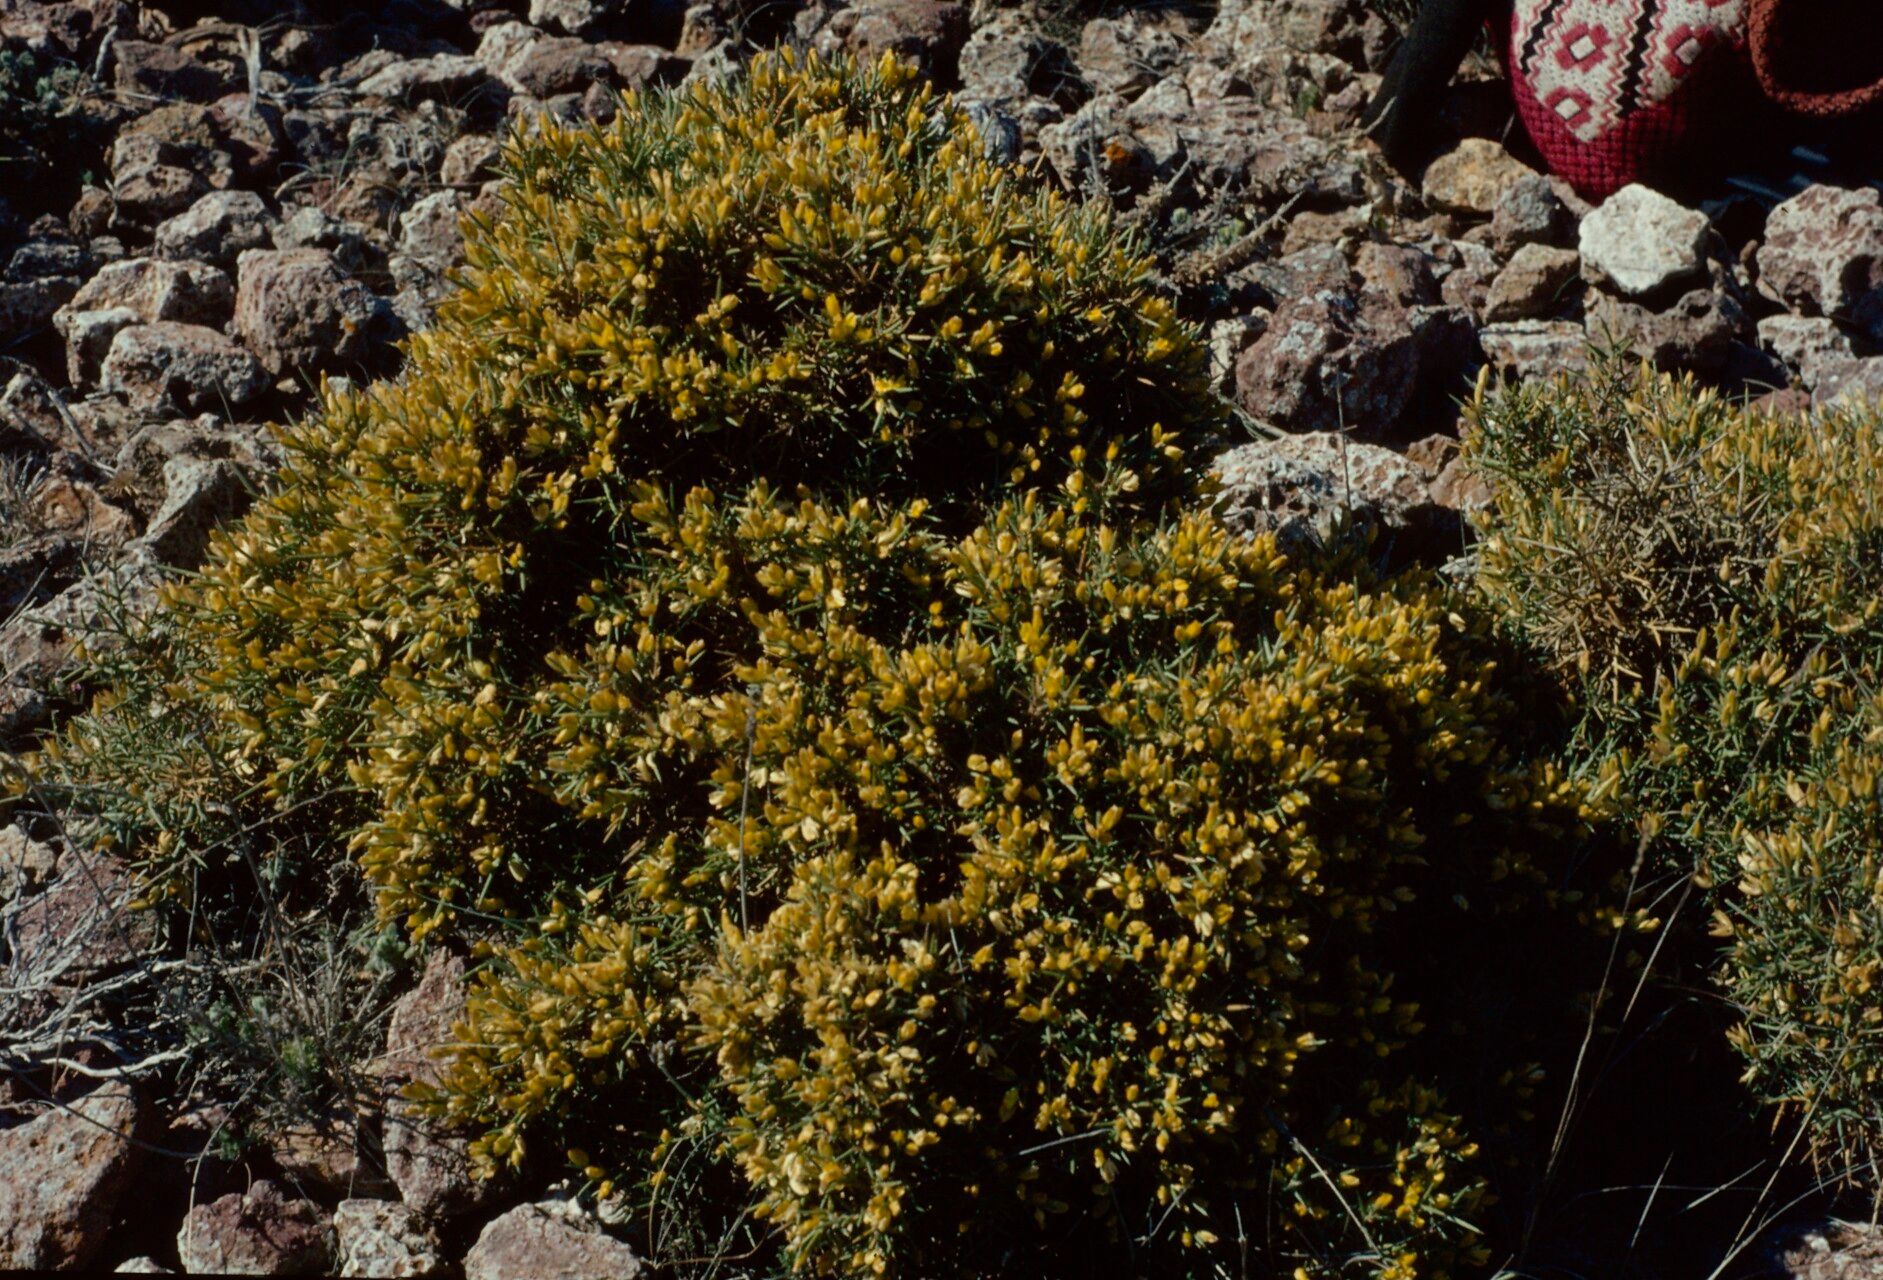
Oh, how I love talking about Ulex erinaceus, or as some affectionately call it, the Sierra Gorse! If you’ve ever seen this prickly beauty gracing a sunny hillside with its vibrant yellow blooms, you know exactly why it captures our hearts. It’s such a resilient, cheerful plant, perfect for those who love a bit of wild charm in their gardens. And the best part? Bringing more of that sunshine into your own space by propagating it is incredibly rewarding. Now, if you’re new to the gardening world, you might be wondering if it’s a tricky one. I’d say for a beginner, it’s moderately easy. A little patience and these steps will see you through!
The Best Time to Start
Timing is everything in gardening, isn’t it? For Ulex erinaceus, the sweet spot for taking cuttings is usually late spring to early summer. This is when the plant is actively growing, and you’re more likely to get those fresh, semi-hardwood stems that root with gusto. You want stems that have started to firm up a bit but aren’t completely woody. Think of it as that perfect stage of new growth – not too soft, not too tough.
Supplies You’ll Need
Gathering your tools before you begin makes the whole process much smoother. Here’s what I always have on hand:
- Sharp pruning shears or a clean knife: For making those crucial, clean cuts.
- Rooting hormone: This is a lifesaver, especially for woody plants. A powder or gel will do.
- A well-draining potting mix: I usually combine equal parts perlite and peat moss, or you can buy a good quality seedling or cactus mix.
- Small pots or a propagation tray: Make sure they have drainage holes!
- Plastic bags or a propagator lid: To create that humid microclimate.
- Mister bottle: For keeping things just right.
- Labels and a permanent marker: Essential for keeping track of your projects.
Propagation Methods
For Ulex erinaceus, stem cuttings are my go-to method. It’s generally the most successful and straightforward approach for this plant.
- Select and Cut: Find a healthy, non-flowering stem on your Ulex erinaceus. Using your sharp shears or knife, take a cutting that’s about 4-6 inches long. Make a clean cut just below a leaf node (that little bump where leaves emerge).
- Prepare the Cutting: Gently remove the leaves from the bottom half of the cutting. If the remaining leaves are large, you can trim them in half to reduce water loss.
- Apply Rooting Hormone: Dip the cut end of the stem into your rooting hormone, ensuring it’s coated all the way around. Tap off any excess.
- Plant Your Cuttings: Fill your small pots or propagation tray with your well-draining potting mix. Make a pilot hole with a pencil or similar tool, then insert the cutting’s hormone-coated end. Gently firm the soil around the stem. You should aim to have at least one or two leaf nodes buried beneath the soil surface.
- Water Gently: Water the soil thoroughly but gently. You don’t want to disturb the cuttings.
The “Secret Sauce” (Pro Tips)
Now, here are a few little tricks I’ve picked up over the years that really give your cuttings an edge:
- Don’t Rush the “Woodiness”: For Ulex, you want those semi-hardwood cuttings. If they’re too soft and green, they’ll likely rot. Too old and woody, and they might struggle to root. That late spring/early summer window is key for this perfect state.
- Bottom Heat is Your Friend: If you can, place your pots on a heat mat. This provides a gentle warmth to the soil, encouraging root development from below. It makes a surprising difference, especially when the air temperature isn’t consistently warm.
- Humidity Control is Crucial: After planting, pop a plastic bag over the pot or close the lid of your propagator. This creates a high-humidity environment, which is vital for cuttings that haven’t developed roots yet to absorb water. However, make sure to open it for a few minutes each day to allow for air circulation and prevent fungal issues.
Aftercare & Troubleshooting
Once your cuttings are in their new homes, keep them in a bright spot, but out of direct, harsh sunlight. Keep the soil consistently moist but not waterlogged. I find misting the leaves occasionally can also be beneficial. You’ll know your cuttings are rooting when you see new growth appearing and they resist a gentle tug. This can take anywhere from 4 to 8 weeks, sometimes longer.
The most common issue you might encounter is rot. If you see your cuttings turning mushy or black at the soil line, it’s usually a sign of too much moisture and poor air circulation. In this case, it’s sadly best to remove them and start again, perhaps with slightly drier soil and better ventilation.
A Little Patience Goes a Long Way
Growing new plants is always a journey, and Ulex erinaceus is no different. Be patient with your cuttings, give them the right conditions, and celebrate every little sign of progress. There’s nothing quite like watching a tiny cutting grow into a beautiful, blooming shrub. Happy propagating!
Resource:
https://identify.plantnet.org/k-world-flora/species/Ulex%20erinaceus%20Welw.%20ex%20Webb/data