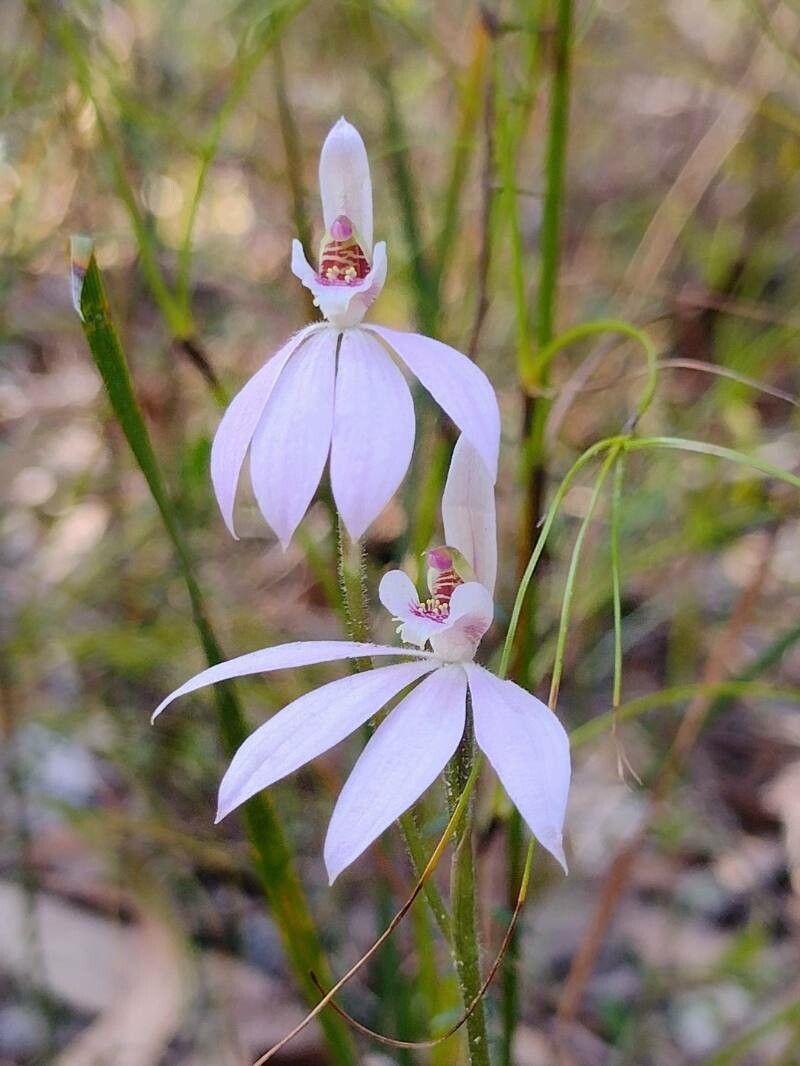
Oh, hello there! Pull up a chair and let’s chat about one of my absolute favorite little treasures: the Caladenia carnea, or Pink Fingers as it’s sometimes affectionately called. If you’ve ever admired its delicate pink blooms, like tiny painted Lady’s Slippers emerging from the earth, you’re not alone. Propagating these beauties can feel a little like coaxing shy sprites into your garden, but oh, the reward when you succeed! It’s not the easiest plant for a complete beginner, I’ll admit, but with a little patience and these tips, you’ll be well on your way.
When to Get Your Hands Dirty
The absolute best time to tackle Caladenia carnea propagation is when the plant is just finishing its blooming cycle and starting to go dormant. This usually happens in late spring or early summer. You’ll notice the leaves starting to yellow and die back. This is your cue. They are storing up energy for their next big push, and that makes them more receptive to new beginnings. Starting too early, while they’re actively growing, can stress them, and we don’t want that.
What You’ll Need to Get Started
Don’t worry, you likely have most of these things lurking in your shed or potting bench already!
- Small, sharp pruning shears or a clean knife: For making precise cuts. Sterilize them with rubbing alcohol!
- Seed-raising mix or a very well-draining potting mix: Think gritty. A 50/50 mix of perlite and peat moss works wonderfully.
- Small pots or propagation trays: Nothing too big.
- Plastic bags or a small propagation dome: To create a humid environment.
- A misting bottle: For gentle watering.
- Rooting hormone (optional, but helpful): The powdered kind works well.
- A gentle hand and a good dose of optimism!
Let’s Get Propagating: The Art of Division
For Caladenia carnea, division is your go-to method. You’re essentially separating the little offshoots or tubers that form at the base of the parent plant.
- Gently Unearth: Carefully dig up the parent plant. I like to use my fingers or a small trowel and work from the edge of the pot, easing the entire root ball out. Break away as much of the old soil as you can without damaging the delicate roots.
- Inspect and Locate: Look closely at the base of the main plant. You’ll often see small offsets or tubers attached. These are your baby Caladenias waiting to happen.
- The Clean Cut: Using your sterilized shears or knife, carefully separate any healthy-looking offsets. Make sure each division has at least one small tuber or root system attached. Don’t be afraid to make a clean cut; messy tears can lead to disease.
- Potting Up: Fill your small pots with your well-draining mix. Make a small hole in the center with your finger.
- Planting the New Arrivals: Place each division into its hole, gently firming the mix around it. The top of the tuber should be just at or slightly below the soil surface.
- A Gentle Drink: Water very lightly. You want the soil to be moist, not soggy. Overwatering is the quickest way to invite trouble.
- Create a Mini Greenhouse: Place the pots into a plastic bag, sealing it loosely, or put them under a propagation dome. This keeps the humidity high, which these little guys love.
My “Secret Sauce” for Caladenia Success
Here are a few things I’ve learned over the years that make a real difference:
- Don’t Force It: If an offset is stubbornly attached, don’t wrench it away. It might not be ready yet, or it might be too fragile. It’s better to wait and try again later. A clean break is key.
- Bottom Heat is Your Friend: Caladenias, like many orchids, appreciate a little warmth from below to encourage root development. If you have a heat mat used for seed starting, pop your propagation pots on it for a few hours a day. Just make sure the soil doesn’t dry out.
- Patience, My Dear! This is probably the most important tip of all. These aren’t instant gratification plants. It can take weeks, sometimes months, for them to show signs of new growth. Resist the urge to keep digging them up to “check.”
Aftercare and What to Watch For
Once you see the first hint of a new shoot emerging from the soil – hooray! This is your signal that roots are forming.
- Acclimatize Slowly: Once new growth is evident, gradually start airing out your propagation setup. Open the bag a little more each day, or lift the dome for longer periods.
- Watering: Continue to water sparingly. Let the surface of the soil dry slightly between waterings. The goal is consistently damp, never wet.
- Light: Place your new babies in a bright spot, but out of direct, harsh sunlight. Dappled light is perfect.
- Troubleshooting: The Dreaded Rot: The biggest enemy is rot, which often happens from too much moisture. If you see your precious division looking mushy or darkening at the base, it’s likely rot. There’s usually no coming back from severe rot, so prevention is key. Ensure excellent drainage and don’t overwater!
Go Forth and Propagate!
Propagating Caladenia carnea is a journey, not a race. It’s a chance to connect with these enchanting plants on a deeper level and to expand your collection using your own nurturing skills. So, take a deep breath, gather your supplies, and give it a go. Enjoy the process, learn from each attempt, and before you know it, you’ll have more of these exquisite Pink Fingers gracing your garden! Happy gardening!
Resource:
https://identify.plantnet.org/k-world-flora/species/Caladenia%20carnea%20R.Br./data