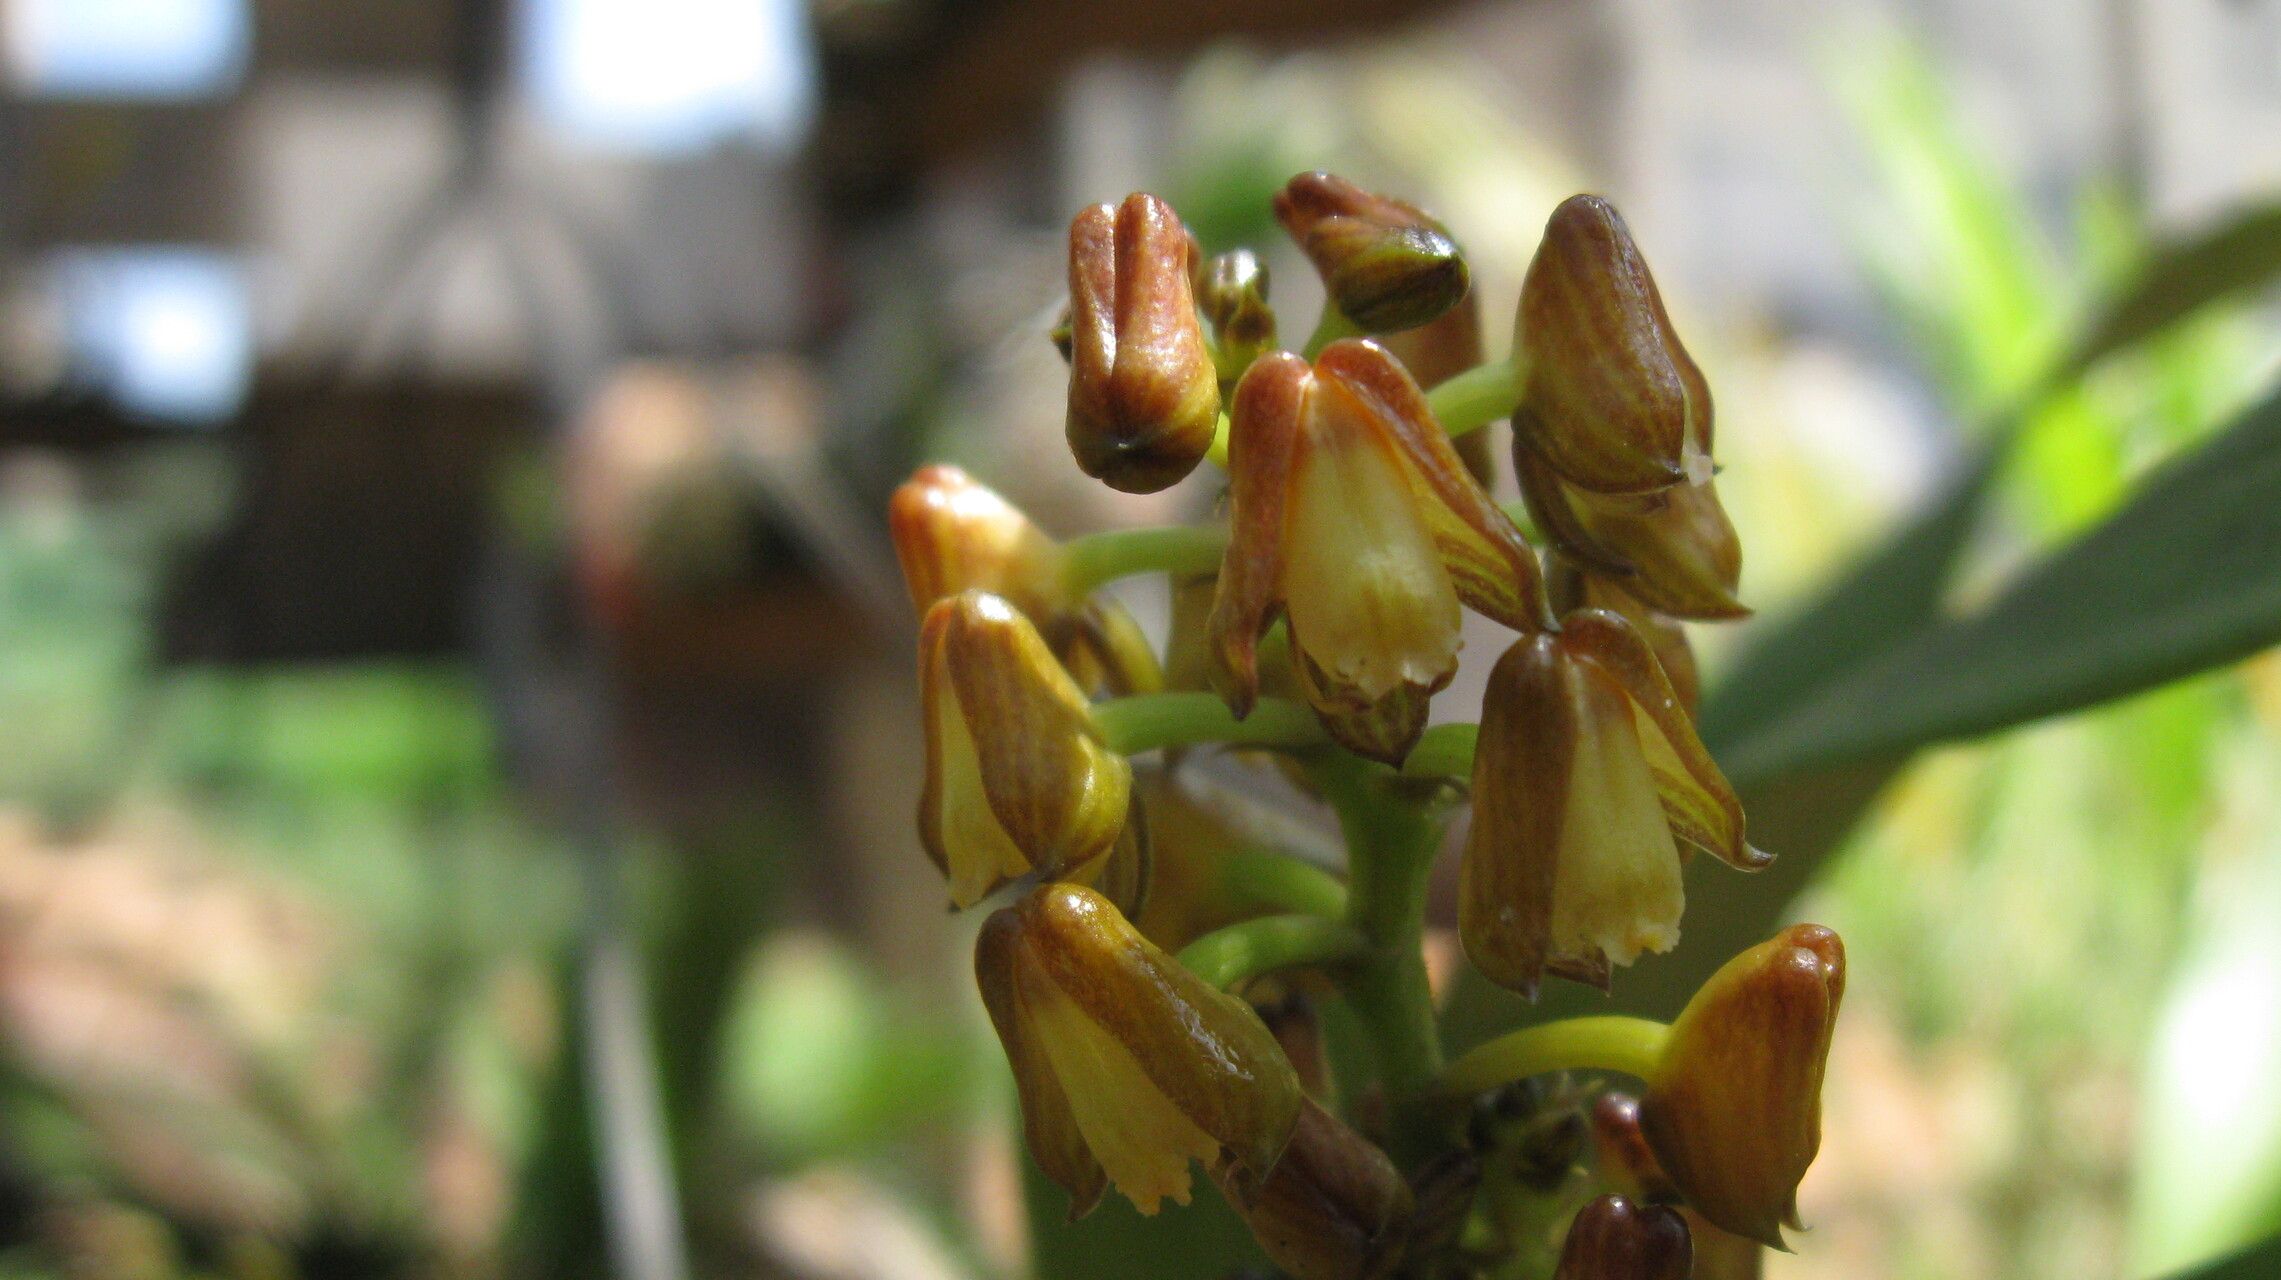
Hello fellow plant lovers! Today, we’re diving into the wonderful world of propagating Polystachya mukandaensis. If you’ve ever admired the delicate beauty of this orchid, with its charming, often sweetly scented blooms, you’re in for a treat. Growing new plants from existing ones is one of the most satisfying parts of gardening, and P. mukandaensis is a lovely candidate to practice your skills on. While orchids can sometimes feel a bit intimidating, this particular species is surprisingly attainable for those looking to expand their collection.
The Best Time to Start
The absolute sweet spot for propagating Polystachya mukandaensis is during its active growing season. For most of us, this means heading into spring and summer. You’ll notice the plant is putting out new shoots or roots. This is when it has the most energy to dedicate to developing new life. Trying to propagate when the plant is dormant or stressed isn’t ideal and can lead to disappointment.
Supplies You’ll Need
Gathering your tools beforehand makes the process so much smoother. Here’s what I recommend having on hand:
- Sterilized pruning shears or a sharp knife: Clean tools are crucial to prevent disease.
- Sphagnum moss: The long-fibered kind is excellent for retaining moisture.
- Perlite or orchid bark: For aeration and drainage in your potting mix.
- Small pots or seedling trays: Whatever suits the size of your cuttings.
- Rooting hormone (optional but helpful): Particularly if you’re taking stem cuttings.
- Clear plastic bag or propagation dome: To create a humid environment.
- Water: Preferably distilled or rainwater for orchids.
- A good orchid potting mix: A specialized blend is best for a reason!
Propagation Methods
Polystachya mukandaensis is a forgiving orchid, and we can usually get good results using a couple of common methods.
Division
This is often the easiest way if your plant has grown into a larger clump.
- Gently remove your orchid from its pot. You might need to loosen the edges with a knife if it’s tightly rooted.
- Inspect the root ball. Look for natural divisions where pseudobulbs (the swollen stem-like parts) have grown together, each with its own set of healthy roots.
- Carefully separate these divisions. You can use your fingers, or if the roots are very tangled, use your sterilized shears to cut through them. Ensure each division has at least two or three pseudobulbs and a good portion of healthy roots.
- Pot up each division into its own pot with fresh orchid mix. Don’t bury the pseudobulbs too deeply.
- Water lightly and place in a spot with good humidity.
Stem Cuttings (Keiki Method)
Sometimes, orchids produce “keikis” – baby plantlets that grow on the stem. If yours does, this is your chance!
- Locate a mature keiki. It should have at least a few leaves and ideally some tiny roots starting to form.
- Carefully cut the stem below the keiki, making sure to include a small section of the ‘mother’ stem.
- If roots are minimal, you can dip the base of the keiki into rooting hormone.
- Pot the keiki in high-quality orchid mix, making sure the base is firm but not buried.
- Mist regularly and cover with a clear plastic bag or dome to maintain high humidity.
The “Secret Sauce” (Pro Tips)
Here are a few little tricks that have always helped me with my orchids:
- Don’t drown your hopes: When misting or watering newly potted divisions or keikis, be gentle. You want them to be moist, not waterlogged. Excess water can lead to rot, which is the nemesis of any new plant.
- Embrace the warmth: Polystachya mukandaensis loves warmth, just like many orchids. If propagation feels slow, placing your pots on a heating mat set to a gentle temperature (around 70-75°F or 21-24°C) can really speed up root development.
- Patience is a virtue (truly!): Orchids operate on their own schedule. Don’t panic if you don’t see new growth immediately. Keep them in the right conditions, and they will tell you when they’re ready.
Aftercare & Troubleshooting
Once your new division or keiki starts to show signs of settling in – perhaps a new leaf unfurling or visible root growth – you can gradually decrease the humidity. Don’t abruptly expose them to dry air. Continue to water when the potting mix feels almost dry, and feed them with a diluted orchid fertilizer every few weeks during the growing season.
The biggest thing to watch for is rot. If you see a cutting turning mushy and black, it’s usually a sign of too much moisture and not enough air circulation. If you catch it early, you might be able to cut away the rotten part and let the healthy section try to recover, but often it’s a loss. Yellowing leaves can also indicate stress or improper watering.
A Encouraging Closing
Propagating Polystachya mukandaensis is a journey, and like all good journeys, it’s best enjoyed one step at a time. Don’t be discouraged if your first attempt isn’t perfect. Each plant you nurture is a testament to your growing skill and your connection with the natural world. Be patient, observe your plants closely, and soon you’ll have a beautiful collection of your own Polystachya mukandaensis to share! Happy propagating!
Resource:
https://identify.plantnet.org/k-world-flora/species/Polystachya%20mukandaensis%20De%20Wild./data