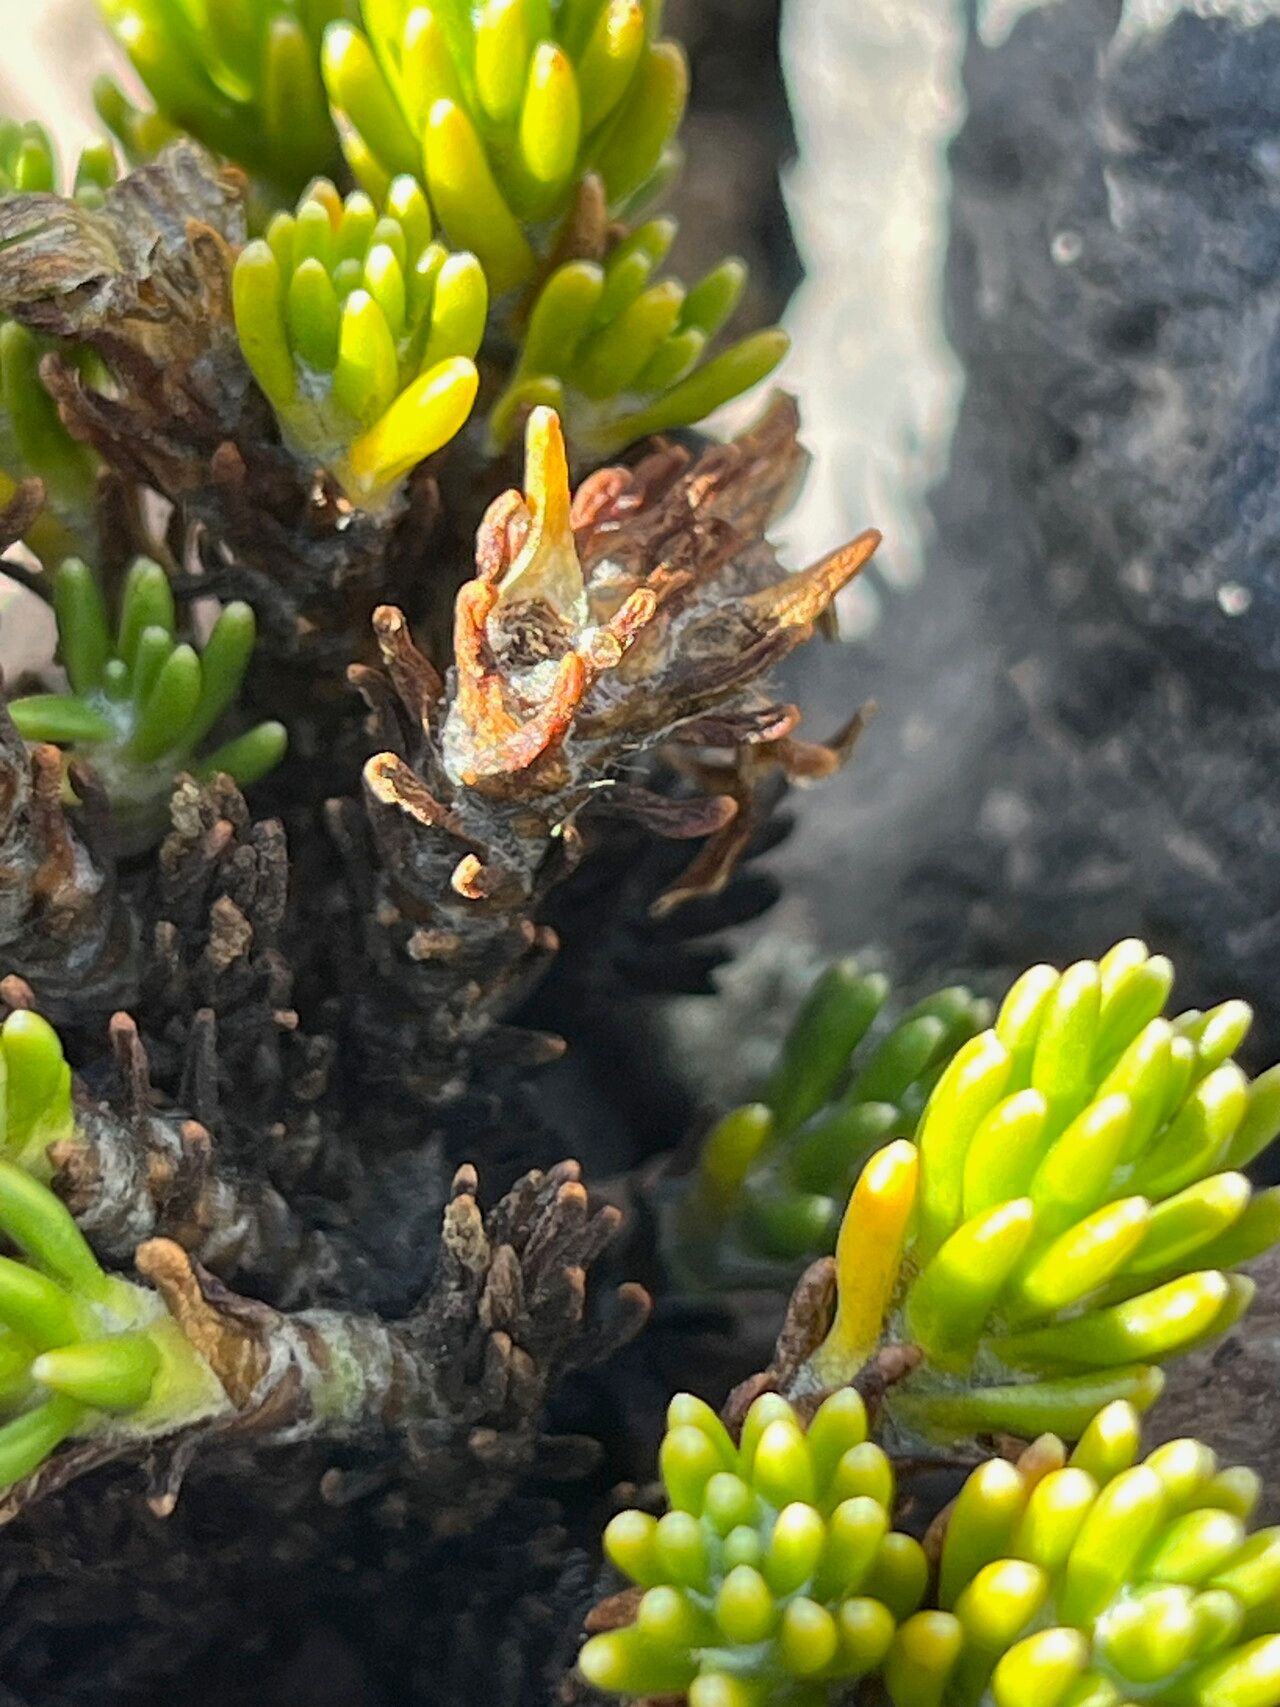
Oh, Werneria poposa! If you’ve ever admired those wonderfully fuzzy, architectural rosettes, you understand the urge to have more. It’s a plant that adds such unique texture and a touch of the exotic to any plant collection. And the best part? Growing more of them yourself is a truly rewarding experience. Don’t be intimidated; while it demands a little attention, propagating Werneria poposa is absolutely achievable, even for those just starting their plant journey.
When to Get Your Hands Dirty
For Werneria poposa, the sweet spot for propagation is during its active growing season. Think late spring through mid-summer. This is when the plant is energized and has the vigor to put out new growth and develop strong roots. Trying to propagate when it’s dormant or stressed is like asking someone to run a marathon after a long nap – it’s not going to be as successful.
Your Propagation Toolkit
Gathering the right tools makes the whole process smoother. Here’s what I always have on hand:
- Sharp, clean pruning shears or a craft knife: Essential for making clean cuts.
- Well-draining potting mix: A mix designed for succulents or cacti is usually perfect. I often use a blend of perlite, coarse sand, and potting soil to ensure no waterlogging.
- Small pots or propagation trays: Enough to house your cuttings.
- Rooting hormone (optional but recommended): This little helper can significantly boost success rates.
- Watering can or spray bottle: For gentle watering.
- A sunny spot with filtered light: Avoid direct, harsh sun when the cuttings are young.
- Patience! This is the most important one.
Bringing New Life: Propagation Methods
Werneria poposa is most commonly and successfully propagated through stem cuttings. It’s a straightforward method that usually yields great results.
- Select Your Source: Look for healthy, mature stems on your Werneria poposa. Choose ones that are firm and free of any signs of stress or disease. Aim for stems that are at least 3-4 inches long.
- Make the Cut: Using your clean shears or knife, make a clean cut just below a leaf node (where a leaf attaches to the stem). This is crucial for encouraging root formation.
- Prepare the Cutting: Gently remove the lower leaves from the stem. You want a bit of bare stem to insert into the soil. If you’re using rooting hormone, dip the cut end into the powder according to the product’s instructions.
- Let it Callus (Important Step!): This is a critical step for succulents and similar plants. Place your prepared cuttings in a dry, shaded spot for 24-48 hours. This allows the cut end to dry out and form a callus. This callused surface prevents rot when you plant them.
- Plant Your Cuttings: Fill your small pots or trays with your well-draining potting mix. Make a small hole in the center with your finger or a pencil. Insert the callused end of your cutting into the hole, ensuring it stands upright. Gently firm the soil around the base.
- Water Sparingly: Water very lightly initially. You want the soil to be slightly moist, not soggy. A spray bottle can be perfect for this.
The “Secret Sauce” from My Garden
Over the years, I’ve learned a few tricks that make a real difference.
- Bottom Heat is Your Friend: If you can, place your pots on a heat mat. A gentle warmth from underneath encourages root development much faster than ambient room temperature alone. It mimics the cozy conditions Werneria poposa loves in its native habitat.
- Don’t Drown Them: I know I mentioned it in the main steps, but it bears repeating. Excess moisture is the number one killer of cuttings, especially those derived from succulents. Err on the side of too dry rather than too wet. You can always add a little more water, but you can’t take it away.
Nurturing New Roots and What to Watch For
Once your cuttings are planted, the waiting game begins. Keep them in that bright, indirect light. Resist the urge to tug on them to see if they have roots!
True roots can take anywhere from 2-6 weeks, sometimes longer. You’ll know they’re established when you see new growth emerging from the top of the rosette. At this point, you can gradually introduce them to more light and care for them as a mature Werneria poposa.
The most common sign of failure is rot. If your cutting looks mushy, dark, or has a foul smell, it’s likely rotted. This is usually due to overwatering or not allowing it to callus properly. If you see signs of rot, it’s best to discard the affected cutting to prevent it from spreading. Sometimes, a cutting just doesn’t take; it happens to all of us! It’s part of the learning process.
Go Forth and Grow!
Propagating plants is such a wonderful way to connect with nature and multiply the beauty in your home. Be patient with your Werneria poposa cuttings. Watch them closely, learn from each one, and most importantly, enjoy the journey of bringing new life into the world. Happy propagating!
Resource:
https://identify.plantnet.org/k-world-flora/species/Werneria%20poposa%20Phil./data