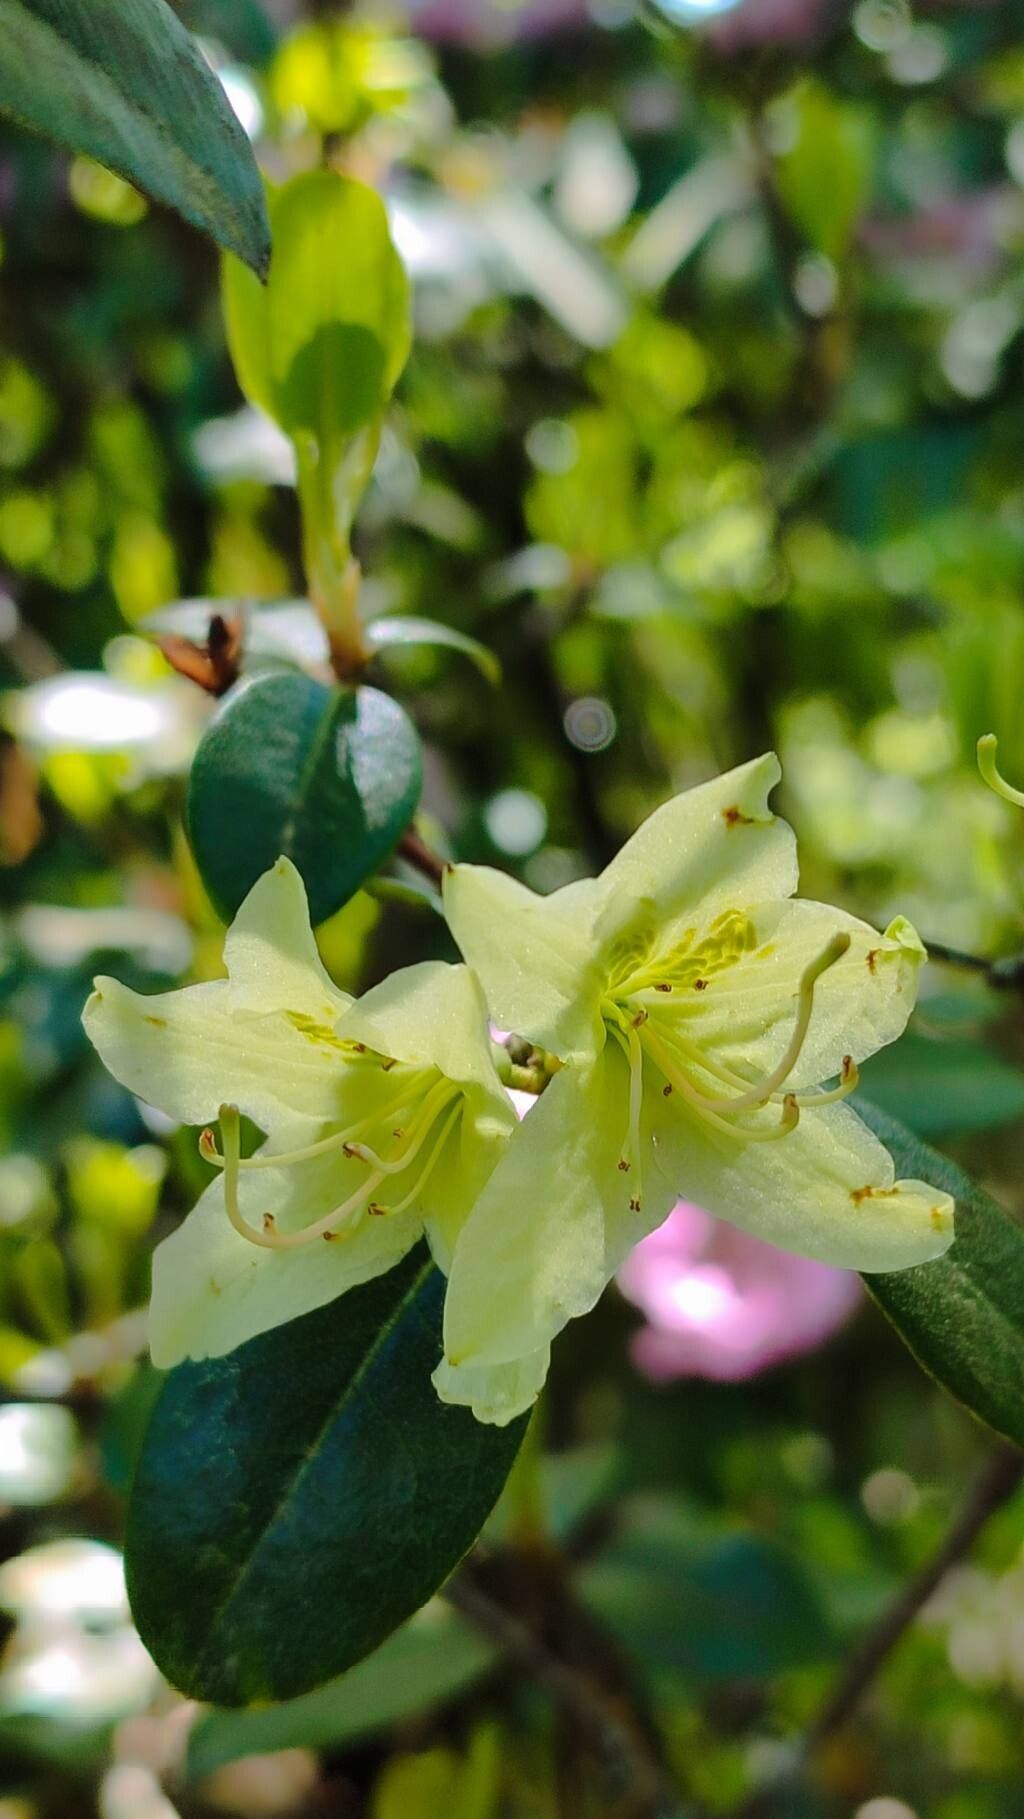
Hey there, fellow garden enthusiasts! I’m so excited to chat with you today about one of my absolute favorite plants: Rhododendron ambiguum. If you’ve ever seen this beauty gracing a garden with its delicate, often star-shaped blooms, you know the magic it brings. There’s something so satisfying about growing a new plant from scratch, and while Rhododendron ambiguum can be a little fussier than some of the more common rhododendrons, the rewards are absolutely worth the effort. Don’t let that deter you, though – with a little patience and the right approach, you’ll be well on your way to success.
The Best Time to Start
When it comes to propagating Rhododendron ambiguum, timing is everything. My go-to time is during the late spring or early summer, right after the plant has finished its main flush of blooms and is starting to put on new growth. These young, pliable stems have the best chance of developing roots. Don’t try to take cuttings from old, woody stems – they’re far less likely to take.
Supplies You’ll Need
Here’s what I always have on hand when I’m ready to get my hands dirty:
- Sharp, clean pruning shears or a grafting knife: For making nice, clean cuts.
- Rooting hormone powder or gel: This is a lifesaver for encouraging root development.
- A well-draining potting mix: I prefer a blend of peat moss, perlite, and a little bit of coarse sand. This mimics the acidic, airy conditions rhododendrons love.
- Small pots or propagation trays: With drainage holes, of course!
- Plastic bags or propagation domes: To create a humid environment.
- A spray bottle filled with water: For misting.
- A small trowel or dibber: To make holes for your cuttings.
Propagation Methods
My favorite way to multiply Rhododendron ambiguum is through stem cuttings. It’s tried and true, and with a bit of care, you’ll see a good success rate.
- Select Your Cuttings: Find a healthy, non-flowering stem from your parent plant. Look for a piece that’s about 4-6 inches long and has some soft, new growth at the tip.
- Make the Cut: Using your sharp shears, make a clean cut just below a leaf node. This is a crucial point where roots are more likely to form.
- Prepare the Cutting: Gently remove the lower leaves, leaving just a few at the top. If the leaves are very large, I’ll often cut them in half horizontally to reduce water loss.
- Dip in Rooting Hormone: Dip the cut end of the stem into your rooting hormone, tapping off any excess.
- Planting: Fill your pots with your prepared potting mix. Make a hole with your trowel and gently insert the cutting, ensuring the bottom leaf nodes are now buried. Firm the soil around the stem.
- Create Humidity: Water the pot gently, then cover it with a plastic bag or propagation dome. This is essential for keeping the humidity high, which helps the cuttings from drying out before they form roots.
Another method, though I find it less reliable for Rhodambuiguum, involves water propagation. You can try putting a stem cutting in a jar of clean water, making sure no leaves are submerged.Change the water every few days. Once you see roots forming, you can pot them up into soil. The transition to soil can be tricky, so be patient once they’re potted.
The “Secret Sauce” (Pro Tips)
Here are a few tricks I’ve learned over the years that can really boost your success:
- Bottom Heat is Your Friend: If you have a seedling heat mat, place your pots on it. This gentle warmth from below encourages root development and can make a significant difference, especially if your ambient temperature isn’t consistent.
- Don’t Overwater, But Keep it Moist: This is a delicate balance. You want the soil to be consistently moist, but never waterlogged. Soggy soil is the fast track to rot. I like to check by gently pressing the soil with my finger – if it feels dry, it’s time for a light watering or misting.
- Air Circulation Matters: While we want humidity, stagnant air can also lead to fungal issues. Periodically open the plastic bag or dome for a few minutes each day to allow for some air exchange.
Aftercare & Troubleshooting
Once you start seeing signs of new growth – tiny leaves unfurling at the top – that’s a good indication that roots are forming. Keep them in their humid environment for a bit longer. When you’re ready to acclimate them, gradually lift the plastic bag or dome for longer periods over a week or two. Once they’re accustomed to the open air, treat them like a young rhododendron: keep them in a bright, but indirect light location, and water them when the top inch of soil feels dry.
The most common problem you might encounter is rot. If your cuttings turn black and mushy, it’s usually a sign of too much moisture and not enough air circulation. If you see this, remove the affected cuttings immediately and check your watering habits and ventilation.
A Little Patience Goes a Long Way
Propagating Rhododendron ambiguum is a journey, and like all rewarding things in gardening, it requires a bit of patience. Don’t get discouraged if your first few attempts don’t yield perfect results. Each cutting you take is a learning experience. Enjoy the process, celebrate the small victories, and soon you’ll have the joy of watching your new rhododendrons grow and bloom. Happy gardening!
Resource:
https://identify.plantnet.org/k-world-flora/species/Rhododendron%20ambiguum%20Hemsl./data