Hello, fellow garden enthusiasts! I’m so excited to chat with you today about a little gem that’s captured my heart: Armeria malacitana, or the Málaga Thrift. If you’re drawn to those darling pops of pink and its tidy, grass-like foliage that looks like it’s wearing a lovely little toupee, you’re in for a treat. Propagating Armeria malacitana is a wonderfully rewarding way to fill your garden with more of these beauties or to share them with friends. Now, for the good news: while it’s not quite as simple as sticking a twig in the ground, it’s definitely a process that even beginners can tackle with a bit of care and attention.
The Best Time to Start
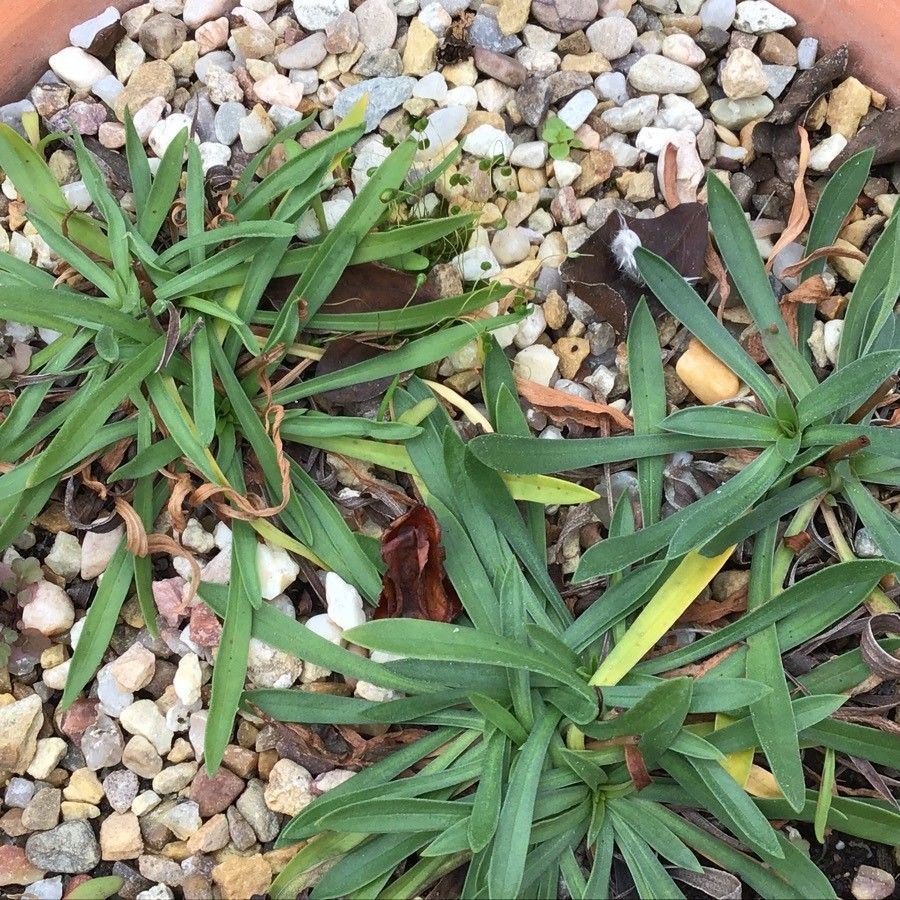
For the highest success rate with Armeria malacitana, I always recommend working with semi-ripe cuttings taken in late spring to early summer. This is when the plant has had a good growing season, and the stems are firming up but still have plenty of life in them to root. Taking cuttings too early, when the stems are too soft, means they’re more prone to rot. Too late, and they might be too woody to establish easily.
Supplies You’ll Need
Here’s what I like to have on hand before I get started:
- Sharp, clean pruning shears or a sharp knife: For making clean cuts.
- Rooting hormone: While not always strictly necessary, it can give your cuttings a helpful boost. I prefer a powdered hormone, but a liquid one works too.
- A well-draining potting mix: I usually mix equal parts peat-free compost, perlite, and a bit of coarse sand. The key here is drainage. Soggy soil is the enemy of young cuttings.
- Small pots or seed trays: Clean ones are a must!
- A spray bottle: For misting.
- A clear plastic bag or a propagator lid: To create a humid environment.
- Optional: Bottom heat mat: This can significantly speed up the rooting process, especially if your space is a bit cool.
Propagation Methods: My Go-To for Armeria malacitana
I find the most reliable method for Armeria malacitana is through stem cuttings. It’s my favourite way to multiply these charming plants.
- Take Your Cuttings: In late spring or early summer, look for healthy, non-flowering shoots. Using your clean shears or knife, take cuttings that are about 3-4 inches long. Try to take them from the current year’s growth.
- Prepare the Cuttings: Gently remove the lower leaves from the cutting, leaving just a few at the very top. This prevents them from rotting in the soil. If you have a particularly long cutting, you can make a cut just below a leaf node (where a leaf meets the stem).
- Apply Rooting Hormone: Dip the cut end of the stem into your rooting hormone, tapping off any excess. This stuff is like a little growth serum for your cuttings!
- Potting Up: Fill your clean pots with your well-draining mix. Make a hole in the center with a pencil or your finger. Gently insert the prepared cutting into the hole, ensuring the hormone-coated end is in contact with the soil. Firm the soil gently around the cutting.
- Water and Cover: Water the pot gently to settle the soil. Then, I like to place the potted cuttings inside a clear plastic bag, sealing it loosely, or cover them with a propagator lid. This creates a mini-greenhouse, keeping the humidity high, which is crucial for cuttings that can’t yet absorb water through their roots.
- Location, Location, Location: Place the pots in a bright spot, but out of direct, scorching sunlight. A well-lit windowsill or a shaded cold frame works beautifully.
The “Secret Sauce” (Pro Tips)
Now, for a couple of tricks I’ve learned over the years that really make a difference:
- Don’t let the leaves touch the water! This sounds obvious, but if you’re doing water propagation (which I don’t recommend for Armeria malacitana as much as soil), it’s a huge culprit for rot. Even in soil, keep the lower leaves well above the soil line. Excess moisture on leaves encourages fungal issues.
- Bottom heat is my best friend. If you have the space and the budget, using a heating mat under your pots can dramatically speed up the rooting process. It mimics the warmth of spring soil, encouraging root development much faster. You’ll see tentative roots forming in weeks rather than months.
Aftercare & Troubleshooting
Once your cuttings have rooted (and you’ll know this when you gently tug on them and feel resistance, or see new leaf growth), it’s time for a little pampering.
When roots have formed: Carefully remove the plastic bag or lid gradually over a few days to acclimate them to normal humidity. Keep the soil consistently moist but not waterlogged. Water sparingly at first, allowing the soil to dry out slightly between waterings.
Watch out for rot: The most common sign of failure is mushy, black stems or wilting that doesn’t recover. This is almost always due to overwatering or poor drainage. If you see this, it’s disheartening, but don’t beat yourself up. It happens to the best of us! Pull out the affected cutting and check your soil mix and watering habits. Sometimes, a bit of airflow can help prevent these issues.
A Encouraging Closing
Propagating Armeria malacitana is a journey, and like all good gardening, it requires a little patience. Don’t be discouraged if your first few attempts aren’t perfect. Each cutting you take is a learning experience. So, gather your supplies, get your hands a little dirty, and enjoy the satisfying process of nurturing new life. Happy propagating!
Resource:
https://identify.plantnet.org/k-world-flora/species/Armeria%20malacitana%20Nieto%20Fel./data