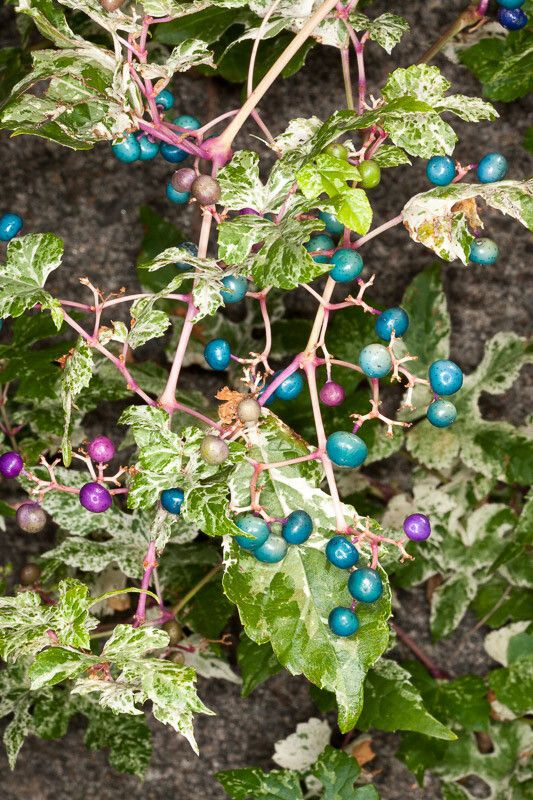
Oh, hello there! I’m so glad you stopped by. Today, we’re going to talk about a vine that has truly captured my heart: Ampelopsis delavayana. If you’ve ever seen this beauty, you know why. Its delicate, deeply lobed leaves have a wonderful texture, and it creates such a graceful cascade of green. It’s a plant that just looks sophisticated, but it’s surprisingly approachable. And the best part? You can easily grow more of it yourself. Propagating Ampelopsis delavayana is incredibly rewarding, and honestly, it’s not as tricky as you might think. For a beginner, it’s a wonderful plant to start with.
The Best Time to Start
When I want to get new plants going, I always aim for the active growing season. For Ampelopsis delavayana, the sweet spot is generally late spring to early summer. This is when the plant is happily putting on new growth, and those young, flexible shoots have the best energy reserves to push out roots. Trying to propagate when the plant is dormant or stressed just doesn’t yield the same enthusiastic results.
Supplies You’ll Need
Here’s what I gather before I start:
- Sharp Pruning Shears: Clean cuts are key to preventing disease.
- Rooting Hormone: Not strictly essential, but it really gives cuttings a nudge. I prefer the powdered kind.
- Small Pots or Propagation Trays: About 3-4 inches in size is perfect. Make sure they have drainage holes!
- Well-Draining Potting Mix: A 50/50 mix of good quality potting soil and perlite or vermiculite works wonders. Or, a dedicated seed-starting or propagation mix is excellent.
- Clear Plastic Bags or Domes: To create a humid microclimate.
- Watering Can with a Fine Rose: For gentle watering.
- Labels: Trust me, you’ll thank yourself later!
Propagation Methods
Ampelopsis delavayana is fairly straightforward and stem cuttings are my go-to method.
- Take Your Cuttings: On a bright but not scorching day, select healthy, non-flowering stems that are about 4-6 inches long. These should be from the current season’s growth – they’ll feel slightly firm but still have a bit of flexibility.
- Prepare the Cuttings: Using your clean shears, make a cut just below a leaf node (the point where a leaf attaches to the stem). Remove the lower leaves, leaving just one or two at the very top. This prevents them from rotting in the soil. If the remaining leaves are quite large, you can snip them in half to reduce water loss.
- Apply Rooting Hormone: Dip the cut end of each stem into rooting hormone, tapping off any excess.
- Plant Your Cuttings: Fill your small pots or trays with your prepared potting mix. Moisten the soil gently. Then, insert the cut end of each cutting into the soil, making sure it’s snug. You can make a small hole with a pencil first to avoid rubbing off all the rooting hormone.
- Create Humidity: Water the soil lightly again. Then, cover each pot or the entire tray with a clear plastic bag or a propagation dome. This is crucial for keeping your cuttings from drying out.
- Find a Warm Spot: Place the pots in a warm location that receives bright, indirect light. Avoid direct, hot sun, which can scorch or overheat the cuttings.
The “Secret Sauce”—Pro Tips
Here are a few things I’ve learned over the years that make a big difference:
- Bottom Heat is Your Friend: If you have a propagation mat, placing your pots on it can significantly speed up root development. This mimic’s the warmth of the soil in summer and encourages roots to form faster.
- Don’t Let Your Cuttings Drown: While humidity is key, be mindful of how much water is in the bottom of your plastic bag or dome. A little condensation is good, but standing water can lead to rot. If you see too much, just a quick wipe with a paper towel can help.
- Snip a Bit More: If a cutting looks like it’s struggling or not greening up, it can sometimes help to make a fresh cut at the bottom again. This ensures good contact with the rooting hormone and the soil.
Aftercare & Troubleshooting
Once your cuttings have been in the moist environment for a few weeks, start gently tugging on them. If you feel resistance, that’s a good sign roots are forming! You’ll also start to see new leaf growth.
When you see reliable signs of rooting, it’s time to acclimatize them. Gradually remove the plastic covering for longer and longer periods over a week or so. Water them when the top inch of soil feels dry. Treat them like any other young plant, giving them bright, indirect light and keeping them consistently moist but not soggy.
The most common sign of failure is wilting and browning, which usually indicates the cutting has dried out too much. Black, mushy stems at the soil line are a sign of rot, often caused by too much moisture and poor air circulation or soil drainage. If you see this, it’s usually best to discard that cutting and try again, ensuring better drainage and slightly less water.
A Heartfelt Closing
Watching a new plant emerge from a tiny cutting is one of the most satisfying experiences in gardening. Don’t be discouraged if your first few attempts aren’t perfect. Patience is key, and each little success will build your confidence. So gather your supplies, pick some healthy stems, and enjoy the magic of propagation! Happy gardening!
Resource: