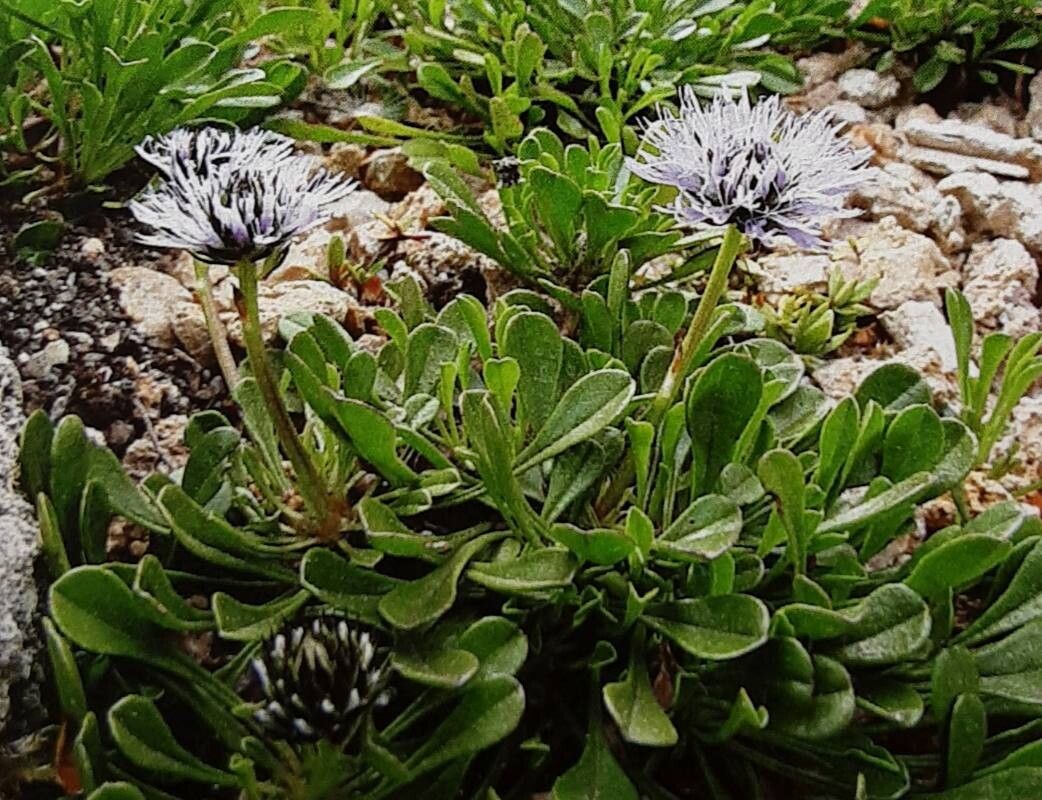
Hello fellow garden enthusiasts! I’m so glad you’ve stopped by. Today, we’re diving into the wonderful world of propagating Globularia meridionalis, also known as Mediterranean Globe Daisy. If you’ve ever marveled at those charming, powder-blue puffballs adorning a sunny border or spilling from a pot, you know exactly why this plant is such a gem. It’s incredibly forgiving once established, brings a touch of Mediterranean flair with its neat habit and unique blooms, and is just a joy to have around.
Now, as for propagating it – is it a walk in the park or a trek up a mountain? I’d say it’s a pleasant stroll, perfect for beginners and seasoned gardeners alike. Getting more of these beauties from just one is incredibly rewarding, allowing you to fill larger spaces or share with friends. Let’s get our hands dirty!
The Best Time to Start
For Globularia meridionalis, the late spring to early summer is your golden window. This is when the plant is actively growing, so its stems have plenty of energy to put into developing roots. We’re looking for semi-ripe cuttings, which means the stems are starting to firm up but are still a bit flexible. Avoid taking cuttings from brand new, floppy growth or from old, woody stems.
Supplies You’ll Need
Gathering your tools beforehand makes the whole process smoother. Here’s what I like to have on hand:
- Sharp pruning shears or a clean craft knife: For taking clean cuts.
- Rooting hormone (optional but recommended): A powder or gel to encourage root development.
- Small pots or seed trays: About 3-4 inches in diameter are perfect.
- A good quality, free-draining potting mix: I often use a mix of equal parts seed starting mix and perlite for excellent aeration and drainage.
- A misting bottle: For keeping cuttings hydrated.
- Small plastic bags or a propagator: To create a humid environment.
- Labels and a marker: To keep track of your plants!
Propagation Methods
The most successful way I’ve found to propagate Globularia meridionalis is through stem cuttings. It’s straightforward and yields great results.
- Take your cuttings: On a mild morning, select healthy, non-flowering stems. Using your sharp tool, take cuttings that are about 4-6 inches long. Make your cut just below a leaf node (where a leaf attaches to the stem).
- Prepare the cuttings: Gently remove the lower leaves from the cutting, leaving just a few at the top. This prevents them from rotting in the soil. If your cuttings are long, you can trim the remaining leaves in half to reduce water loss.
- Apply rooting hormone (optional): Dip the cut end of each stem into your rooting hormone, tapping off any excess.
- Pot them up: Fill your small pots or trays with your prepared potting mix. Make a small hole in the center of the mix with a pencil or your finger.
- Insert the cuttings: Gently place the prepared cutting into the hole, ensuring the leaf nodes where you removed leaves are below the soil surface. Firm the soil gently around the stem.
- Water and cover: Water the soil thoroughly but gently. Then, place the pots into a plastic bag or a propagator, making sure the leaves don’t touch the sides of the bag where they could rot. Seal it up.
The “Secret Sauce” (Pro Tips)
Here are a couple of things I’ve learned over the years that really give your cuttings a boost:
- Bottom Heat is Your Friend: While not strictly essential for Globularia, providing a little warmth from below, like using a heat mat designed for seedlings, can significantly speed up rooting. It mimics the natural warmth of summer soil and encourages root formation.
- Don’t Overwater, but Keep it Humid: It’s a tricky balance, isn’t it? You want to keep the environment humid to prevent wilting, but you don’t want soggy soil that will lead to rot. Check the soil moisture regularly. If it feels dry to the touch, give it a light misting. If it feels damp, leave it be.
Aftercare & Troubleshooting
Once your cuttings have taken root (this can take anywhere from 4-8 weeks), you’ll start to see new leaf growth. This is a great sign!
- Gradual Acclimatization: As soon as you see new growth, begin to gradually “harden off” your cuttings. This means opening the propagator or bag for longer periods each day over a week to expose them to normal air.
- Transplanting: Once they are sturdy and have a good root system, gently transplant them into slightly larger pots or directly into their prepared garden spot.
- Watch for Rot: The most common sign of trouble is rotting at the soil line, where the stem turns mushy and dark. This is usually a sign of too much moisture and poor drainage. If you see this, it’s often best to discard the affected cutting and try again, ensuring better ventilation and a lighter soil mix next time. Another sign that things aren’t quite right is if the leaves yellow and drop off without any new growth appearing – this can indicate insufficient light or not enough humidity.
A Little Patience Goes a Long Way
Propagating plants is a magical process that connects us more deeply with the rhythms of nature. Don’t be discouraged if your first few attempts aren’t perfect; gardening is a continuous learning experience, and every setback teaches us something valuable. Be patient, enjoy the journey, and soon you’ll be surrounded by your very own beautiful globeflowers! Happy propagating!
Resource: