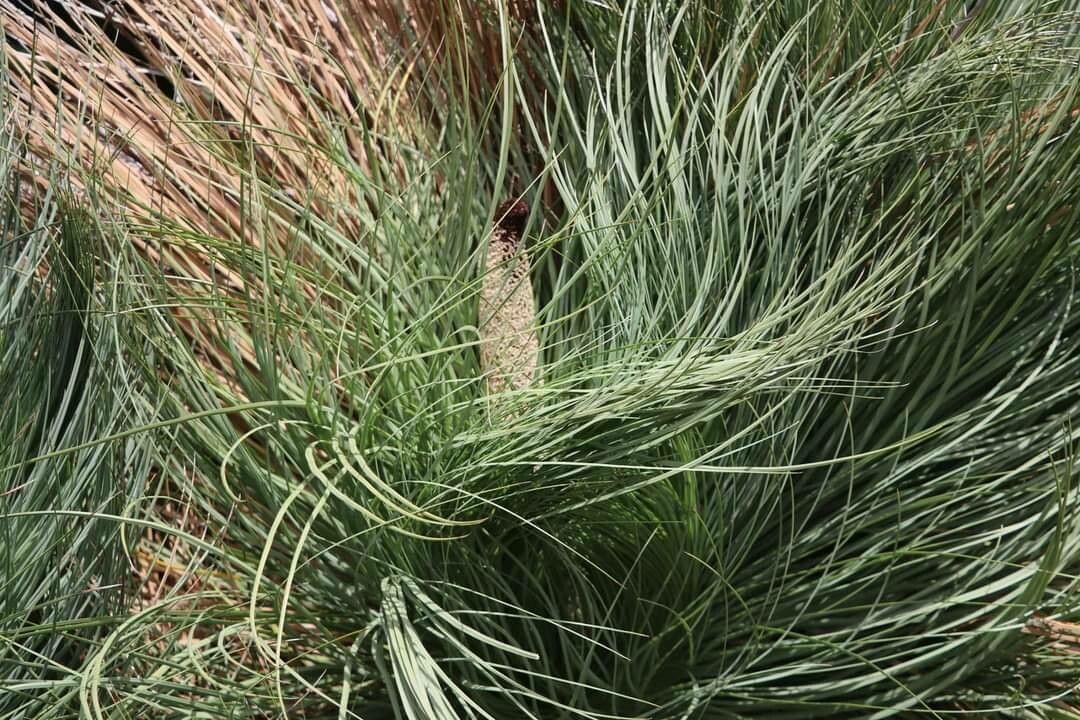
Oh, the magnificent Xanthorrhoea malacophylla! If you’ve ever seen one of these beauties gracing a garden, you know the allure. Those strappy, architectural leaves cascading from a rugged, woody trunk – it’s like having a little piece of ancient Australia right in your backyard. And the best part? You can create more of this magic yourself! Propagating them is a truly rewarding journey, though I’ll be honest, it’s not always the easiest task for a brand-new gardener. But don’t let that discourage you one bit! With a little patience and these tips, you’ll be well on your way.
The Best Time to Start
My favorite time to get busy with propagation is late spring to early summer. This is when the plant is actively growing and has plenty of energy to put into new roots. Think of it as giving your cuttings the best possible start. You’re aiming for healthy, vigorous growth, and this season just provides that extra boost.
Supplies You’ll Need
Gathering your supplies beforehand makes the whole process so much smoother. Here’s what I always have on hand:
- Sharp pruning shears or a clean, sharp knife: For taking clean cuts.
- Well-draining potting mix: A mix designed for succulents or natives is perfect. I often add extra perlite or coarse sand for aeration.
- Small pots or propagation trays: With drainage holes, of course!
- Rooting hormone (optional but recommended): A powder or gel can significantly increase your success rate.
- Watering can with a fine rose: To avoid disturbing your delicate cuttings.
- A clear plastic bag or a propagation dome: To create a humid environment.
- Gloves: Some plants can be a bit sticky or have sap.
- A warm spot: To encourage root development.
Propagation Methods
Now, let’s talk about how to get those new Xanthorrhoea chums growing. The most reliable method for Xanthorrhoea malacophylla is through offsets or pups. These are the baby plants that sometimes emerge from the base of a mature specimen.
Propagating from Offsets/Pups:
- Locate the Pup: Gently clear away some of the soil around the base of your mature Xanthorrhoea. Look for smaller plantlets that are emerging from the root crown. They should already have a few leaves.
- Detach with Care: Using your sharp, clean knife or pruning shears, carefully cut the pup away from the parent plant. Try to get as much of its own root system attached as possible. If there are no attached roots, don’t worry too much, but it will take a bit longer to establish.
- Prepare the Cutting: If there are any damaged or dead leaves, trim them off. You can also let the cut end air dry for a day or two. This helps to callous over the wound, which can prevent rot. Honestly, I sometimes forget this step myself, and they do fine, but it’s good practice!
- Plant It Up: Fill your small pots with your well-draining potting mix. If you’re using rooting hormone, dip the cut end of the pup into the hormone, tapping off any excess.
- Bury the Base: Make a small hole in the soil and insert the base of the pup, ensuring the roots (if any) are covered. Gently firm the soil around it.
- Initial Watering: Water lightly. You don’t want to drown it, just moisten the soil.
- Create a Humid Environment: Place the potted pup inside a clear plastic bag or under a propagation dome. This traps moisture and creates that lovely humid microclimate where roots love to form. Make sure the leaves aren’t touching the plastic if possible, as this can encourage fungal issues.
The “Secret Sauce” (Pro Tips)
Here are a couple of things I’ve learned over the years that really make a difference:
- Bottom Heat is Your Friend: Xanthorrhoea roots are stimulated by warmth. Placing your potted cuttings on a gentle heated propagation mat can significantly speed up root development. It’s not strictly essential, but it’s a game-changer, especially in cooler weather.
- Less is More with Watering Initially: Once your pup is potted and in its humid environment, resist the urge to water constantly. You want the soil to be consistently moist, not soggy. Overwatering is the quickest way to invite rot. Check the soil moisture by gently poking your finger in; if it feels dry an inch down, then water lightly.
Aftercare & Troubleshooting
Once you see new growth appearing – little leaves unfurling or the plant looking perkier – it’s a good sign that roots are forming!
- Gradual Acclimation: When you see that new growth, it’s time to gradually introduce your new plant to drier air. Start by opening the plastic bag or dome for a few hours each day, slowly increasing the time until it’s fully out.
- Continued Bright Light: Keep your new plant in a spot with bright, indirect light. Avoid harsh, direct sun until it’s well-established.
- Watering as Needed: Once acclimated, water when the top inch of soil feels dry. Remember, they still prefer good drainage.
Common Signs of Trouble:
- Wilting and Softness: If the leaves start to droop and the base feels soft and mushy, this is a strong indicator of rot. This is usually due to overwatering or poor drainage. Sadly, once rot sets in, it’s very difficult to recover.
- No Growth After Weeks: If you see absolutely no signs of life after several weeks, it might be that the cutting didn’t root. Don’t despair! Sometimes they just needed a bit more time, or perhaps the conditions weren’t quite right. Try again – that’s the beauty of gardening!
A Heartfelt Closing
Propagating plants, especially something as unique as a Xanthorrhoea malacophylla, is a lesson in patience and observation. Some will thrive, and some might not make it. That’s all part of the learning process, my friends. But the thrill of nurturing a new life from a parent plant is an unmatched joy. So, gather your supplies, embrace the process, and most importantly, enjoy watch those new little grass trees emerge. Happy gardening!
Resource:
https://identify.plantnet.org/k-world-flora/species/Xanthorrhoea%20malacophylla%20D.J.Bedford/data