Hello there, fellow garden enthusiasts! I’m so delighted you’ve stopped by. Today, we’re diving into the wonderful world of Lactuca graminifolia, also known as wild lettuce or, more charmingly, grass-leaved lettuce. This particular variety has such a delicate, feathery appearance, adding a touch of ethereal beauty to any garden. It’s genuinely rewarding to see new plants spring forth from something you’ve nurtured, and I find the process with Lactuca graminifolia to be quite accessible, even for those just starting their propagating journey. So, let’s get our hands a little dirty!
The Best Time to Start
For the highest chance of success with Lactuca graminifolia, your go-to time is spring. This is when the plant is typically bursting with new growth after a period of rest. You’ll find it’s more vigorous and responsive to propagation techniques when it’s actively growing and soaking up those longer daylight hours and warmer temperatures. You can also have some success in early autumn, but spring is my personal favorite for reliable results.
Supplies You’ll Need
Gathering your tools before you begin makes the whole process flow so much smoother. Here’s what I usually have on hand:
- Sharp Pruning Shears or a Clean Knife: For making clean cuts, which helps prevent disease.
- Small Pots or Seed Trays: Clean ones, please! Sterility is your friend here.
- Well-Draining Potting Mix: A good blend of potting soil and perlite (about a 3:1 ratio) works wonderfully. You want something that holds a bit of moisture but doesn’t become waterlogged.
- Rooting Hormone (Optional but Recommended): This can give your cuttings a nice little boost. I prefer the powdered kind.
- Watering Can with a Fine Rose: For gentle watering.
- Spray Bottle: For misting.
- Labels and a Pen: To keep track of what you’ve propagated!
Propagation Methods
While you can technically start Lactuca graminifolia from seed, I find stem cuttings to be a foolproof and incredibly rewarding method for this particular plant. It’s quick and you can often get multiple new plants from a single parent.
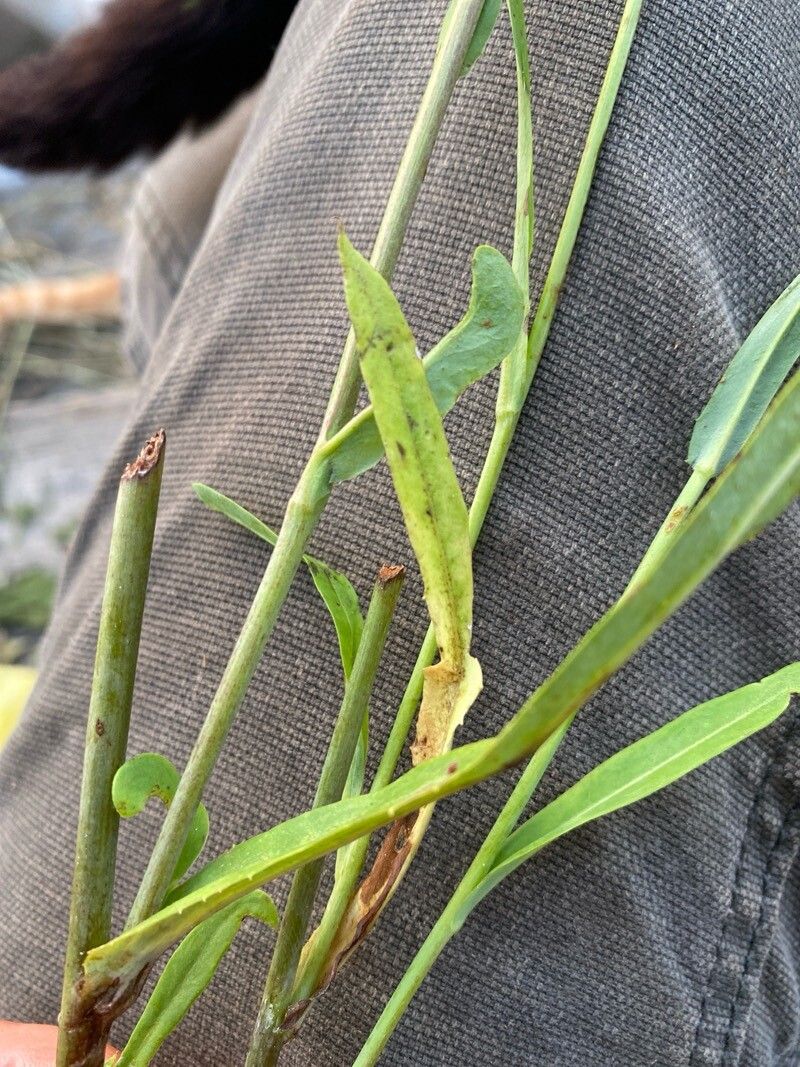
- Taking the Cuttings: In the spring, look for healthy, non-flowering stems on your mature Lactuca graminifolia. Using your sharp pruning shears, select a stem that’s about 4-6 inches long. Make a clean cut just below a leaf node (where a leaf attaches to the stem). You want to ensure each cutting has at least two or three leaf nodes.
- Preparing the Cuttings: Gently remove the lower leaves from your cutting, leaving the top 2-3 leaves intact. If the leaves are very large, you can even cut them in half to reduce water loss. If you’re using rooting hormone, dip the cut end of the stem into the powder, tapping off any excess.
- Planting the Cuttings: Fill your pots or seed trays with your prepared, moist potting mix. Make a small hole in the center of the soil with your finger or a pencil. Carefully insert the cut end of your Lactuca graminifolia stem into the hole, ensuring the leaf nodes you removed leaves from are below the soil surface. Gently firm the soil around the cutting so it stands upright.
- Water and Wait: Water the soil gently but thoroughly. You want it to be moist, not soggy. Place your pots in a bright spot that receives indirect sunlight. A greenhouse or a bright windowsill is ideal. You can cover the pots loosely with a plastic bag or dome to maintain humidity, but make sure to ventilate it daily to prevent fungal issues.
The “Secret Sauce”
Here are a couple of tricks I’ve learned over the years that seem to really make a difference:
- Bottom Heat is Your Friend: If you have a seedling mat or can place your pots on a warm surface (like the top of a refrigerator, if it’s not too hot), it can significantly speed up root development. Warmth encourages those roots to get busy.
- Don’t Let Leaves Touch the Soil: This is a big one! Especially if you’re doing water propagation (though I find stem cuttings in soil more reliable for Lactuca graminifolia), make sure no leaves are submerged in water or touching damp soil for extended periods. This invites rot faster than you can say “aphid.”
Aftercare & Troubleshooting
Once your cuttings have been planted, give them a good watering. Keep the soil consistently moist but not waterlogged. Misting the leaves occasionally can also be beneficial, especially if you’re in a dry climate. You’ll know your cutting is taking root when you see new leaf growth emerging from the top. This can take anywhere from two to six weeks, so patience is key here!
The most common issue you’ll encounter is rot. If your cutting turns mushy and black, or simply wilts without any signs of root development, it’s likely succumbed to rot. This usually happens due to too much moisture and poor air circulation. Don’t be discouraged! Just clean up the area, sterilize your tools, and try again. Sometimes, a cutting just doesn’t take, and that’s perfectly okay.
A Encouraging Closing
Propagating Lactuca graminifolia is a wonderful way to expand your garden and share these lovely plants with friends. Remember, gardening is a journey, and each attempt teaches us something new. Be patient with your cuttings, observe them closely, and most importantly, enjoy the process of bringing new life into your garden. Happy propagating!
Resource:
https://identify.plantnet.org/k-world-flora/species/Lactuca%20graminifolia%20Michx./data