Oh, Hydrangea anomala! Isn’t that just a dream of a plant? Its delicate, lacecap blooms and beautiful vine habit bring such charm to shaded corners. I’ve spent years watching mine unfurl each spring, and honestly, growing more of them is one of my absolute favorite garden joys. If you’ve admired these beauties, you’ll be thrilled to know that propagating them is a wonderfully rewarding, and surprisingly accessible, endeavor. Don’t let the thought of it intimidate you – with a little guidance and patience, you’ll be well on your way to a whole garden of these exquisite climbers.
When the Magic Happens: The Best Time to Start
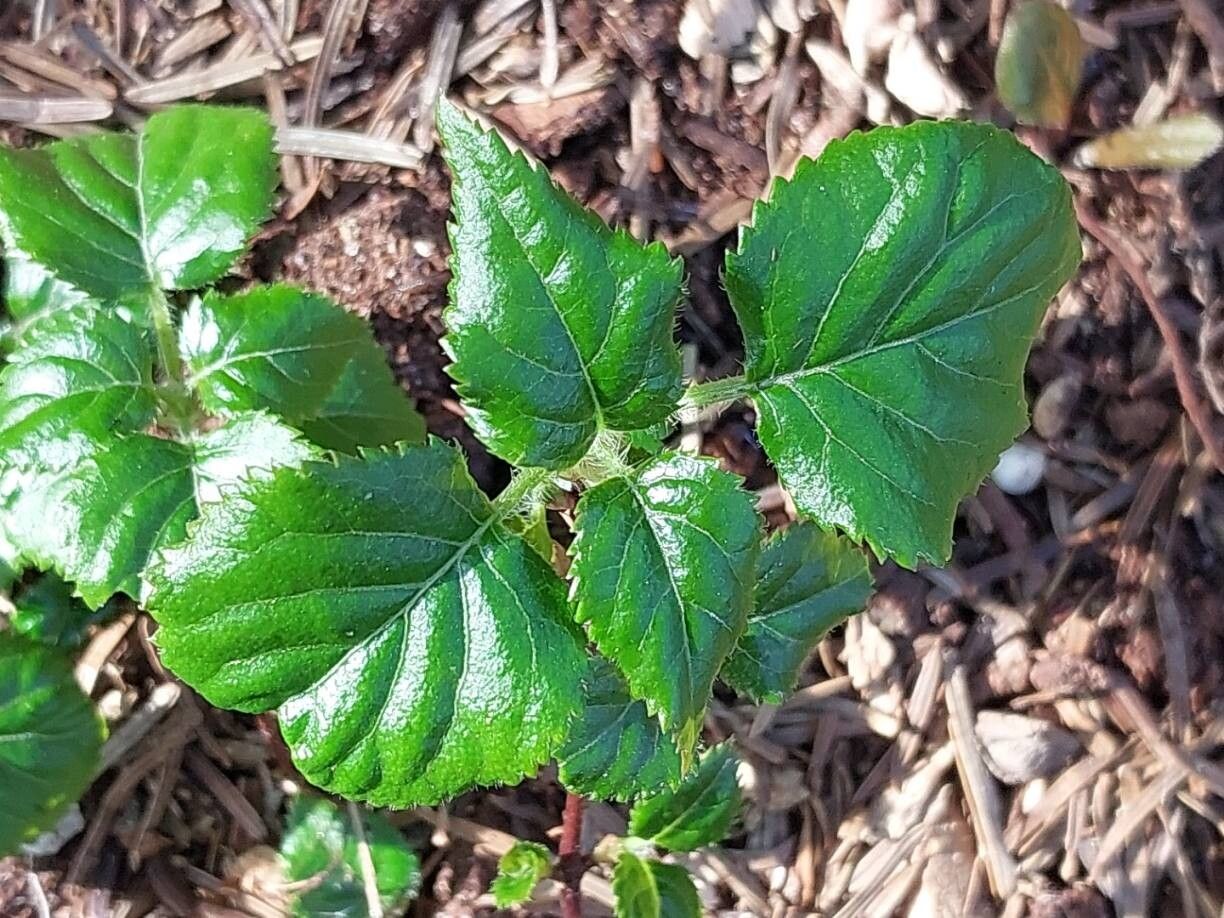
For the highest success rates with Hydrangea anomala cuttings, I always aim for late spring to early summer. This is when the plant is actively growing, and we’re looking for what we call semi-hardwood cuttings. These are stems that have started to firm up, but aren’t completely woody and mature yet. Think of it as the perfect sweet spot – they have enough stored energy to root, but aren’t too tough to develop new ones.
Gathering Your Toolkit: Supplies You’ll Need
You don’t need a fancy lab for this! Here’s what you’ll want to have on hand:
- Sharp Pruning Shears or a Knife: For clean cuts that minimize damage.
- Potting Mix: A well-draining mix is crucial. I love a blend of equal parts peat moss, perlite, and a bit of compost.
- Small Pots or Seed Trays: Clean containers are a must to prevent disease.
- Rooting Hormone (Optional but Recommended): This really gives your cuttings a boost. Look for one with IBA (indole-butyric acid).
- Plastic Bags or a Clear Cloche: To create a humid environment for your cuttings.
- Watering Can with a Fine Rose: For gentle watering.
- Labels: So you don’t forget what you planted where!
Bringing New Life: Propagation Methods
Hydrangea anomala is quite happy to be propagated from stem cuttings. It’s my go-to method, and it yields fantastic results.
- Select Your Stems: Look for healthy, non-flowering stems from the current year’s growth. They should be about pencil-thick and roughly 4-6 inches long. You want to find a spot on the stem where it’s firm but still slightly flexible.
- Take Your Cuttings: Using your sharp shears, make a clean cut just below a leaf node (the point where a leaf attaches to the stem). This is where the magic of rooting hormones and new roots loves to happen.
- Prepare the Cuttings: Gently remove the lower leaves, leaving just two or three at the top. If there are any tiny flower buds, nip them off – we want the plant to focus its energy on roots, not flowers, right now.
- Apply Rooting Hormone (If Using): Dip the cut end of the stem into the rooting hormone powder or gel. Tap off any excess.
- Plant Your Cuttings: Fill your small pots or trays with your prepared potting mix. Make a small hole with your finger or a pencil, and insert the cut end of your hydrangea cutting into the soil. Gently firm the soil around it.
- Water Gently: Water thoroughly from the bottom if possible, or use your fine-rose watering can, ensuring the soil is moist but not waterlogged.
- Create a Humid Environment: Cover the pots with a clear plastic bag (propping it up with stakes so it doesn’t touch the leaves) or place them under a clear cloche. This traps humidity, which is essential for cuttings to root.
The “Secret Sauce”: My Insider Tips
After years of this, I’ve learned a few tricks that make all the difference.
- Bottom Heat is Your Friend: If you have a propagation mat, placing your pots on it provides bottom heat. This encourages root development from below and significantly speeds up the process. It’s like a cozy warm bed for your new plant babies.
- Don’t Let Those Leaves Drip! When misting or watering, be mindful of the leaves. If they are constantly sitting in moisture, especially overnight, it can invite fungal diseases. A gentle misting is often enough, and try to ensure good air circulation around your cuttings.
- The “Bend Test” Tells All: Patience is key here. After several weeks, you can gently tug on a cutting. If you feel resistance, congratulations! You’ve got roots. If it pulls out easily, it probably hasn’t rooted yet, so don’t despair and try again or leave it a bit longer.
Nurturing the New Growth: Aftercare & Troubleshooting
Once you notice new leaf growth or feel that lovely resistance in your cuttings, your hydrangea is well on its way.
- Gradual Acclimation: Slowly start to reduce the humidity by opening the plastic bag or cloche for longer periods each day. This helps the new plant adjust to drier air.
- Watering Routine: Keep the soil consistently moist, but never soggy. As the roots develop, you’ll be able to water less frequently.
- Light: Place your new plants in a bright spot but out of direct, harsh sunlight. Dappled shade is ideal.
- Troubleshooting: The most common issue is rot. If you see mushy, blackened stems, it’s usually a sign of too much moisture and poor drainage. Ensure your soil drains well and ease up on the watering. If a cutting just shrivels up, it likely didn’t take. Don’t take it personally; it happens to the best of us!
Grow On!
Propagating Hydrangea anomala is a truly gratifying experience. It’s a wonderful way to fill your garden with these beauties or share them with fellow plant lovers. Be patient with the process, observe closely, and celebrate each little success. Happy propagating, and may your gardens be ever more leafy and lovely!
Resource:
https://identify.plantnet.org/k-world-flora/species/Hydrangea%20anomala%20D.Don/data