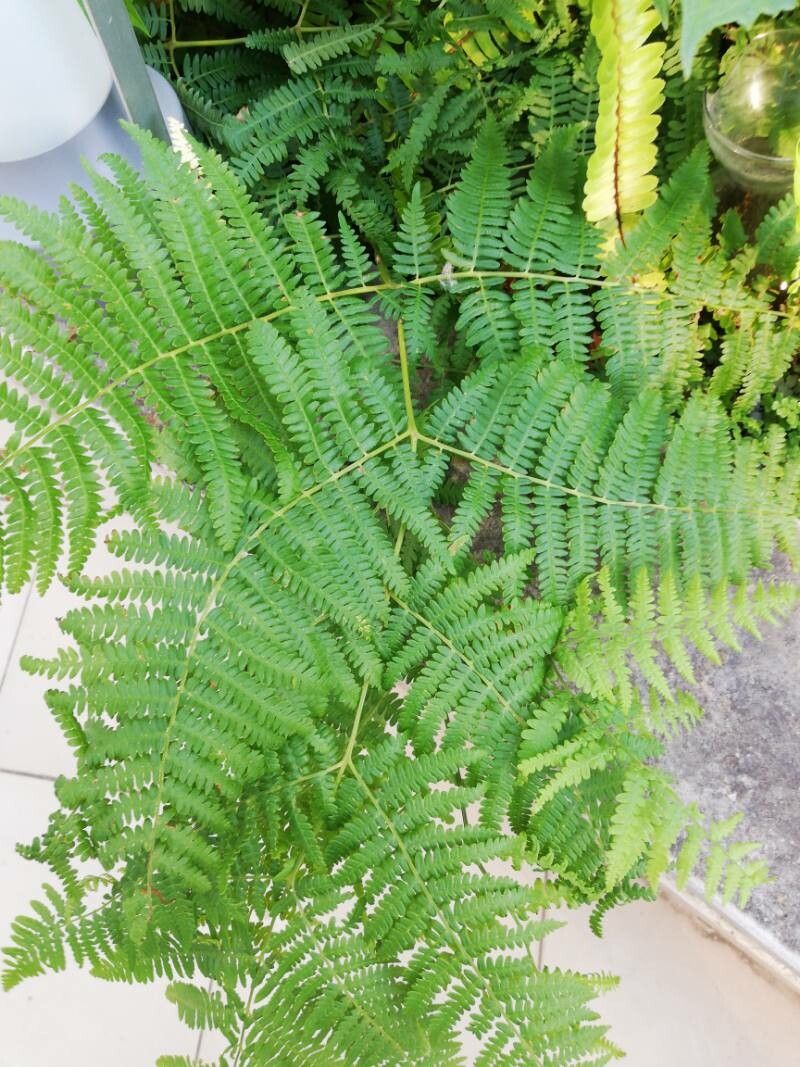
Hello fellow plant enthusiasts! Today, I want to chat about a fern that’s been bringing a bit of wild charm to my garden for years: Hypolepis hostilis. You might know it by its common name, “Lace Fern” or “Rusty Lace Fern,” and it’s truly a stunner. Its delicate, feathery fronds cascade beautifully, adding a wonderful texture to shady spots. Propagating this beauty is incredibly rewarding, and I’m happy to share how I do it.
Now, about those beginners out there – is Hypolepis hostilis for you? Honestly, I’d say it’s moderately challenging. It’s not as fuss-free as, say, a pothos, but with a little attention and patience, you’ll find success. The joy of watching a tiny cutting unfurl its first fiddlehead is something truly special.
The Best Time to Start
For the highest success rate, spring is your best bet. This is when the plant is actively growing and has the energy to put into developing new roots. You’ll want to look for healthy, well-established plants that are showing vigorous new growth. Late spring, just as things are warming up nicely, is often perfect.
Supplies You’ll Need
Here’s what I keep handy when I’m ready to propagate:
- Sharp Pruning Shears or a Clean Knife: For making clean cuts.
- Potting Mix: A light, well-draining mix is key. I often use a blend of seed-starting mix and perlite (about 50/50).
- Small Pots or Trays: Clean containers that will hold your cuttings.
- Clear Plastic Bags or a Greenhouse Dome: To create a humid environment.
- Watering Can or Spray Bottle: For gentle watering.
- Rooting Hormone (Optional but Recommended): A powder or gel can give your cuttings a boost.
- Plant Labels: So you know what you’ve planted and when!
- A Shady Spot: Your cuttings won’t want direct sun.
Propagation Methods
There are a couple of ways to go about this, but my favorite and most successful method for Hypolepis hostilis is division.
Division
This is usually the easiest way to propagate ferns, and Hypolepis hostilis is no exception.
- Gently Remove the Plant: Carefully take your Hypolepis hostilis out of its pot. If it’s in the ground, dig around it with a trowel to loosen the roots.
- Examine the Root Ball: Look for natural divisions in the plant. You’ll often see where new fronds are emerging from separate sections of roots.
- Make the Cut: Using your sharpest shears or a clean knife, carefully divide the root ball into smaller sections. Each section should have a healthy portion of roots and at least a few fronds, preferably some with developing fiddleheads. Try not to damage the delicate roots too much.
- Pot Up the Divisions: Fill your clean pots with your prepared potting mix. Make a small well in the center of each pot.
- Plant the Divisions: Place each division into its well, ensuring the roots are spread out and covered with soil. Gently firm the soil around the base.
- Water Thoroughly: Give each pot a good, gentle watering to settle the soil around the roots.
The “Secret Sauce” (Pro Tips)
Here are a couple of tricks I’ve learned over the years that can make a real difference:
- Don’t Drown Them: While ferns love humidity, soggy soil is a recipe for disaster, especially with divisions. Make sure your potting mix is moist but not waterlogged. The perlite in the mix really helps with drainage. You should be able to squeeze a handful and get just a tiny bit of water, not a stream.
- Mimic a Humid Microclimate: After potting your divisions, place them in a shady, protected spot. Cover the pots with a clear plastic bag or a propagator lid. This traps humidity, which is crucial for ferns to establish themselves before they can fully draw moisture from their roots. Just a little bit of fresh air each day is good, so you can lift the bag for a moment to prevent mold.
Aftercare & Troubleshooting
Once your divisions are potted and covered, keep them in that humid, shady location. Check the moisture of the soil regularly; you want it to remain consistently moist but not soggy. You should start to see new growth or the unfurling of fiddleheads within a few weeks.
The main thing to watch out for is rot. If you see blackening or mushy stems, or parts of the fronds turning yellow and looking limp despite the soil being moist, it’s a sign of too much water and poor air circulation. In this case, gently remove the affected parts, ensure better drainage, and increase ventilation. If a division looks completely dead, don’t be too disheartened; sometimes they just need more time or aren’t strong enough to survive.
A Encouraging Closing
Propagating plants is always a journey, and there’s so much to learn with each attempt. Be patient with your new Hypolepis hostilis divisions. Give them time to settle in and find their footing. Enjoy the process of nurturing them and watching them grow. Happy gardening!
Resource:
https://identify.plantnet.org/k-world-flora/species/Hypolepis%20hostilis%20(Kunze)%20C.Presl/data