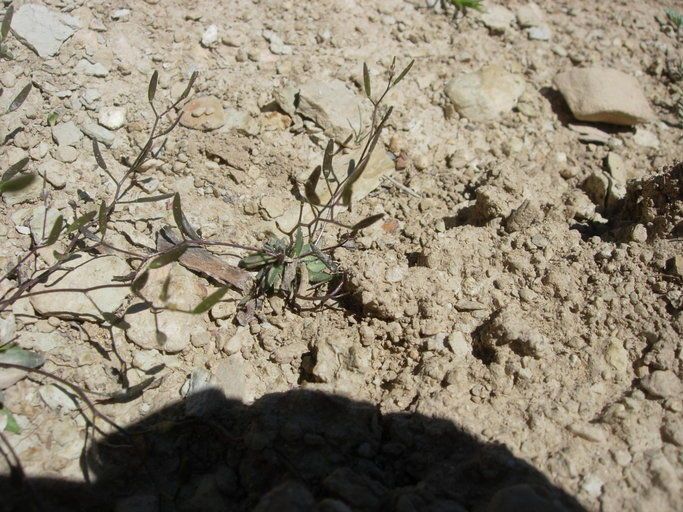
Hello, plant friends! Today, we’re diving into the wonderful world of a little gem: Draba crassifolia. You know those plants that just make you smile with their tiny flowers and resilient spirit? That’s Draba for you. They’re fantastic for rock gardens, or even a charming little pot on your patio. And honestly, the satisfaction of coaxing a new life from an existing plant? There’s nothing quite like it.
Now, about propagating Draba crassifolia. Is it a walk in the park for absolute beginners? Well, let’s say it’s more of a pleasant stroll with a few interesting turns. It’s not the trickiest plant out there, but it does appreciate a bit of gentle attention. With a little guidance, I know you can do it!
The Best Time to Start
My favorite time to get propagation underway is late spring to early summer. This is when the plant is actively growing and has plenty of energy to put into developing new roots. You’ll be looking for new, non-woody stem growth. Avoid older, tougher stems, as they’re less likely to root successfully.
Supplies You’ll Need
Gathering your tools beforehand makes the whole process a lot smoother. Here’s what I usually have on hand:
- Sharp pruning shears or a clean knife: For making clean cuts.
- Well-draining potting mix: I like a blend of about 50% peat moss or coco coir and 50% perlite, or a dedicated succulent/cacti mix. Good drainage is key for Draba.
- Small pots or seed trays: With drainage holes, of course!
- Rooting hormone (optional, but helpful): A powder or gel can give your cuttings a little boost.
- Plastic bag or cloche: To create a humid environment for cuttings.
- Small watering can or spray bottle: For gentle watering.
Propagation Methods
Draba crassifolia is quite amenable to stem cuttings and division. Let’s tackle those.
Stem Cuttings
- Select your stems: Look for healthy, semi-hardwood cuttings that are about 3-4 inches long. You want stems that are firm but still flexible.
- Make the cut: Using your clean shears or knife, make a clean cut just below a leaf node (where a leaf attaches to the stem). This is where root formation is most likely to occur.
- Prepare the cutting: Gently remove the lower leaves, leaving just a few at the top. If you’re using rooting hormone, dip the cut end into it now.
- Plant your cuttings: Fill your small pots with your well-draining mix. Make a small hole with a pencil or your finger and insert the cut end of the stem. Gently firm the soil around it.
- Provide humidity: Water the soil lightly. Then, cover the pot loosely with a plastic bag or place it under a cloche to create a mini-greenhouse effect. This keeps the humidity high, which is crucial while the cutting develops roots.
Division
This is a wonderfully straightforward method, especially if your Draba has started to form clumps.
- Gently remove the plant: Carefully take your Draba out of its pot or dig it up from the garden.
- Locate natural divisions: You’ll often see natural points where the plant can be separated into smaller sections.
- Separate the clumps: Using your hands or a clean knife, gently pull or cut the root ball into smaller pieces. Each piece should have some roots and a few stems.
- Replant immediately: Pot up each new division into its own pot with fresh, well-draining soil. Water them gently.
The “Secret Sauce” (Pro Tips)
Here are a couple of things I’ve learned over the years that really make a difference:
- Don’t let the leaves touch the water: If you opt for water propagation (though I find cuttings in soil work best for Draba), make sure absolutely none of the leaves are submerged. They will rot almost instantly if they are!
- Bottom heat is your friend: For stem cuttings, placing the pots on a gentle heating mat can significantly speed up root development. It mimics the warmth from the sun’s rays hitting the soil. Just ensure it’s not too hot – lukewarm is perfect.
Aftercare & Troubleshooting
Once your cuttings have rooted (you’ll see new growth, or you can gently tug on a stem and feel resistance), it’s time to transition them to their own little lives.
- Gradual acclimatization: If you used a plastic bag, slowly introduce them to drier air over a few days. Open the bag for a bit longer each day.
- Watering: Water when the top inch of soil feels dry. Avoid overwatering; this is the most common pitfall and can lead to rot.
- Light: Give them bright, indirect light. Direct sun can be too intense for young plants.
Troubleshooting: The biggest enemy here is rot. If your cuttings turn mushy or black, it’s usually a sign of too much moisture and not enough air circulation. Sadly, once rot sets in, it’s very difficult to save them. If divisions seem to be wilting, ensure they have adequate moisture and are not in direct sun.
Keep Growing!
Propagation is an adventure, and sometimes things don’t go as planned. That’s part of the learning process. The most important thing is to give it a try, be patient, and celebrate every little success. Enjoy watching those tiny Draba plants unfurl and flourish! Happy gardening!
Resource:
https://identify.plantnet.org/k-world-flora/species/Draba%20crassifolia%20Graham/data