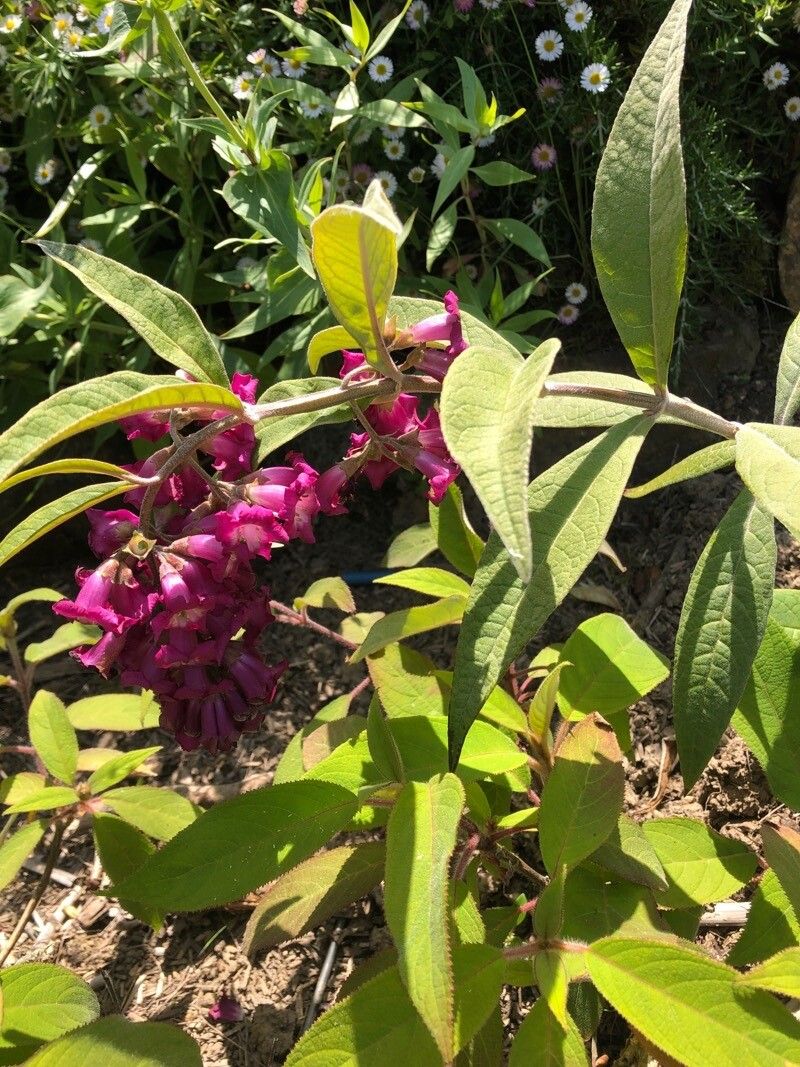
Oh, Buddleja colvilei! If you’re not familiar with this beauty, imagine a cascade of the most glorious, bell-shaped flowers, usually in shades of rich pink, crimson, or purple. They truly drip with elegance and, as a bonus, are magnets for all sorts of delightful pollinators. Growing them from scratch is incredibly satisfying, a real gardener’s thrill. Now, for the honest truth: Buddleja colvilei can be a little less forgiving than its more common butterfly bush cousins. It’s not impossible for beginners, mind you, but it’s definitely a plant that rewards patience and a keen eye. Get ready for a rewarding challenge!
The Best Time to Start
For Buddleja colvilei, the sweet spot is late spring or early summer. You want to work with semi-hardwood cuttings. This means the stems are no longer floppy and green, but they haven’t fully hardened off into old, woody growth. They should be firm enough to snap cleanly if you bend them, but still have a bit of flexibility. Think of it as the plant’s energetic youth – full of potential!
Supplies You’ll Need
Here’s what I always have on hand when I’m propagating Buddleja colvilei:
- Sharp, clean pruning shears or a sharp knife: Crucial for making clean cuts that heal well.
- Rooting hormone: A good quality rooting powder or gel makes a big difference.
- Potting mix: I prefer a light, free-draining mix. A good general-purpose potting mix amended with perlite or sharp sand is perfect. Think 50/50.
- Small pots or trays: Clean pots are a must! Anything from 3-4 inch pots to seed trays will work.
- Plastic bags or a propagator lid: To maintain humidity around your cuttings.
- Watering can or spray bottle: For gentle watering.
- Labels: Don’t forget to label your pots! Trust me on this.
Propagation Methods: Stem Cuttings
We’ll focus on stem cuttings as it’s the most reliable method for Buddleja colvilei.
- Take Your Cuttings: On a bright, dry morning, select healthy, non-flowering shoots from your parent plant. Look for stems that are a good semi-hardwood thickness. Cut stems that are about 4-6 inches long. Make your cut just below a leaf node (where a leaf attaches to the stem).
- Prepare the Cuttings: Gently remove the lower leaves, leaving just two or three at the top. If your cuttings have any flower buds forming, pinch them off. They’ll just drain precious energy.
- Apply Rooting Hormone: Dip the cut end of each stem into your rooting hormone. Make sure it’s evenly coated, then tap off any excess.
- Plant Your Cuttings: Fill your pots with your prepared potting mix. Make a hole in the center with a pencil or your finger. Insert the cutting so the base is about an inch deep. Gently firm the soil around the stem. You can usually fit several cuttings into one pot, as long as they aren’t touching each other.
- Water and Cover: Water the soil gently but thoroughly. You want it to be moist, not soggy. Then, cover the pots with a clear plastic bag or place a propagator lid over them. This creates a mini-greenhouse effect, keeping the humidity high, which is key for cuttings without roots. Place them in a bright spot, but out of direct, scorching sunlight.
The “Secret Sauce” (Pro Tips)
Here are a couple of things I’ve learned over the years that really boost success rates:
- Bottom Heat is Your Friend: If you have a heated propagator or can place your pots on a heat mat, it makes a world of difference. Warm soil encourages root development much faster. Just a gentle warmth, you don’t need it blazing hot.
- Don’t Drown Your Leaves: When you’re watering your cuttings, be careful not to let the leaves sit in water, especially if they’re touching the soil surface within the pot. This can lead to rot before roots even have a chance to form.
Aftercare & Troubleshooting
Once your cuttings are potted and covered, the waiting game begins. Check the moisture levels regularly. The soil should remain consistently moist but not waterlogged. If the leaves start to look sad or wilting, it might mean they are getting too much sun.
You’ll know your cuttings are starting to root when you see new growth appearing at the top of the stem, or if you give a gentle tug and feel some resistance. This can take anywhere from 4 to 8 weeks, sometimes longer.
Watch out for signs of rot. This usually looks like a black, mushy stem at the soil line. If you see this, unfortunately, that cutting is likely lost. It’s often caused by overwatering or poor air circulation. If you’re using plastic bags, try opening them up for a few hours each day to improve airflow.
Once you’re confident roots have formed, you can gradually acclimatize your new plants to normal conditions. This means slowly opening the plastic bag or propagator lid over a week or so, before fully removing it. Then, you can transplant them into their own individual pots.
A Encouraging Closing
Propagating Buddleja colvilei might ask for a little extra attention, but seeing those tiny roots emerge and new shoots unfurl is such a thrill. Be patient with yourself and the process. Every gardener has cuttings that don’t make it, but each attempt teaches you something new. Enjoy the journey, and soon you’ll have your very own elegant Buddleja colvilei to admire! Happy gardening!
Resource:
https://identify.plantnet.org/k-world-flora/species/Buddleja%20colvilei%20Hook.f./data