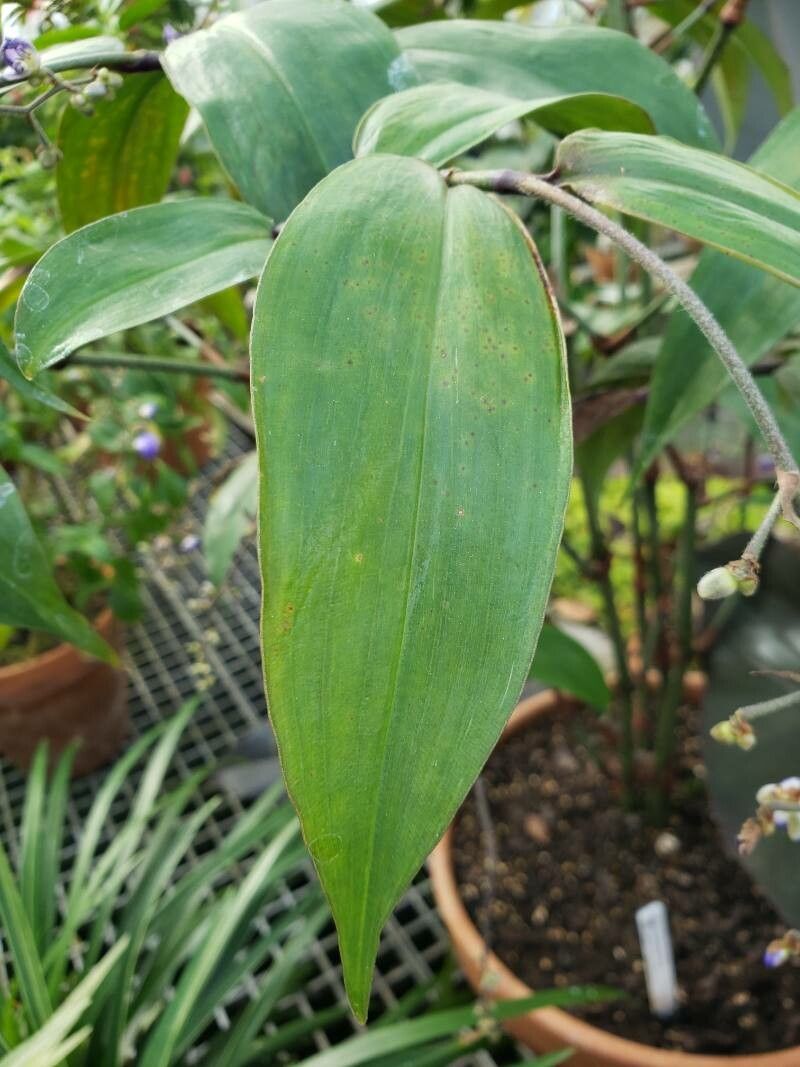
Hello fellow plant lovers! It’s me, your resident garden guru, back with another fabulous plant to talk about. Today, we’re diving into the wonderful world of Dichorisandra penduliflora. If you’ve ever admired its cascading, blue-tinged stems and delicate, almost ethereal blossoms, you’re not alone. This plant brings such a lush, tropical vibe to any space, whether it’s gracing a hanging basket or trailing from a shelf.
Now, for some good news: propagating Dichorisandra penduliflora is genuinely rewarding, and I’d say it’s quite accessible even for beginners. Witnessing a tiny stem transform into a thriving new plant is pure magic, and with this beauty, it’s not an overly complicated spell to cast!
The Best Time to Start
My personal favorite time to get propagating is during the spring and early summer months. This is when the plant is in its most vigorous growth phase. Think of it as the plant’s prime time for energy, making it really receptive to new beginnings. You’ll find that cuttings taken when the plant is actively growing root much faster and with less fuss than those taken when it’s dormant.
Supplies You’ll Need
Gathering your tools beforehand makes the whole process smooth sailing. Here’s my go-to list:
- Sharp Pruning Shears or a Clean Knife: For making clean cuts.
- A Well-Draining Potting Mix: I like a blend of equal parts perlite, peat moss, and a good quality potting soil. It allows for excellent aeration.
- Rooting Hormone (Optional but Recommended): Helps speed up root development.
- Small Pots or Seedling Trays: For your new baby plants.
- Clear Plastic Bags or a Humidity Dome: To maintain humidity around your cuttings.
- Watering Can with a Fine Rose or Spray Bottle: For gentle watering.
Propagation Methods
Let’s get our hands dirty! Here are the tried-and-true ways I propagate Dichorisandra penduliflora:
Stem Cuttings: My Go-To Method
This is by far the easiest and most successful way I’ve found.
- Select a Healthy Stem: Look for a vigorous, mature stem on your plant. You want a piece that has a few sets of leaves, ideally without any flowers or developing buds.
- Make the Cut: Using your clean pruning shears or knife, make a cut just below a leaf node. A leaf node is where a leaf attaches to the stem. This is where the magic happens, where roots are most likely to form. Aim for cuttings that are at least 4-6 inches long.
- Prepare the Cutting: Gently remove the lower leaves, leaving just 1-2 sets of leaves at the top. This prevents the submerged leaves from rotting.
- Apply Rooting Hormone (If Using): Dip the cut end of the stem into your rooting hormone, tapping off any excess powder. This isn’t strictly necessary for this plant, but it does give you a little boost.
- Plant the Cutting: Fill your chosen pot with your well-draining mix. Make a small hole with your finger or a pencil, and insert the cut end of the stem. Press the soil gently around it to secure.
- Water Gently: Water the soil thoroughly but gently. Let excess water drain away.
- Create a Humid Environment: Cover the pot with a clear plastic bag, securing it around the rim with a rubber band, or place it under a humidity dome. This is crucial for keeping the cutting from drying out before it can root. Make sure the leaves aren’t touching the sides of the bag!
Water Propagation: A Visual Treat
If you like to see the roots forming, this is a fun alternative.
- Make Your Cuttings: Follow steps 1-3 from the stem cuttings method.
- Place in Water: Find a clean jar or glass and fill it with fresh water. Place your cuttings in the water, ensuring that the leaf nodes are submerged, but the leaves themselves are above the water line.
- Position and Wait: Place the container in a bright spot with indirect sunlight. Change the water every few days to keep it fresh and prevent bacterial growth. You should start to see tiny white roots emerge in a few weeks.
- Pot Up: Once your cuttings have developed a good root system (about 1-2 inches long), carefully transplant them into your well-draining potting mix.
Division: For Established Plants
If your Dichorisandra has become a bit crowded in its pot, now’s the perfect time to divide it.
- Remove from Pot: Gently ease the entire plant out of its container.
- Examine the Roots: You’ll likely see that the root ball can be gently pulled apart. Look for natural divisions where sections of the plant are clearly separated.
- Gently Separate: Using your hands or a clean trowel, carefully separate the root ball into smaller sections, ensuring each section has roots and at least one or two stems with leaves.
- Repot: Plant each new division into its own pot filled with fresh, well-draining soil. Water as you normally would your established plant.
The “Secret Sauce” (Pro Tips)
Here are a couple of tricks I’ve learned over the years that really make a difference:
- Warmth is Key: While bright, indirect light is important, providing a little bottom heat can significantly speed up root development from cuttings. You can achieve this by placing your pots on a seed-starting heat mat. It’s like giving your baby plants a cozy spa day!
- Don’t Drown Your Dreams: While humidity is vital, soggy soil is the enemy of new cuttings. Ensure your potting mix stays consistently moist but never waterlogged. Check the soil moisture with your finger. If the top inch feels dry, it’s time to water. Overwatering is the fastest way to encourage rot.
Aftercare & Troubleshooting
Once you see those beautiful new roots starting to form (you might see new leaf growth as a good sign too!), it’s time to give your new plant a bit of extra care.
- Gradual Acclimation: If you’ve used a plastic bag or dome, gradually introduce your new plant to lower humidity over a week or so. This means opening the bag a little more each day or removing the dome for longer periods.
- Watering: Water as you would a mature plant, allowing the soil to dry out slightly between waterings.
- Light: Continue to provide bright, indirect light. Direct sun can scorch tender new growth.
Troubleshooting: The most common issue you’ll face is rot. This usually happens if your cuttings sit in waterlogged soil or if the humidity is too high and stagnant. If you see a cutting turning black or mushy, it’s likely rotted. Don’t be discouraged! Just toss the affected cutting and try again, paying closer attention to your watering and humidity levels. Yellowing leaves that aren’t caused by overwatering might indicate a need for slightly more light.
A Encouraging Closing
Propagating plants is a journey, and like any good journey, it requires a little patience and a lot of love. Don’t get discouraged if a cutting doesn’t take. Every attempt is a learning experience, and the rewards of creating new life from your existing plants are immense. Enjoy the process, celebrate every tiny root, and soon you’ll have a whole collection of your beloved Dichorisandra penduliflora to share! Happy propagating!
Resource:
https://identify.plantnet.org/k-world-flora/species/Dichorisandra%20penduliflora%20Kunth/data