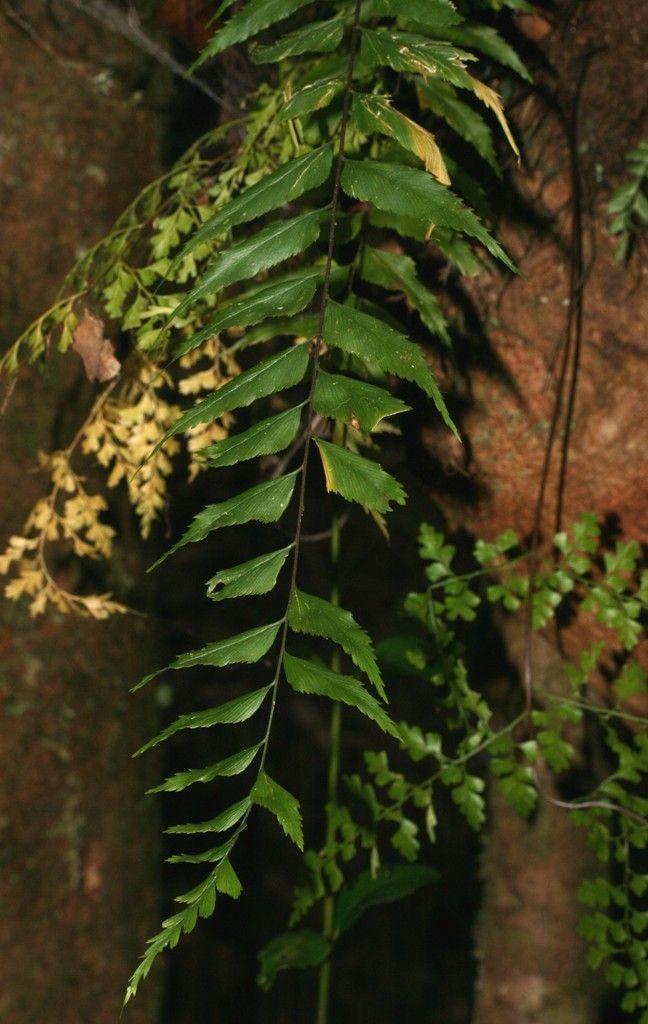
Oh, hello there! Pull up a chair. I’m so glad you’re interested in Asplenium filidens, also known as the bird’s nest fern. If you’re looking for a touch of lush, tropical beauty to brighten your home, this fern is an absolute star. Its architectural fronds, unfurling like elegant fiddleheads, have a way of making any space feel a bit more special. And the best part? Propagating these beauties is a wonderfully rewarding endeavor. For beginners, I’d say it’s moderately achievable, but with a little guidance and patience, you’ll be swimming in new ferns in no time.
The Best Time to Start
When it comes to propagating Asplenium filidens, spring is your best friend. This is when the plant is really in its growth spurt. You’ll notice new fronds appearing, and this energy translates beautifully into successful propagation. If spring isn’t feasible, late summer can also work, but I’ve found spring gives the best, most vigorous results. Look for a healthy, established plant that’s active and growing.
Supplies You’ll Need
Here’s what you’ll want to have on hand before you dive in:
- Sharp, clean pruning shears or a clean knife: For making precise cuts.
- Potting mix: A well-draining, peat-based potting mix is ideal. You can also amend regular potting soil with perlite or orchid bark for better aeration.
- Small pots or propagation trays: Clean ones are a must to prevent disease.
- Clear plastic bags or a propagation dome: To create a humid environment.
- (Optional) Rooting hormone: While not always necessary for this fern, it can give cuttings an extra boost.
- Water: For misting and watering.
- A spray bottle: For gentle misting.
Propagation Methods
There are a couple of ways to go about this, but I find these two methods work wonders for Asplenium filidens.
Division
This is my go-to method, especially for more mature plants. It’s like giving your plant a little makeover and getting new friends out of the deal!
- Gently extract the fern from its pot. If it’s root-bound, you might need to carefully work a knife around the edges.
- Inspect the root ball. You’re looking for distinct clumps or crowns from which new fronds are emerging.
- Carefully pull the plant apart at the natural divisions. If it’s stubborn, use your clean knife or shears to make a clean cut, ensuring each section has a good portion of roots and some healthy fronds.
- Pot up each new division into its own small pot filled with your chosen potting mix.
- Water gently to settle the soil.
Spore Propagation (For the adventurous!)
This is the more classic way ferns reproduce, and while it takes longer, there’s a special satisfaction in watching these tiny wonders develop.
- Look for ripe sporangia on the undersides of mature fronds. They often look like little brown dots or lines.
- Carefully scrape or cut off a sporangium-laden section of the frond (or a whole frond if it’s very mature).
- Place this section in a clean paper envelope or on a piece of clean white paper. Let it dry for a few days in a warm, dry place. You should see a fine, dust-like material – these are your spores!
- Prepare your propagation container. Use a shallow, clean tray and fill it with a sterile, moist medium like a sphagnum moss/perlite mix.
- Lightly sprinkle the spores over the surface of the medium. Don’t bury them!
- Cover the tray with a clear plastic dome or bag to maintain high humidity.
- Place in indirect light. Keep the medium consistently moist but not waterlogged. This stage can take weeks to months to see the first signs of growth (tiny green patches called gametophytes).
The “Secret Sauce” (Pro Tips)
Here are a few things I’ve learned over the years that really make a difference:
- Don’t overwater divisions initially. While they need moisture, too much can lead to rot where you divided the plant. Let the top inch of soil dry out slightly between waterings.
- Humidity is king for spores. Those tiny gametophytes are extremely sensitive to drying out. A true propagation dome with good ventilation or a well-sealed plastic bag is your best bet for maintaining that consistent, steamy environment.
- For divisions, consider a gentle misting. A light misting with water can help the transition period, especially if the air in your home is dry. Just avoid saturating the soil.
Aftercare & Troubleshooting
Once your divisions have settled in and look like they’re starting to send up new growth, they’re essentially treated like a mature bird’s nest fern. Water when the top inch of soil feels dry, and aim for bright, indirect light. If you’re propagating from spores, this stage is a marathon, not a sprint. Keep that humidity high and observe patiently.
The most common issue you’ll face is rot, often due to overwatering, especially with divisions. If you see leaves turning yellow and mushy, or a blackening at the base, it’s usually a sign of too much moisture and poor air circulation. Remove any affected parts immediately and adjust your watering schedule. For spore propagation, failure typically looks like no growth at all, or the development of mold – again, often a sign of too much water or poor air exchange.
A Encouraging Closing
Propagating Asplenium filidens is such a wonderful way to connect with your plants and share their beauty. Don’t be discouraged if your first attempt isn’t perfect. Every gardener has had their share of failures – it’s just part of the learning process! Be patient, observe your new fern babies closely, and most importantly, enjoy the journey. Happy growing!
Resource:
https://identify.plantnet.org/k-world-flora/species/Asplenium%20filidens%20Brownlie/data