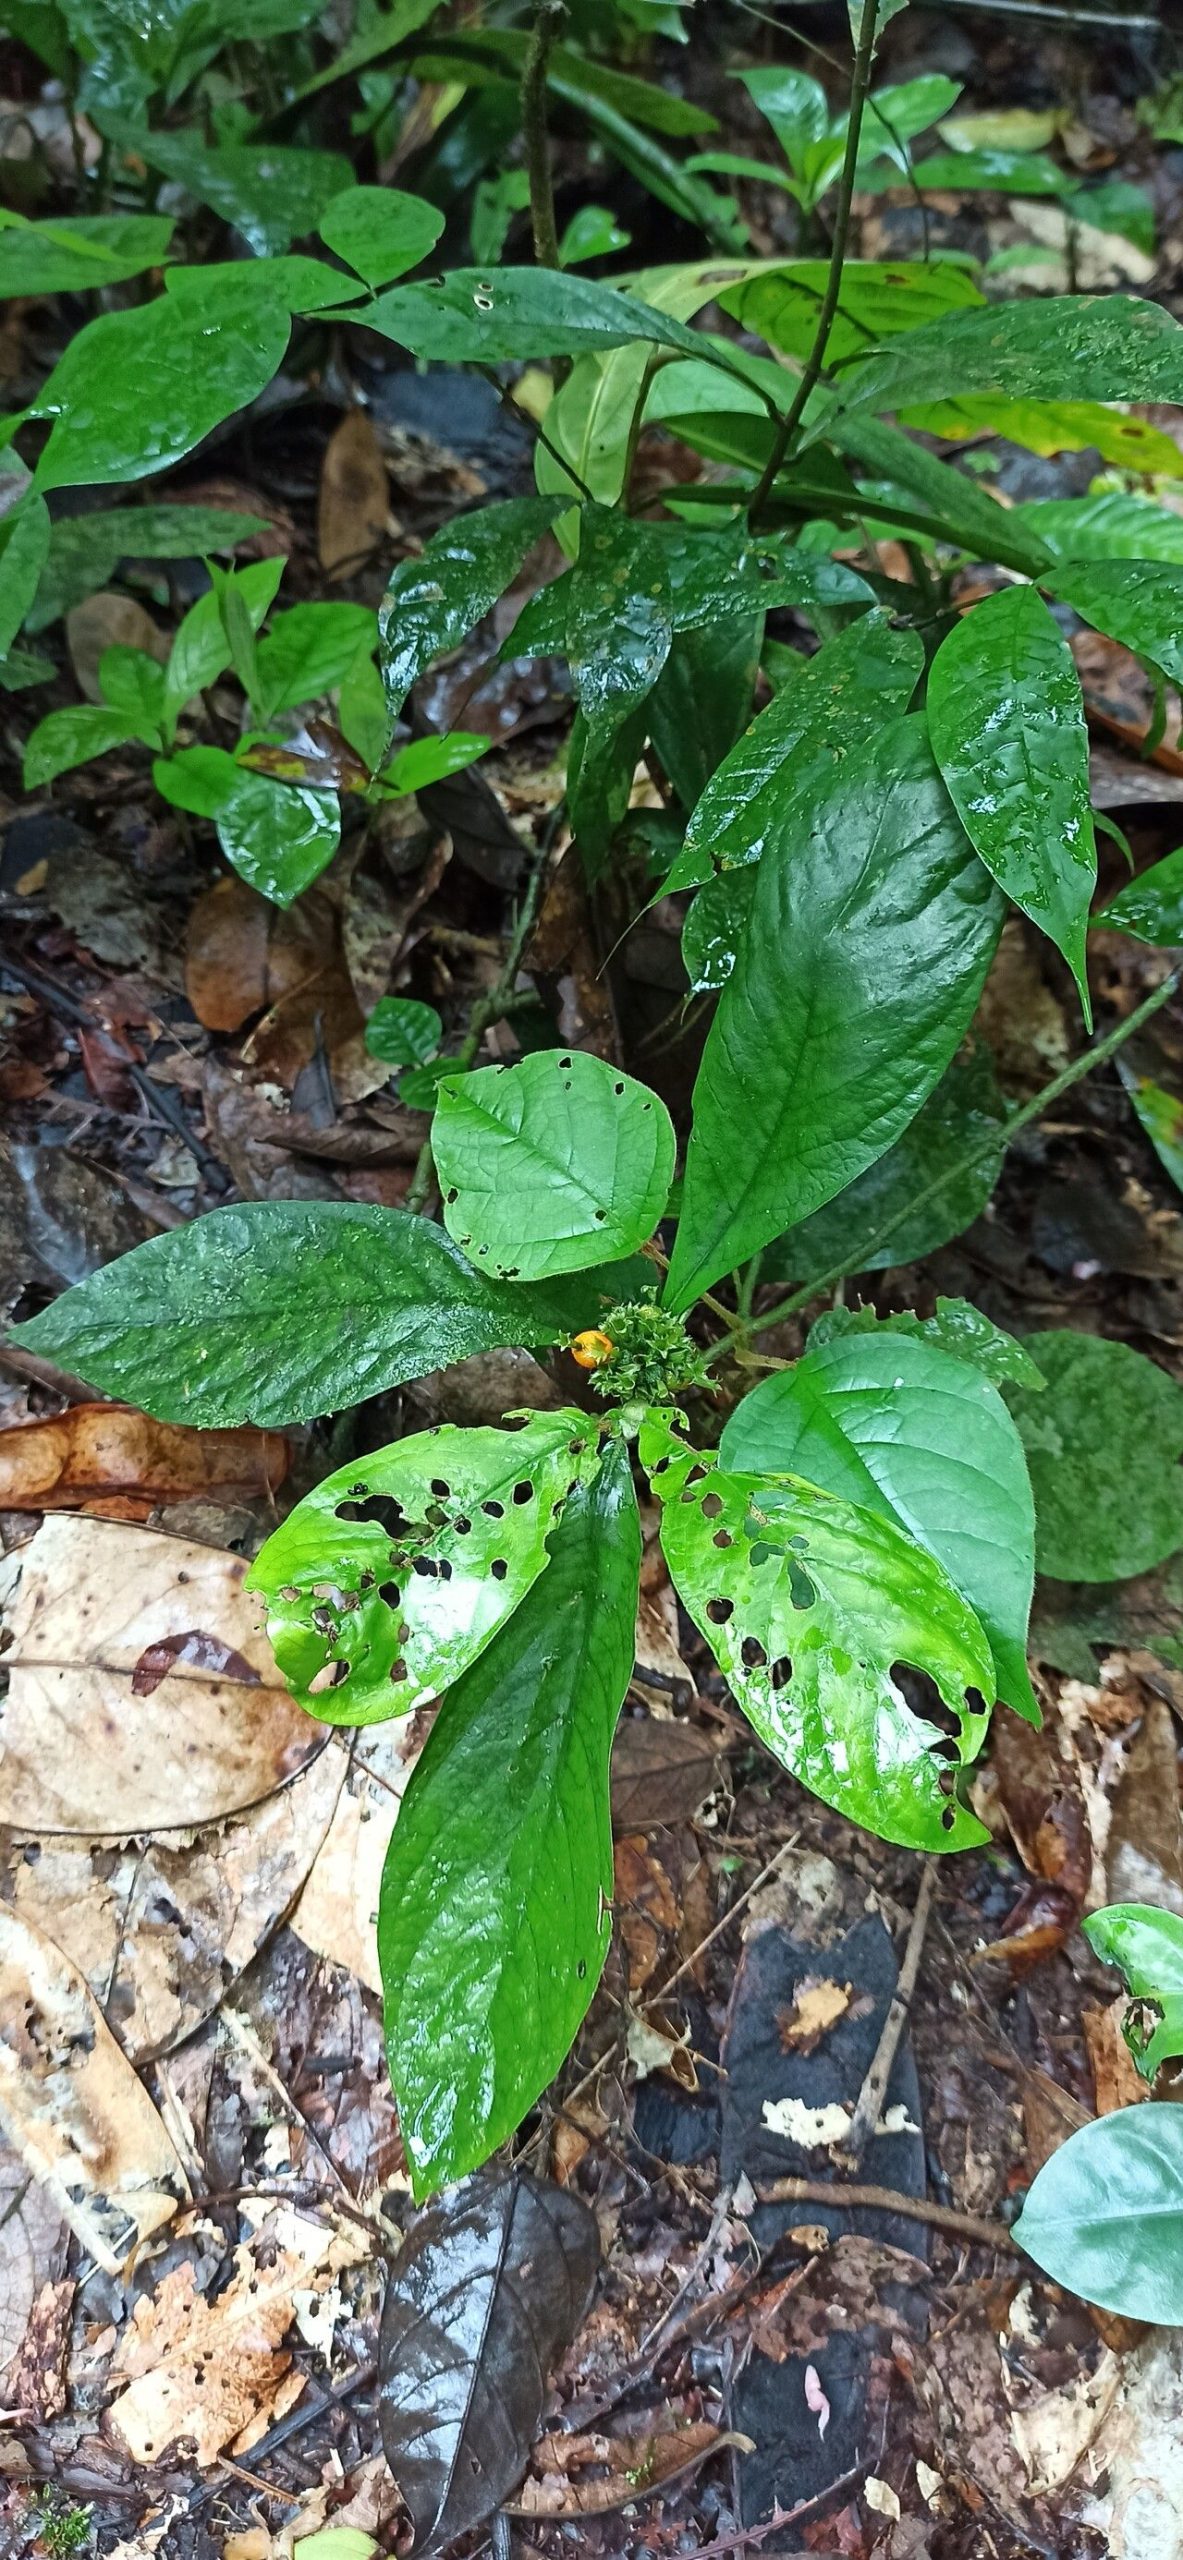
Hello there, fellow plant lovers! I’m so excited to chat with you today about a truly captivating plant: Hymenocoleus globulifer. If you haven’t had the pleasure yet, imagine a cascade of glossy, heart-shaped leaves, often with a surprising splash of color on the undersides. It’s a real eye-catcher, isn’t it? And the best part? Creating more of these beauties for yourself or to share with friends is incredibly rewarding. Now, for the big question: is it easy? I’d say it’s moderately easy. It’s not a complete walk in the park for absolute beginners, but with a little guidance, you’ll be well on your way to success.
The Best Time to Start
Spring is truly your best friend when it comes to propagating Hymenocoleus globulifer. Think of it as the plant’s natural burst of energy. As the days get longer and the temperatures warm up, your plant is actively growing and has the best chance of producing strong, healthy roots. Aim for after the last frost, when the plant is actively putting out new growth.
Supplies You’ll Need
Gathering your supplies beforehand makes the whole process so much smoother. Here’s what I recommend:
- Sharp Pruning Shears or a Clean Knife: Sanitize these! You don’t want to introduce any nasties.
- Well-Draining Potting Mix: A good blend of peat moss, perlite, and a bit of orchid bark works wonders.
- Small Pots or Propagation Trays: Think about the size your cuttings will need.
- Rooting Hormone (Optional but Recommended): A soft rooting hormone powder can give your cuttings a helpful boost.
- Clear Plastic Bag or Dome: For creating that humid environment.
- Watering Can with a Fine Rose or Spray Bottle: Gentleness is key!
- Marker and Tape: For labeling your precious cuttings.
Propagation Methods
Let’s get our hands dirty! Hymenocoleus globulifer is a champion when it comes to stem cuttings.
Stem Cuttings:
- Select Your Source: Choose a healthy, vigorous stem from your mature plant. Look for a stem that has at least two to three sets of leaves.
- Make the Cut: Using your sterilized shears or knife, make a clean cut just below a leaf node. This is where the magic happens – new roots will emerge from here. Aim for cuttings that are about 4-6 inches long.
- Prepare the Cutting: Gently remove the lower leaves from the cutting, leaving just one or two at the very top. This prevents them from rotting in the soil. If your cutting is particularly large, you can even cut the remaining leaves in half horizontally – this reduces water loss.
- Apply Rooting Hormone (If Using): Dip the cut end of your stem into the rooting hormone powder. Tap off any excess.
- Plant Your Cutting: Fill your small pot or tray with your well-draining potting mix. Make a small hole with your finger or a pencil. Gently insert the cut end of the stem into the hole, ensuring the node where you removed the leaves is below the soil surface. Firm the soil gently around the cutting.
- Water Lightly: Water your newly potted cutting very gently. You want the soil to be moist but not waterlogged.
- Create a Humid Environment: Place a clear plastic bag over the pot, or cover your tray with a dome. This traps moisture and mimics the humid conditions the cutting needs to root. Make sure the leaves don’t touch the sides of the bag if possible.
Water Propagation (Alternative):
You can also try rooting cuttings in water, though I find soil propagation often leads to stronger plants.
- Follow steps 1-3 for stem cuttings.
- Instead of potting, place the bottom of the cutting in a small jar or vase filled with clean water.
- Crucially, ensure no leaves are submerged in the water. This is a quick way to invite rot.
- Place the container in bright, indirect light.
- Change the water every few days to keep it fresh and prevent bacterial growth.
- Wait for roots to develop, usually at least an inch long, before carefully transplanting them into potting mix.
The “Secret Sauce” (Pro Tips)
Here are a few things I’ve learned over the years that can really make a difference:
- Bottom Heat is Your Friend: Hymenocoleus globulifer absolutely loves a bit of warmth from below. Placing your propagation tray or pots on a gentle heat mat can significantly speed up root development. It mimics the conditions they’d find in their native environment and encourages that rooty goodness.
- Don’t Be Afraid to Pinch: Once your cutting has started to grow and you see new leaves unfurling, you might want to pinch off the very tip of the stem. This encourages the plant to branch out rather than just grow straight up, leading to a bushier, more attractive specimen.
- Fresh Air Breaks: While humidity is vital, your cuttings don’t want to be suffocated! Make sure to remove the plastic bag or dome for a few hours each day to allow for some air circulation. This helps prevent fungal issues.
Aftercare & Troubleshooting
Once your cuttings have developed a good root system (you can gently tug on them to feel resistance, or peek into drainage holes if you’re brave!), it’s time for them to become their own little plants.
- Gradual Acclimation: If you’ve been using a plastic bag, start by taking it off for longer periods each day. Gradually increase the time until the bag is off permanently. This helps them adjust to the normal humidity of your home.
- Watering: Water your new plant when the top inch of soil feels dry. You still want to avoid soggy soil.
- Light: Continue to provide bright, indirect light.
- Troubleshooting: The most common issue you’ll encounter is rot. If you see your cutting turning mushy, black, or just generally looking sad and wilting without apparent cause, it’s likely rot. This is usually due to overwatering or poor air circulation. In this case, sadly, the cutting is usually unsalvageable. If you catch it early, you might be able to cut away the rotten part and try to root the healthy section, but it’s a long shot. Yellowing leaves can also be a sign of too much water, or sometimes a lack of a nutrient, but usually, it’s water.
A Word of Encouragement
Propagating plants is a journey, not a race. There will be times when a cutting simply doesn’t make it, and that’s okay. Every gardener has experienced it! The key is to be patient, observe your plants, and learn from each attempt. Enjoy the process of nurturing these tiny beginnings, and before you know it, you’ll have a whole collection of Hymenocoleus globulifer to admire. Happy propagating!
Resource:
https://identify.plantnet.org/k-world-flora/species/Hymenocoleus%20globulifer%20Robbr./data