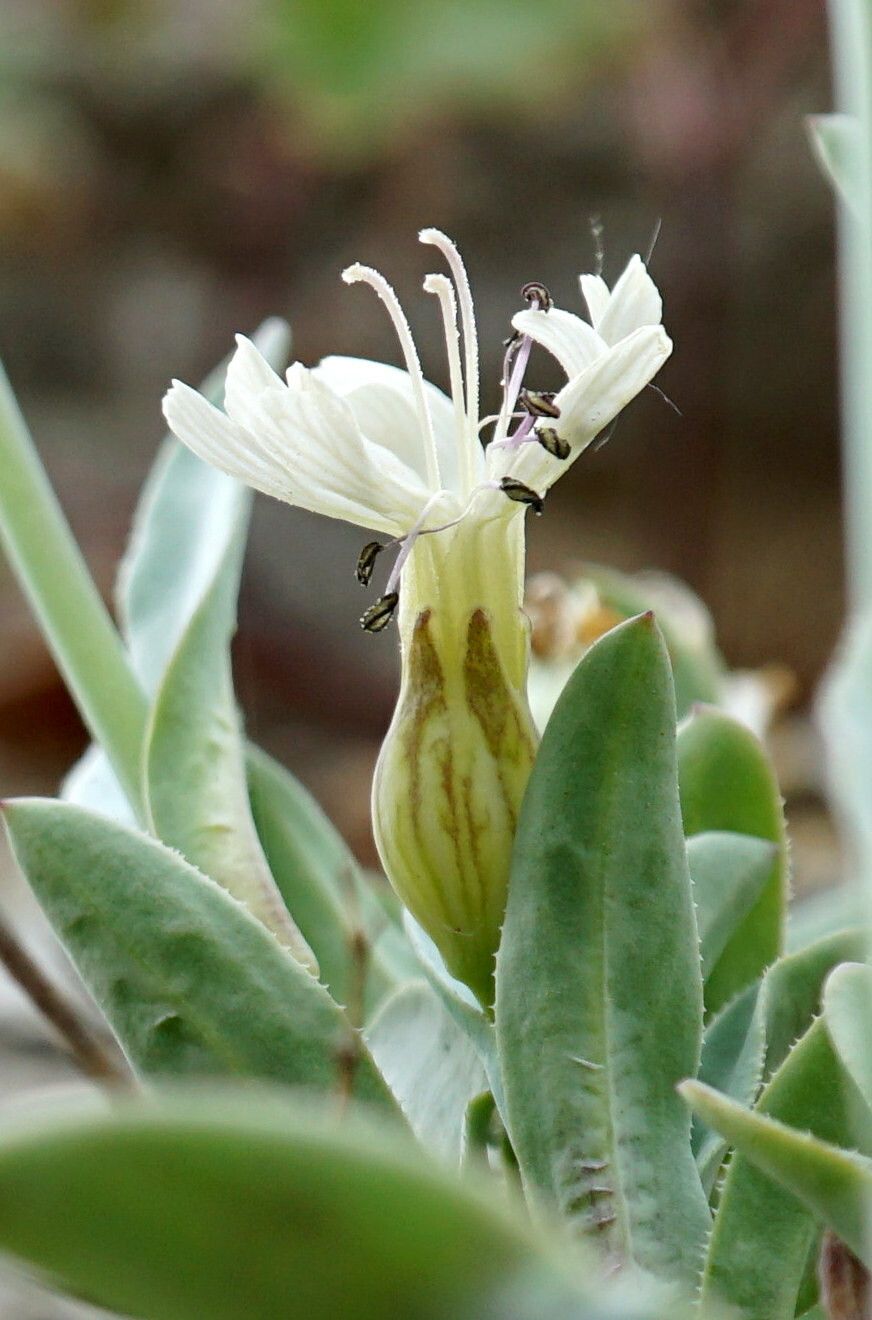
Hello, fellow garden enthusiasts! Today, I want to talk about a plant that has really captured my heart over the years: Silene csereii. You might know it by its common name, Hungarian catchfly, or perhaps you’ve admired its delicate, star-shaped pink or white flowers that bloom so profusely in late spring and early summer. It’s like a whisper of pure joy in the garden bed, and propagating it is a truly wonderful way to share that joy. It’s a plant that doesn’t demand too much, making it relatively easy for beginners to dive into, and incredibly rewarding when you see those first little roots taking hold.
The Best Time to Start
For Silene csereii, I’ve found the sweet spot for propagation is late spring, just as things are really starting to take off after the chill of winter. You want to focus on young, vigorous growth. Think of it as capturing that youthful energy! This is when the stems are most pliable and have the most stored energy to put into rooting. Trying to propagate from old, woody stems just won’t yield the same enthusiastic results.
Supplies You’ll Need
Here’s what I like to have on hand when I’m ready to get my hands dirty:
- Sharp, clean pruning shears or a sharp knife: Essential for making clean cuts.
- A good quality potting mix: I prefer a mix that’s light and well-draining. A blend of peat moss, perlite, and compost works beautifully. You could also use a seed starting mix, which is usually very fine and sterile.
- Small pots or seedling trays: For housing your cuttings.
- Rooting hormone (optional but recommended): This can give your cuttings a significant boost. Look for one that contains IBA.
- A spray bottle: For misting.
- Clear plastic bags or domes: To create a humid microclimate.
- A small trowel or dibber: For making holes in the soil.
Propagation Methods
Silene csereii is a dream to propagate, and I usually find success with stem cuttings. It’s straightforward and yields excellent results.
Stem Cuttings:
- Take the Cuttings: On a pleasant spring day, select non-flowering shoots from a healthy, established plant. You’re looking for stems that are about 4-6 inches long. Use your clean shears to make a clean cut just below a leaf node. A leaf node is that little bump on the stem where the leaves emerge; it’s where the magic happens for root formation.
- Prepare the Cuttings: Gently remove the lower leaves from the cutting, leaving just a few at the very top. This prevents them from rotting in the soil. If you’re using rooting hormone, dip the cut end of the stem into it, tapping off any excess.
- Plant Your Cuttings: Fill your small pots or trays with your prepared potting mix. Use your dibber or finger to make a small hole in the center of the soil. Carefully insert the cut end of the stem into the hole, ensuring at least one leaf node is below the surface of the soil. Gently firm the soil around the cutting.
- Create a Humid Environment: Water the soil lightly with your spray bottle. Then, cover the pot or tray with a clear plastic bag, creating a mini-greenhouse. You can use stakes to keep the plastic from touching the leaves. Alternatively, a clear plastic dome works wonders.
Water Propagation (A fun alternative, though I find soil cuttings more robust):
- Prepare Cuttings: Follow steps 1 and 2 from the stem cuttings method above.
- Place in Water: Pop your cuttings into a small jar or glass filled with clean, fresh water. Make sure the water level covers the lowest leaf nodes but doesn’t submerge the leaves.
- Monitor and Change Water: Place the jar in bright, indirect light. Change the water every few days to prevent stagnation and the proliferation of bacteria. You should see tiny white roots begin to emerge from the nodes within a couple of weeks. Once the roots are about an inch long, carefully transplant them into your potting mix.
The “Secret Sauce” (Pro Tips)
- Don’t flood the well: When you first plant your cuttings, water them gently, but then let a bit of the surface dry out between waterings. Overly soggy soil is the quickest way to rot your precious cuttings. Think of it as encouraging them to seek out moisture, which they’ll do with their developing roots.
- Bottom heat can be a game-changer: While Silene csereii is fairly forgiving, providing a gentle warmth from below can really speed up root development. A seedling heat mat set on low is perfect for this. You’ll see them perk up and start rooting much faster, especially if your ambient temperature is a bit cooler.
- Patience is your best fertilizer: Honestly, the biggest secret is just giving them time and consistent, gentle care. Don’t be tempted to yank them out to check for roots too early!
Aftercare & Troubleshooting
Once you see new leaf growth on your cuttings, that’s a fantastic sign that roots have formed! Gently transition them out of their humid environment by gradually increasing ventilation. Open the plastic bag a little more each day over a week. Your new little plants will be ready for individual pots when they’re strong enough to handle. Continue to water them when the top inch of soil feels dry.
The most common issue you’ll encounter is rot. If you see your cutting turning mushy or black, sadly, it’s likely gone too far. This usually happens because the soil is too wet or there’s not enough air circulation. To prevent this, always use well-draining soil, don’t overwater, and ensure good airflow. If you notice a few cuttings failing, don’t despair! It’s a natural part of the process. Just remove the affected ones and carry on with the healthy ones.
Keep Growing!
Propagating Silene csereii is a journey of observation and a little bit of nurture. Don’t be discouraged if your first attempt isn’t perfect. Each time you try, you learn a little more, and your intuition will grow. Enjoy the process, celebrate those tiny rootlets, and get ready to fill your garden, or share with friends, the delightful blooms of your very own catchfly clones. Happy gardening!
Resource:
https://identify.plantnet.org/k-world-flora/species/Silene%20csereii%20Baumg./data