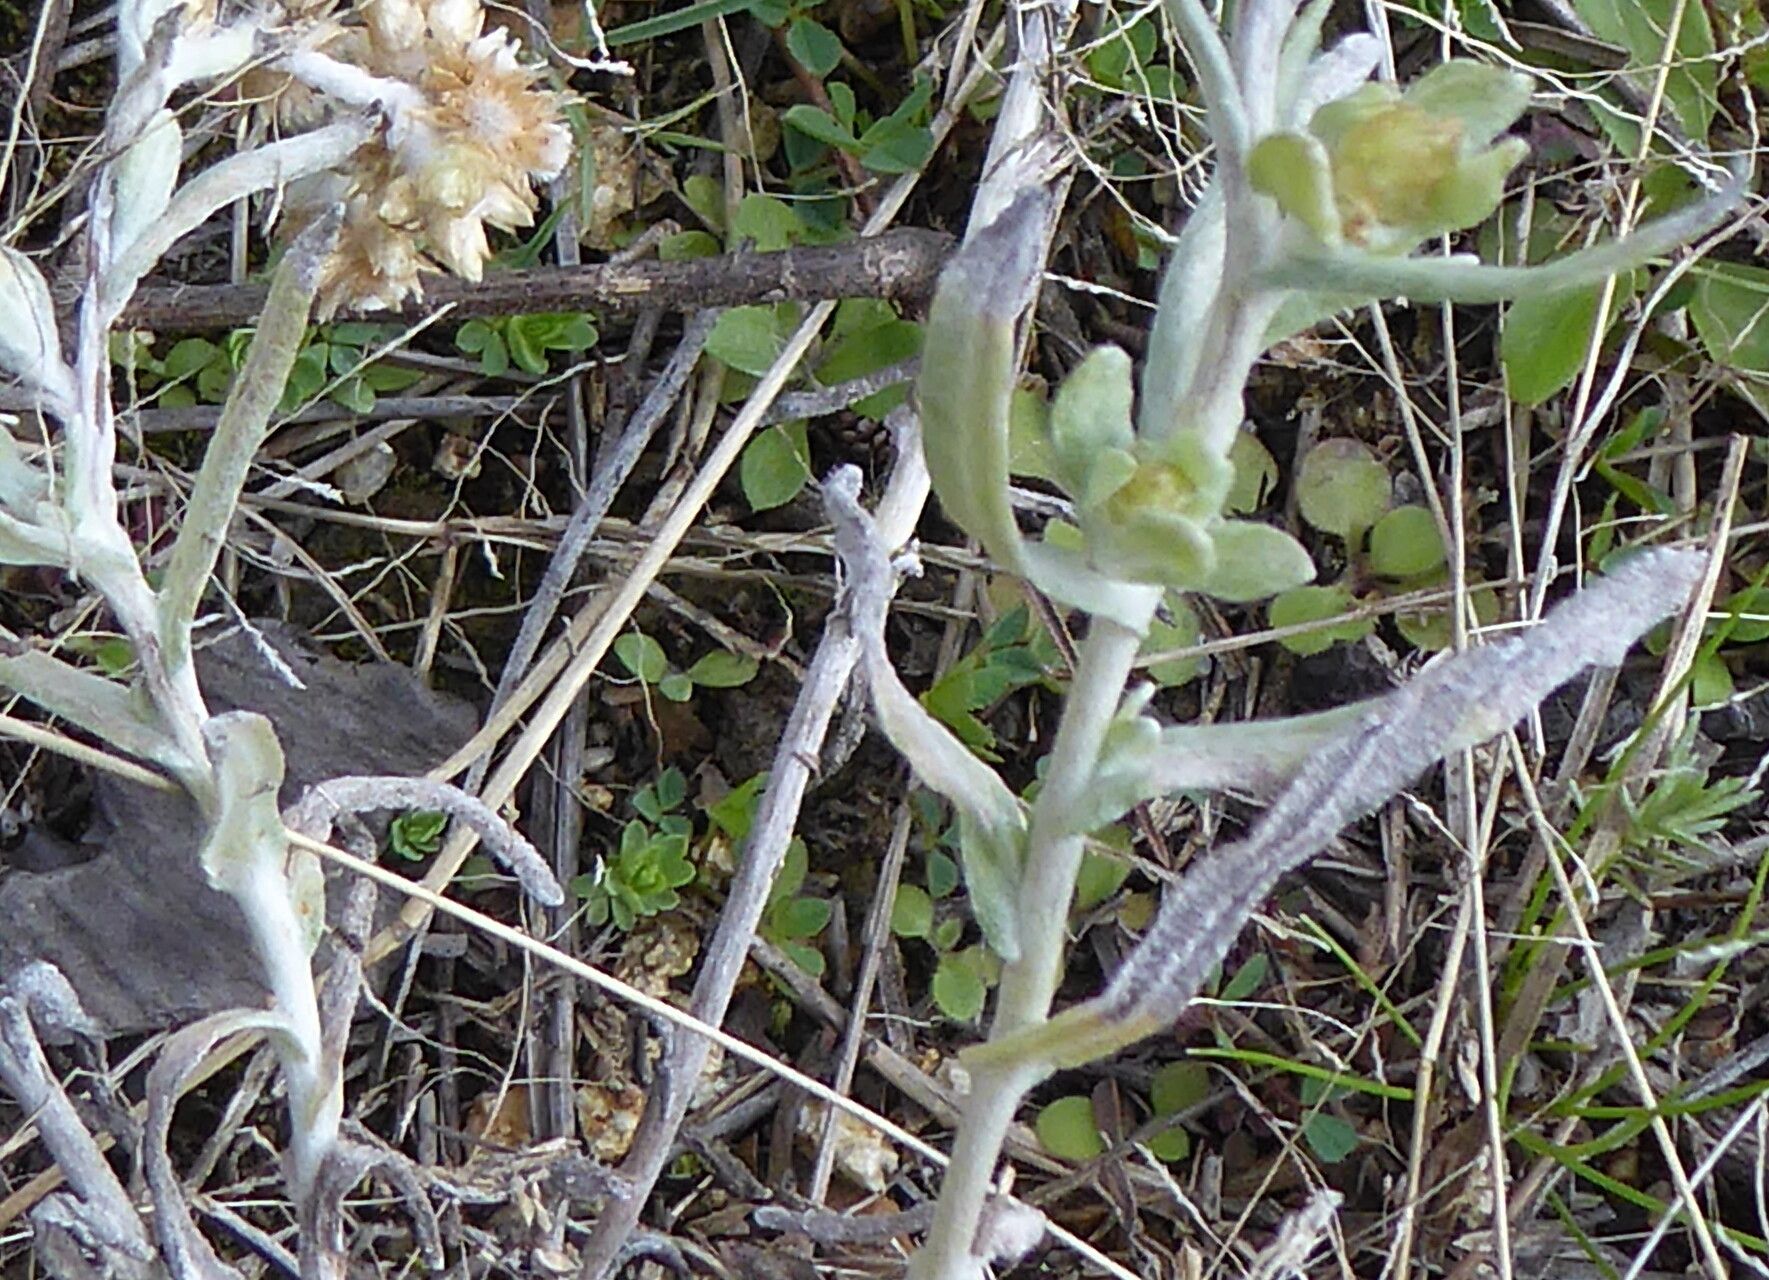
Hello, fellow garden enthusiasts! It’s so good to have you here. Today, we’re diving into the wonderful world of propagating Pseudognaphalium luteoalbum, more commonly known as the white everlasting or golden cudweed. This charming plant with its soft, fuzzy leaves and delicate white or yellow daisy-like flowers brings such a sweet, understated beauty to any garden.
Beyond its visual appeal, propagating this gem is wonderfully rewarding. Watching a tiny cutting transform into a thriving plant is pure magic, and it’s a fantastic way to fill your garden beds or share the joy with friends. Happily, for those of you just starting out on your propagation journey, Pseudognaphalium luteoalbum is generally quite forgiving. You’ll likely find success from your very first try!
The Best Time to Start
For the highest success rate, late spring to early summer is your golden window. This is when the plant is actively growing, meaning it has the energy reserves to invest in developing new roots. You’ll want to take cuttings from healthy, vigorous stems that haven’t yet flowered. Look for stems that are firm but still a bit flexible – not woody, but not so soft that they’ll easily bruise.
Supplies You’ll Need
Gathering your supplies beforehand makes the process so much smoother. Here’s what you’ll want in your arsenal:
- Sharp Pruning Shears or a Craft Knife: A clean cut is vital for preventing disease.
- A Well-Draining Potting Mix: I like to use a blend of equal parts peat moss or coco coir, perlite, and coarse sand. This ensures excellent aeration and drainage, which is crucial.
- Small Pots or Seedling Trays: Anything that can hold your cuttings and allow for good drainage.
- Rooting Hormone (Optional but Recommended): This is a powder or gel that encourages faster root development.
- Plastic Bags or a Propagation Dome: To create a humid environment.
- Watering Can with a Fine Rose: For gentle watering.
- Labels: Essential for keeping track of your propagations!
Propagation Methods
Pseudognaphalium luteoalbum is wonderfully amenable to propagation through stem cuttings. It’s a straightforward and highly effective method.
Stem Cuttings:
-
Select and Prepare Cuttings: Choose healthy, non-flowering stems. Using your sharp shears or knife, take cuttings that are about 4-6 inches long. Make the cut just below a leaf node (where a leaf attaches to the stem); this is where new roots are most likely to emerge.
-
Remove Lower Leaves: Gently strip off the leaves from the bottom half of each cutting. This prevents them from rotting once you plant them and also reduces water loss. You should leave at least two sets of leaves at the top.
-
Apply Rooting Hormone (Optional): Dip the cut end of each stem into rooting hormone, tapping off any excess.
-
Pot Your Cuttings: Fill your pots or trays with your prepared potting mix. Make a small hole in the center of the mix with your finger or a pencil. Insert the cutting into the hole, ensuring the stripped part of the stem is buried. Firm the soil gently around the base of the cutting.
-
Water Gently: Water the soil thoroughly but gently. You want it to be moist, not soggy.
-
Create a Humid Environment: Cover the pots with a clear plastic bag or a propagation dome. This will trap moisture and create the humid conditions cuttings need to root. Make sure the leaves don’t touch the plastic if possible; if they do, you might need to prop up the bag with small stakes.
-
Place in Bright, Indirect Light: Find a warm spot away from direct, harsh sunlight. A windowsill that receives bright, filtered light is ideal. You can also place them on a heat mat if you have one – this provides bottom heat which is a real game-changer!
The “Secret Sauce” (Pro Tips)
Having done this for a while, I’ve picked up a couple of tricks that can really boost your success:
- Don’t Drown Your Cuttings: While humidity is key, overwatering at this stage is the fastest way to invite rot. The soil should feel consistently moist but never waterlogged. If you see water pooling, drain off the excess.
- Bottom Heat is Your Friend: If you can manage it, placing your pots on a gentle heat mat can significantly speed up root formation. The warmth from below encourages those roots to push downwards with enthusiasm.
- Patience with Peeling: If you’re using a clear plastic bag, sometimes condensation can drip. Occasionally lifting the bag to allow for a bit of air exchange can prevent fungal issues and is a good habit for any propagator.
Aftercare & Troubleshooting
Keep an eye on your cuttings. You’ll know they’ve rooted when you see new leaf growth, or if you gently tug on a cutting and feel resistance. This usually takes 3-6 weeks.
Once roots have formed, you can gradually acclimate your new plants to normal room conditions. If they’ve been under a plastic bag, start by removing the bag for a few hours each day, increasing the time until they’re used to the air.
Now, for the not-so-fun part: troubleshooting. The most common issue you’ll encounter is rot. This is usually a sign of too much moisture and not enough airflow. If a cutting turns black and mushy, unfortunately, it’s best to discard it to prevent the rot from spreading.
Another sign of failure can be a cutting that simply wilts and never recovers. This might mean it just didn’t have the energy to root, or perhaps the conditions weren’t quite right – maybe too much sun, or the soil dried out too much initially. Don’t get discouraged; it happens to all of us! Simply learn from it and try again.
A Encouraging Closing
Propagating plants like Pseudognaphalium luteoalbum is a journey of observation and patience. It’s about connecting with nature in a tangible way, and the satisfaction of nurturing a new plant from a tiny cutting is immense. So, gather your supplies, take a deep breath, and enjoy the process. Happy propagating!
Resource: