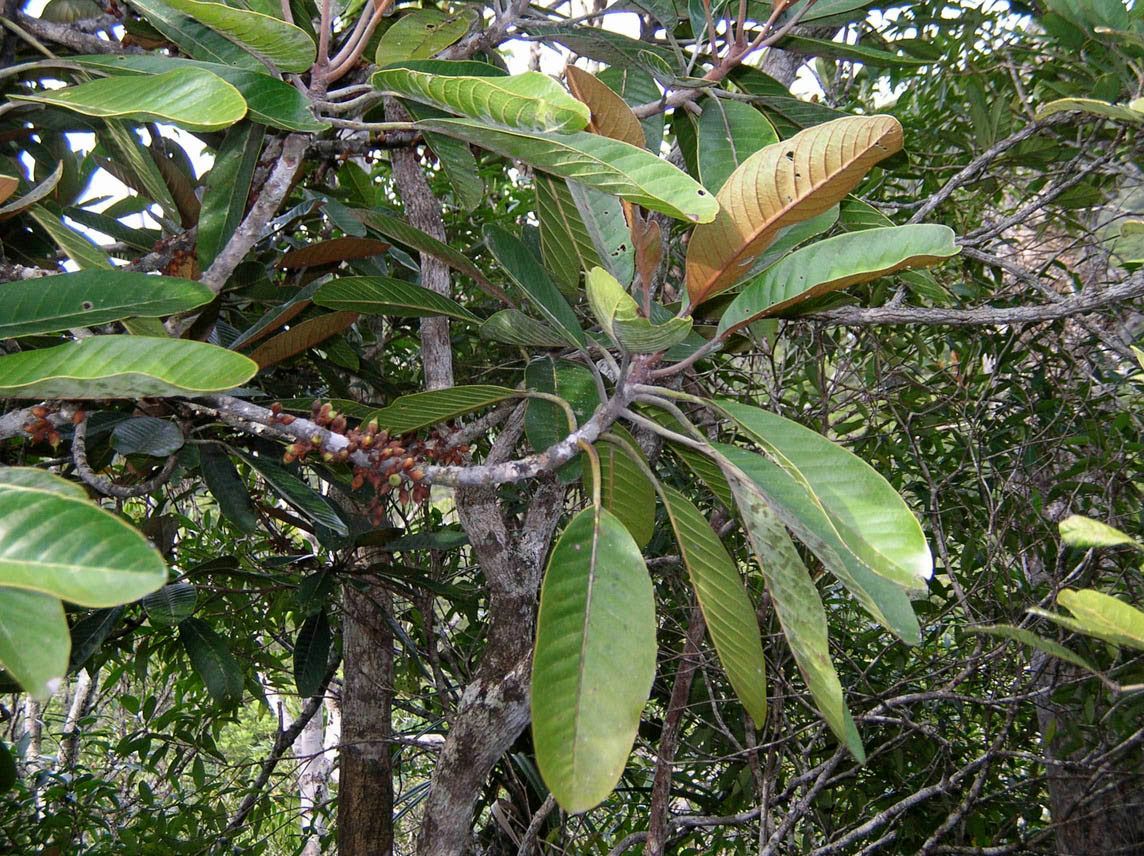
Oh, Pycnandra pubiflora! Isn’t she a beauty? I’ve been utterly smitten with this little gem for years. Her delicate, often vibrantly colored flowers held amongst lush foliage always bring a smile to my face. And the best part? She’s relatively easy to share! If you’re looking for a rewarding propagation project that won’t leave you tearing your hair out, you’ve come to the right place. For beginners, I’d say Pycnandra pubiflora is a moderately easy plant to propagate, offering a good balance of challenge and success.
The Best Time to Start
Honestly, the sweet spot for propagating Pycnandra pubiflora is generally during its active growing season. Think late spring through summer. This is when the plant is full of life and energy, making it more robust and eager to put out new roots. You’re looking for healthy, new growth – not the super soft, floppy tips, but not the woody, old stems either. A nice, firm shoot is just what we want.
Supplies You’ll Need
Gathering your tools beforehand makes the whole process so much smoother. You’ll want to have these ready:
- Sharp, clean pruning shears or a craft knife: Sterilize them with rubbing alcohol before you begin to prevent disease.
- Rooting hormone (optional but recommended): A powder or gel can give your cuttings a helpful boost.
- Well-draining potting mix: I like to use a blend of perlite, peat moss, and regular potting soil. Or even better, a specific succulent or cactus mix.
- Small pots or propagation trays: Clean ones, of course!
- Plastic bags or a propagation dome: To create a humid environment.
- Watering can with a fine rose or spray bottle: For gentle watering.
- Labels and a permanent marker: To keep track of your cuttings.
Propagation Methods: Lovely Little Cuttings
The most reliable way to propagate Pycnandra pubiflora is through stem cuttings. It’s straightforward and yields fantastic results.
- Take your cuttings: With your sterilized shears, snip a healthy stem about 4-6 inches long. Make your cut just below a leaf node – that’s the point where the leaves grow from the stem.
- Prepare the cuttings: Gently remove the lower leaves from the cutting. You want to expose at least one or two leaf nodes.
- Apply rooting hormone (if using): Dip the cut end of the stem into the rooting hormone, tapping off any excess.
- Plant your cuttings: Fill your small pots or trays with your well-draining potting mix. Make a small hole with your finger or a pencil and gently insert the prepared cutting, ensuring the leaf nodes are below the soil surface. Firm the soil gently around the stem.
- Water gently: Give your newly planted cuttings a light watering. You want the soil to be moist but not waterlogged.
- Create humidity: Cover the pots or trays with a clear plastic bag or a propagation dome. This traps moisture, creating that humid microclimate cuttings love. You can use stakes to keep the plastic from touching the leaves.
- Provide bright, indirect light: Place your cuttings in a bright spot, but avoid direct sunlight, which can scorch them.
The “Secret Sauce”
Here are a couple of little tricks I’ve learned over the years that can really make a difference:
- Bottom heat is your friend: If you have a seedling heat mat, placing your pots on it can significantly speed up root development. It mimics the warmth of spring soil and really encourages those roots to form.
- Dusting off the roots: Once your cuttings have rooted and you’re ready to transplant them into slightly larger pots, take care not to knock off too much of the new root system. A gentle handling is key.
Aftercare & Troubleshooting
Once your cuttings have been planted, keep the soil consistently moist but not soggy. Check the humidity under the plastic cover; if you see a lot of condensation, you might want to briefly vent it.
You’ll know your cuttings have rooted when you see new growth emerging from the top or when you gently tug on the cutting and feel resistance. This can take anywhere from 3 to 8 weeks, so patience is a virtue here! Once roots have formed, gradually acclimate your new plant to normal humidity by removing the plastic cover for longer periods over a week or two.
The most common culprit for failure is rot. If your cuttings look mushy, black, or just generally sad and aren’t showing any signs of life after a good while, they’ve likely rotted. This is usually due to too much moisture and not enough drainage or air circulation. Don’t despair! Just clean up and try again, adjusting your watering and drainage.
Happy Propagating!
Watching a new plant sprout from a simple cutting is one of gardening’s greatest joys. Pycnandra pubiflora is a rewarding plant to propagate, and with a little care and these tips, you’ll be sharing her beauty with friends and family in no time. Be patient with the process, enjoy the journey, and happy gardening!
Resource: