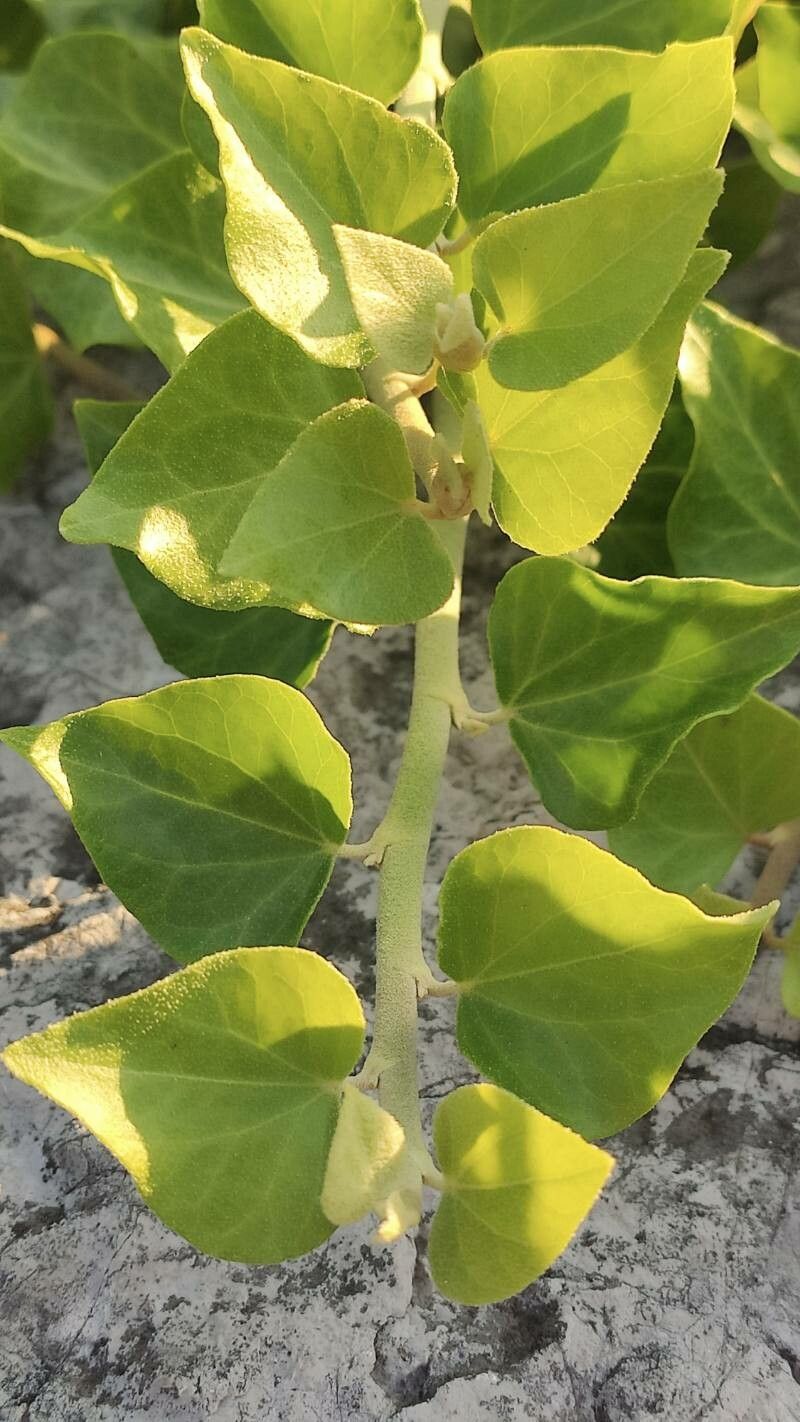
Hello, fellow plant lovers! Today, we’re diving into the wonderful world of propagating Withania frutescens. If you’ve ever admired this plant’s striking silvery foliage and its delightful, star-shaped blooms, you’re in for a treat. Bringing new life from an existing plant is one of the most satisfying gardening experiences, and I’m excited to share how we can do it with this particular beauty.
Withania frutescens, often called ‘Mocán’ or ‘Canary Island Horse Mint’, is a fantastic addition to many gardens. Its drought tolerance and unique look make it a real winner. And the best part? Propagating it is surprisingly accessible, even for those who are just starting their green-thumb journey.
The Best Time to Start
For the highest chance of success with Withania frutescens, I find the late spring to early summer to be the sweet spot. This is when the plant is actively growing after the cooler months, and new, semi-hardwood growth has a bit of substance to it, but isn’t so woody that it’s difficult to root. You want stems that are flexible but not floppy.
Supplies You’ll Need
Here’s a quick rundown of what you’ll want to gather before we get started:
- Sharp Pruning Shears or a Knife: Cleanliness is key to preventing disease.
- Rooting Hormone (Optional but Recommended): A good quality rooting powder or gel can really give your cuttings a boost.
- Well-Draining Potting Mix: A mix of perlite, peat moss, and a bit of compost works wonderfully. Alternatively, a cactus or succulent mix is excellent.
- Small Pots or Seed Trays: Small pots are ideal for individual cuttings.
- Plastic Bags or a Propagator: To create a humid environment.
- Watering Can or Spray Bottle: For gentle watering.
- Gravel or Perlite (for water propagation): To anchor cuttings.
Propagation Methods
Let’s get our hands dirty! I primarily rely on stem cuttings for multiplying my Withania frutescens, and it’s quite straightforward.
Stem Cuttings:
- Select Your Stems: Look for healthy, non-flowering stems that are about 4-6 inches long. Pinch or cut them just below a leaf node (where the leaves attach to the stem). This is where the magic happens for root development.
- Prepare the Cuttings: Gently remove the lower leaves from the cutting, leaving only a few at the top. This prevents them from rotting in the soil or water.
- Apply Rooting Hormone: If you’re using rooting hormone, dip the cut end of the stem into it. Tap off any excess.
- Plant Your Cuttings: Fill your small pots with the well-draining potting mix. Make a small hole with your finger or a pencil, and insert the cut end of the stem about an inch deep. Gently firm the soil around it.
- Water Gently: Water the soil thoroughly but gently. You don’t want to disturb the cuttings.
- Create Humidity: Cover the pots with a clear plastic bag or place them in a propagator. This traps moisture and keeps the humidity high, which is crucial for cuttings to root. Make sure the leaves don’t touch the plastic if possible.
The “Secret Sauce” (Pro Tips)
Here are a couple of tricks I’ve learned over the years that can make all the difference:
- Bottom Heat is Your Friend: If you have a heated propagation mat, placing your pots on it can significantly speed up root development. Your cuttings will appreciate that extra warmth from below.
- Don’t Be Afraid to Be Ruthless: Sometimes, if a cutting is too leggy or has too many leaves, sacrificing a few more leaves or even pinching off a flower bud can encourage the plant to focus its energy on root production rather than flowering or leaf growth.
Aftercare & Troubleshooting
Once your cuttings are planted, keep them in a bright spot, but out of direct, harsh sunlight. Water them when the top inch of soil feels dry. Be patient! Rooting can take anywhere from 4 to 8 weeks, sometimes longer.
You’ll know they’ve rooted when you see new growth appearing at the top, or when you gently tug on the cutting and feel resistance. I like to carefully lift a cutting to check for roots after a month or so.
The most common issue you might encounter is rot. This usually happens if the soil is kept too wet, or if the humidity is too high without enough airflow. If you see a cutting turning black or mushy, it’s usually a sign of rot. Remove it immediately to prevent it from spreading. Good drainage and not overwatering are your best defenses.
A Encouraging Closing
Propagating Withania frutescens is a rewarding journey. It takes a little patience, a little observation, and a bit of practice. Don’t be discouraged if your first attempt isn’t perfect. Every gardener has had their share of failed cuttings! Just keep trying, enjoy the process of nurturing these little plants, and soon you’ll be sharing your beautiful Withania frutescens with friends. Happy propagating!
Resource:
https://identify.plantnet.org/k-world-flora/species/Withania%20frutescens%20(L.)%20Pauquy/data