Hello, fellow plant lovers! It’s so good to have you here in my little corner of the garden. I’ve been digging in the dirt for two decades now, and there’s nothing quite like the joy of bringing a new plant to life. Today, we’re going to talk about a truly fascinating one: Opuntia decumbens.
Why You’ll Love Propagating Opuntia Decumbens
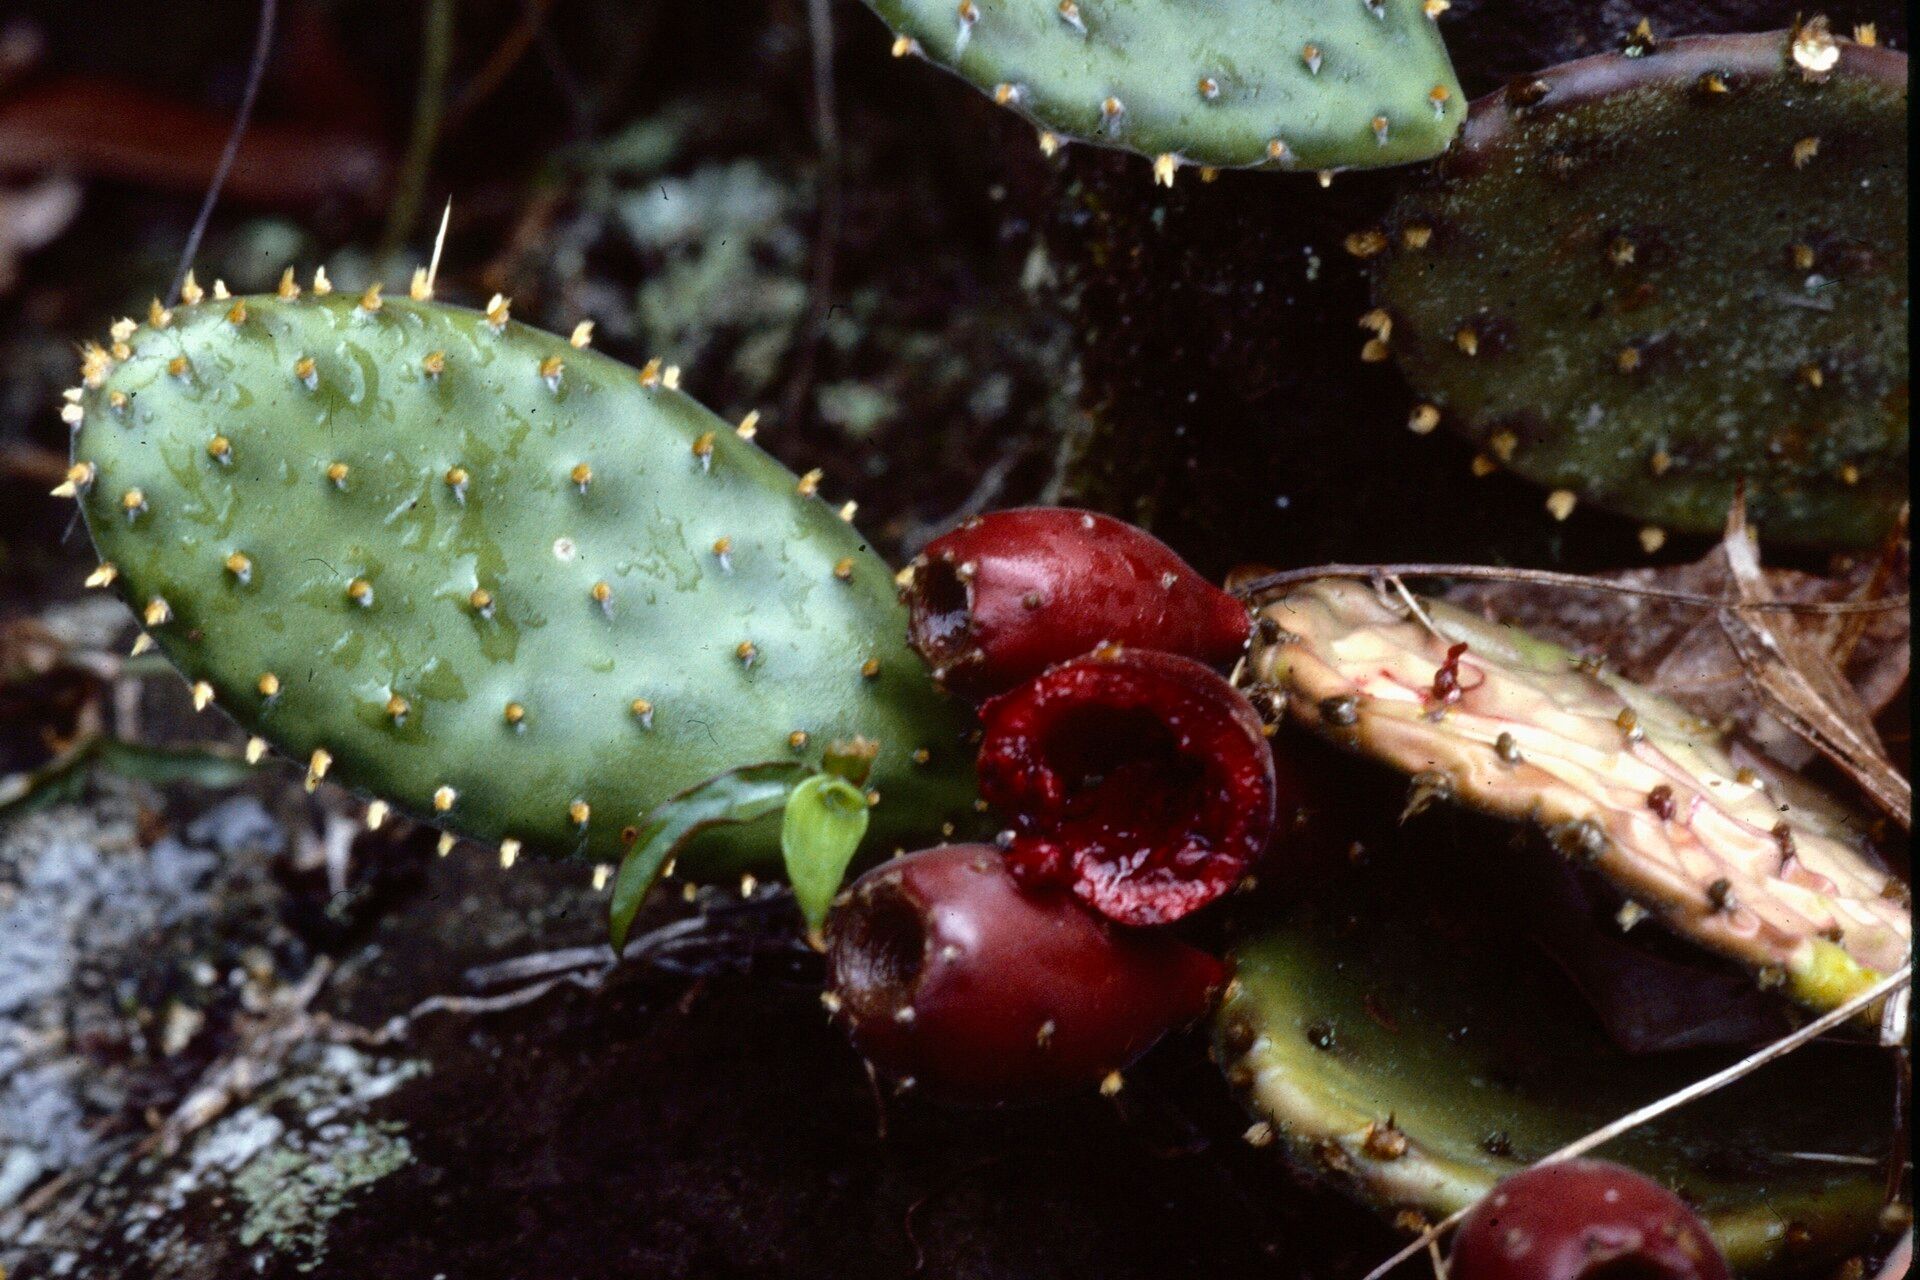
Opuntia decumbens, or the creeping prickly pear, is just a delight. Its low-growing habit and unique, mat-forming pads make it a wonderful addition to rock gardens, succulent arrangements, or even spilling over the edge of a pot. And the sheer satisfaction of taking a piece of this tough desert dweller and coaxing it into a whole new plant? It’s pure gardening magic.
Now, if you’re new to propagating succulents, you’ll be happy to know that Opuntia decumbens is quite forgiving. It’s a fantastic plant to start with!
When to Get Your Hands Dirty
The best time to propagate your Opuntia decumbens is during its active growing season, which is typically late spring through early summer. This is when the plant has plenty of energy to dedicate to root development. Avoid propagating during extreme heat or when the plant is dormant in winter.
What You’ll Need for Success
Gathering your supplies before you begin makes the whole process smoother. Here’s what I usually have on hand:
- Sharp, clean pruning shears or a knife: For making clean cuts. A serrated knife works well too.
- Well-draining potting mix: Think cactus or succulent mix. You can also make your own by combining equal parts potting soil, perlite, and coarse sand.
- Small pots or propagation trays: Terracotta pots are great as they breathe well.
- Rooting hormone (optional but recommended): This can speed up the process.
- Watering can or spray bottle: For gentle watering.
- Labeling stakes: So you remember what you planted and when!
- Gloves: Those spines can be a nuisance!
Let’s Get Propagating!
Opuntia decumbens is most easily propagated from stem cuttings, which is a fancy way of saying taking a piece of the pad. It’s straightforward and incredibly rewarding.
- Select Your Cutting: Look for a healthy, mature pad on your Opuntia decumbens. Gently twist or cut it from the main plant. The joint where it connects to the parent pad is the best place to break it.
- Let It Callous: This is a crucial step! Place your cutting in a dry, well-ventilated spot away from direct sunlight for several days to a week. You want the cut end to dry out and form a protective scab, or “callous.” This prevents rot when you plant it.
- Potting Up: Once calloused, you have a couple of options:
- Soil Propagation: Fill your small pots with your prepared well-draining mix. Make a small hole in the center with your finger or a pencil. If you’re using rooting hormone, dip the calloused end of your cutting into it. Then, gently insert the cutting into the hole, making sure it’s standing upright. Firm the soil around it.
- Water Propagation (for some succulents, but usually not ideal for Opuntias): While tempting, I generally shy away from water propagation for Opuntias as they are more prone to rot this way. Stick to soil!
- Initial Watering: After planting, wait a few days to a week before watering. This gives any tiny wounds time to heal and further reduces the risk of rot. When you do water, water thoroughly until you see it drain from the bottom of the pot.
My “Secret Sauce” for Stellar Success
Over the years, I’ve picked up a few tricks that seem to make all the difference:
- Patience is Key with Callousing: Don’t rush this step! I’ve seen so many people plant cuttings that are still too wet, and rot is almost guaranteed. Give that cut end ample time to dry completely.
- Gentle is Best: When you’re handling the pads, remember they have spines. Use thick gloves, or even a folded piece of newspaper, to protect your hands. A gentle touch also applies when planting; don’t pack the soil down too hard.
- Sun, But Not Scorching Sun: Once your cutting is potted and has been watered, place it in a spot with bright, indirect light. Direct, harsh sun can scorch a young cutting that hasn’t established roots yet. Think of it as a cozy, sunny windowsill.
Aftercare and Troubleshooting
Once your cutting is happily planted, give it time. You won’t see roots immediately, and that’s perfectly normal.
- When to Water: Continue to water sparingly. Let the soil dry out completely between waterings. You can check for roots by gently tugging on the cutting. If you feel resistance, roots are forming! It can take anywhere from a few weeks to a couple of months.
- Signs of Trouble: The most common issue is rot. If your cutting starts to look mushy, discolored (brown or black), or emits an unpleasant odor, it’s likely rotting. Unfortunately, it’s hard to save a rotting cutting. This usually happens from overwatering or not allowing the cutting to callous properly. If you catch it very early, you might be able to cut away the rotted portion and let the healthy part callous again, but it’s a gamble.
Keep Growing!
Propagating plants is a journey, and each little success is a reason to celebrate. Don’t get discouraged if your first attempt isn’t perfect. Keep observing your plants, adjust your methods, and enjoy the thrill of watching new life emerge. Happy gardening!
Resource:
https://identify.plantnet.org/k-world-flora/species/Opuntia%20decumbens%20Salm-Dyck/data