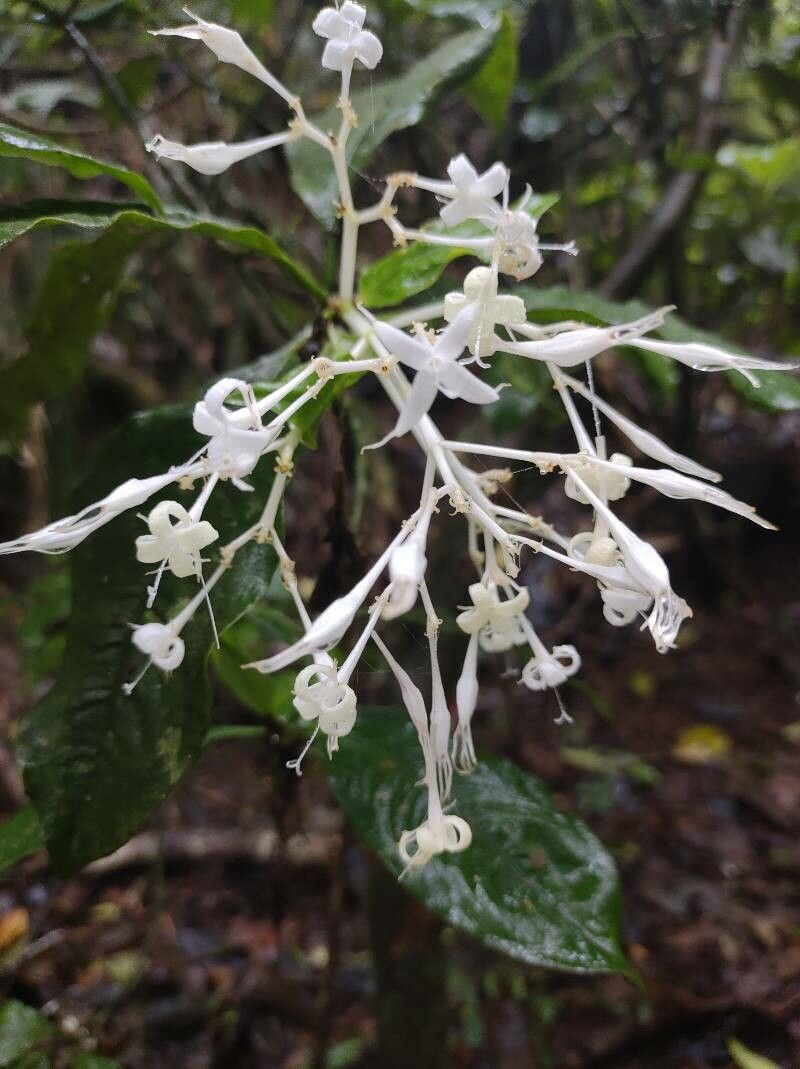
Oh, Rudgea jasminoides! If you’ve ever been graced by its presence, you know why it’s a plant worth getting to know a little better. Its delicate, star-shaped flowers, often carrying that intoxicating jasmine-like fragrance, can truly transform a corner of your garden or patio. And the best part? Recreating that magic yourself is wonderfully achievable.
Many people shy away from propagation, thinking it’s a complicated art. But I promise you, Rudgea jasminoides is quite forgiving. It’s a fantastic plant to start your propagation journey with, and I’m excited to walk you through it.
The Best Time to Start
Honestly, late spring to early summer is generally your sweet spot. This is when your Rudgea is actively growing, brimming with energy, and ready to put that energy into making new roots. Look for stems that are semi-hardwood – that means they’re not brand new and flimsy, but not old and woody either. They should be bendy enough to snap cleanly, but firm enough to hold their shape.
Supplies You’ll Need
No need for a fancy greenhouse to get started. Here’s what I find indispensable:
- Sharp, clean pruning shears or a sharp knife: Cleanliness is crucial to prevent disease.
- Rooting hormone (optional but recommended): This helps speed things up. I like the powder form for cuttings.
- Well-draining potting mix: A good blend for cuttings might include equal parts peat moss or coco coir and perlite. You can also buy specialized seedling or cutting mixes.
- Small pots or trays: Clean pots are a must. Small ones are perfect for starting out.
- Plastic bags or a clear plastic dome: To create a humid environment for your cuttings.
- Water: For misting and moistening the soil.
- Labels and a marker: Don’t skip this! Future you will thank you.
Propagation Methods
For Rudgea jasminoides, stem cuttings are my go-to. They’re reliable and give you a great chance of success.
Step-by-Step: Stem Cuttings
-
Taking the Cutting: Select a healthy stem from your mature Rudgea plant. Using your clean shears, cut a piece that’s about 4-6 inches long. Make your cut just below a leaf node (where a leaf attaches to the stem). This is where the magic of root development often happens.
-
Preparing the Cutting: Gently remove the lower leaves from the cutting, leaving just a couple of pairs at the top. This prevents them from rotting in the soil and encourages the plant to focus its energy on rooting. If the remaining leaves are very large, you can even halve them to reduce water loss.
-
Applying Rooting Hormone (Optional): Dip the cut end of the stem into your rooting hormone, tapping off any excess. This tiny step can make a big difference in how quickly roots form.
-
Planting the Cutting: Fill your small pot or tray with your well-draining potting mix, moistening it slightly. Make a small hole in the center with your finger or a pencil. Insert the cut end of the Rudgea stem into the hole, ensuring the leaf nodes are buried. Gently firm the soil around the stem.
-
Creating a Humid Environment: Water your newly planted cuttings gently. Then, cover the pot with a plastic bag, securing it at the rim with a rubber band, or place it under a clear plastic dome. This traps humidity, which is vital for cuttings while they develop roots. Ensure the plastic doesn’t touch the leaves directly. Make sure to poke a few small holes in the bag for air circulation.
-
Placement: Place your potted cuttings in a bright spot that receives indirect sunlight. Avoid intense, direct sun, which can scorch the delicate new growth.
The “Secret Sauce” (Pro Tips)
Here are a few little tricks I’ve picked up over the years that really boost my success rates:
- Bottom Heat is Your Friend: If you can, place your pots on a heat mat. This gentle warmth from below mimics spring soil temperatures and really encourages root development. It’s a game-changer, especially if your home is on the cooler side.
- Don’t Overwater, but Don’t Let it Dry Out: This is a delicate balance. The soil should always feel slightly moist, like a wrung-out sponge. If the leaves start to look droopy, it’s a sign it’s too dry. If the soil feels soggy, you might be overdoing it. Peek under the plastic occasionally and mist lightly if needed.
- Rogue Those Yellow Leaves: As your cutting settles in, you might notice a lower leaf or two start to yellow and drop. Don’t panic! This is normal. Gently remove any dying or rotting leaves as soon as you see them to prevent potential fungal issues that could spread.
Aftercare & Troubleshooting
Once you see signs of new growth – perhaps tiny new leaves or even swelling at the stem – that’s a good indicator that roots are forming! For the first few weeks, continue to keep the soil moist and the humidity high.
Gradually, you’ll want to acclimate your new Rudgea to less humid conditions. Start by removing the plastic bag for an hour or two each day, slowly increasing the time.
Common signs of failure:
- Rotting at the base: This is usually a sign of too much moisture and not enough air circulation. Prevent it by using well-draining soil and ensuring you have those air holes in your cover.
- Wilting and never recovering: This can also indicate moisture issues, or sometimes the cutting just wasn’t strong enough to begin with. If it’s consistently dry, water. If it’s consistently wet and still wilting, you might want to try again with a fresh cutting.
A Encouraging Closing
Propagating Rudgea jasminoides is a journey, and like any good garden project, it requires a bit of patience. Don’t be discouraged if your first few attempts aren’t perfect. Every plant, every cutting, teaches you something new. So, grab your shears, get your hands in that soil, and enjoy the wonderful process of bringing more of these beautiful plants into your life. Happy propagating!
Resource:
https://identify.plantnet.org/k-world-flora/species/Rudgea%20jasminoides%20(Cham.)%20Müll.Arg./data