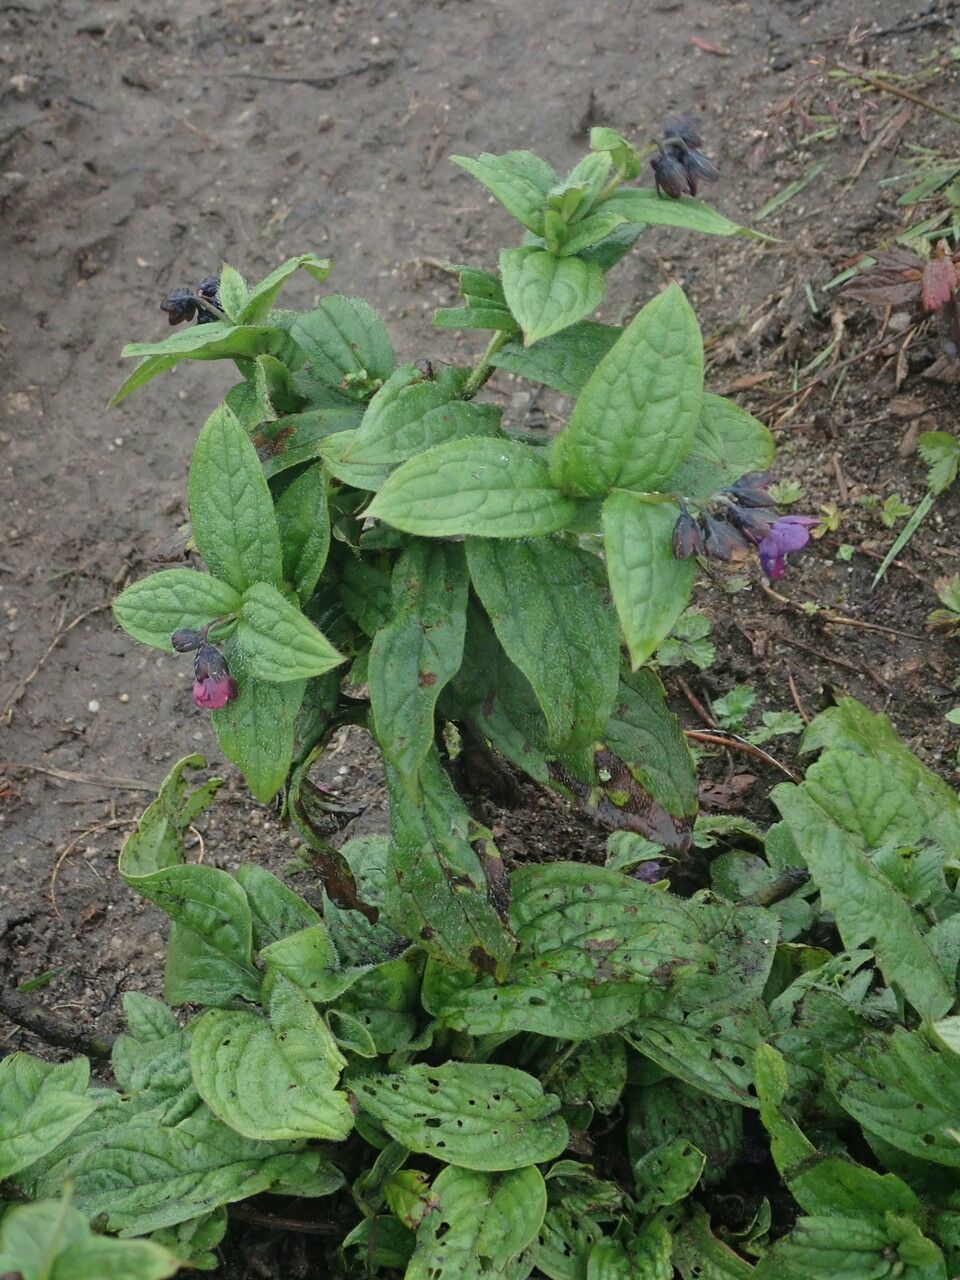
Ah, Cynoglossum microglochin! That’s a lovely choice. If you’ve ever admired those charming, sky-blue forget-me-not-like flowers dancing in a garden border, you’ve likely met this delightful plant. It has a way of bringing a touch of gentle color and delightful texture, especially when it forms those characteristic seed heads that look like little prickly spheres. And the best part? Propagating it is a wonderfully rewarding experience, even for those just dipping their toes into the gardening world. I’ve always found Cynoglossum microglochin to be quite forgiving, which makes it a perfect candidate for beginners looking to expand their plant family.
The Best Time to Start
For the highest success rate with Cynoglossum microglochin, I find that late spring or early summer is absolutely the sweet spot. This is when the plant is actively growing and has plenty of energy to dedicate to putting out new roots. Waiting until after the initial flush of spring bloom, when the stems are strong and healthy, is key.
Supplies You’ll Need
Gathering your supplies beforehand makes the whole process so much smoother. Here’s what I always have on hand:
- Sharp pruning shears or scissors: Cleanliness is crucial to prevent disease.
- Rooting hormone powder (optional but recommended): This gives cuttings a little boost.
- Small pots or trays: With good drainage holes, of course!
- Well-draining potting mix: A 50/50 blend of seed-starting mix and perlite works wonders. You can also use a standard potting mix amended with perlite.
- Watering can or spray bottle: For gentle watering.
- Clear plastic bags or a propagator: To maintain humidity.
- Labels: To remember what you’ve planted!
Propagation Methods
Cynoglossum microglochin is quite amenable to a couple of propagation methods, and I find stem cuttings to be particularly reliable.
Stem Cuttings:
- Select your cuttings: Look for healthy, non-flowering stems that are about 4-6 inches long. These are often called “softwood cuttings.”
- Make the cut: Using your clean pruning shears, make a clean cut just below a leaf node. A leaf node is where a leaf grows from the stem; this is where root development will most likely occur.
- Prepare the cutting: Gently remove the lower leaves, leaving just a few at the top. If the remaining leaves are very large, you can cut them in half to reduce water loss.
- Dip in rooting hormone (optional): Dip the cut end into your rooting hormone powder, tapping off any excess.
- Plant the cuttings: Make a small hole in your prepared potting mix with a pencil or your finger. Insert the cut end of the stem into the hole, ensuring at least one leaf node is below the surface. Gently firm the soil around the stem.
- Water gently: Lightly water the soil. You want it to be moist, not waterlogged.
- Provide humidity: Cover the pot or tray with a clear plastic bag or place it in a propagator. This creates a mini-greenhouse effect and keeps humidity high, which is essential for cuttings to root.
- Place in bright, indirect light: Find a spot that gets plenty of light but no direct sun, as this can scorch the delicate cuttings.
Water Propagation (for a quick peek):
While stem cuttings are my go-to for long-term success, you can also try a quick experiment in water.
- Prepare cuttings as above, but skip the rooting hormone and potting mix.
- Place the cuttings in a jar or glass of water, ensuring the leaf nodes are submerged but the leaves themselves are not touching the water.
- Change the water every few days to keep it fresh and prevent rot.
- Once you see tiny roots forming, carefully transplant them into your prepared potting mix as described for stem cuttings.
The “Secret Sauce” (Pro Tips)
Here are a few things I’ve learned over the years that can really make a difference:
- The power of bottom heat: If you have it, placing your pots on a gentle heating mat can significantly speed up root development. Cynoglossum microglochin loves a bit of warmth from below, especially in cooler environments.
- Don’t overcrowd your cuttings: Give each cutting a little space. Too many packed together can increase the risk of fungal diseases spreading.
- The air circulation trick: Once you’ve covered your cuttings, lift the plastic bag for a few minutes each day to allow for some air exchange. This helps prevent mold and mildew.
Aftercare & Troubleshooting
Once those tiny roots begin to appear – and you’ll know this is happening when you gently tug on a cutting and feel resistance, or see roots peeking out of the drainage holes – it’s time to transition them.
- Gradual acclimatization: Slowly remove the plastic bag or open the propagator over a week or two. This allows the young plants to adjust to normal humidity levels without going into shock.
- Keep soil consistently moist: Continue to water gently, ensuring the soil stays evenly moist but never soggy.
- Potting up: Once the new plants have established a good root system and you see new leaf growth, you can carefully transplant them into slightly larger pots with fresh potting mix.
Now, what if things go wrong? The most common culprit is rot. If your cuttings turn mushy or black, it’s usually due to overwatering or poor air circulation, leading to fungal issues. This is why good drainage and that daily “airing out” are so important. Wilting can simply mean the cutting hasn’t rooted yet and is struggling to take up water. Keep it humid and be patient; sometimes, they just need more time.
A Encouraging Closing
Growing new plants from cuttings is like magic unfolding right before your eyes. Be patient with your Cynoglossum microglochin, offer them a little encouragement, and enjoy the process. Before you know it, you’ll have a whole new generation of these charming blue beauties to enjoy in your garden or share with friends. Happy propagating!
Resource:
https://identify.plantnet.org/k-world-flora/species/Cynoglossum%20microglochin%20Benth./data