Hello there, fellow plant enthusiasts! It’s so wonderful to connect with you again. Today, we’re diving into the truly rewarding world of propagating Metrosideros kermadecensis, those stunning New Zealand natives with their fiery red bottlebrush blooms. If you’ve ever admired their tropical vibe and vibrant display, you’re in for a treat. Growing more of these beauties from your own plants is a fantastic way to fill your garden or share the love with friends.
Bringing More Kermadec Beauty Home
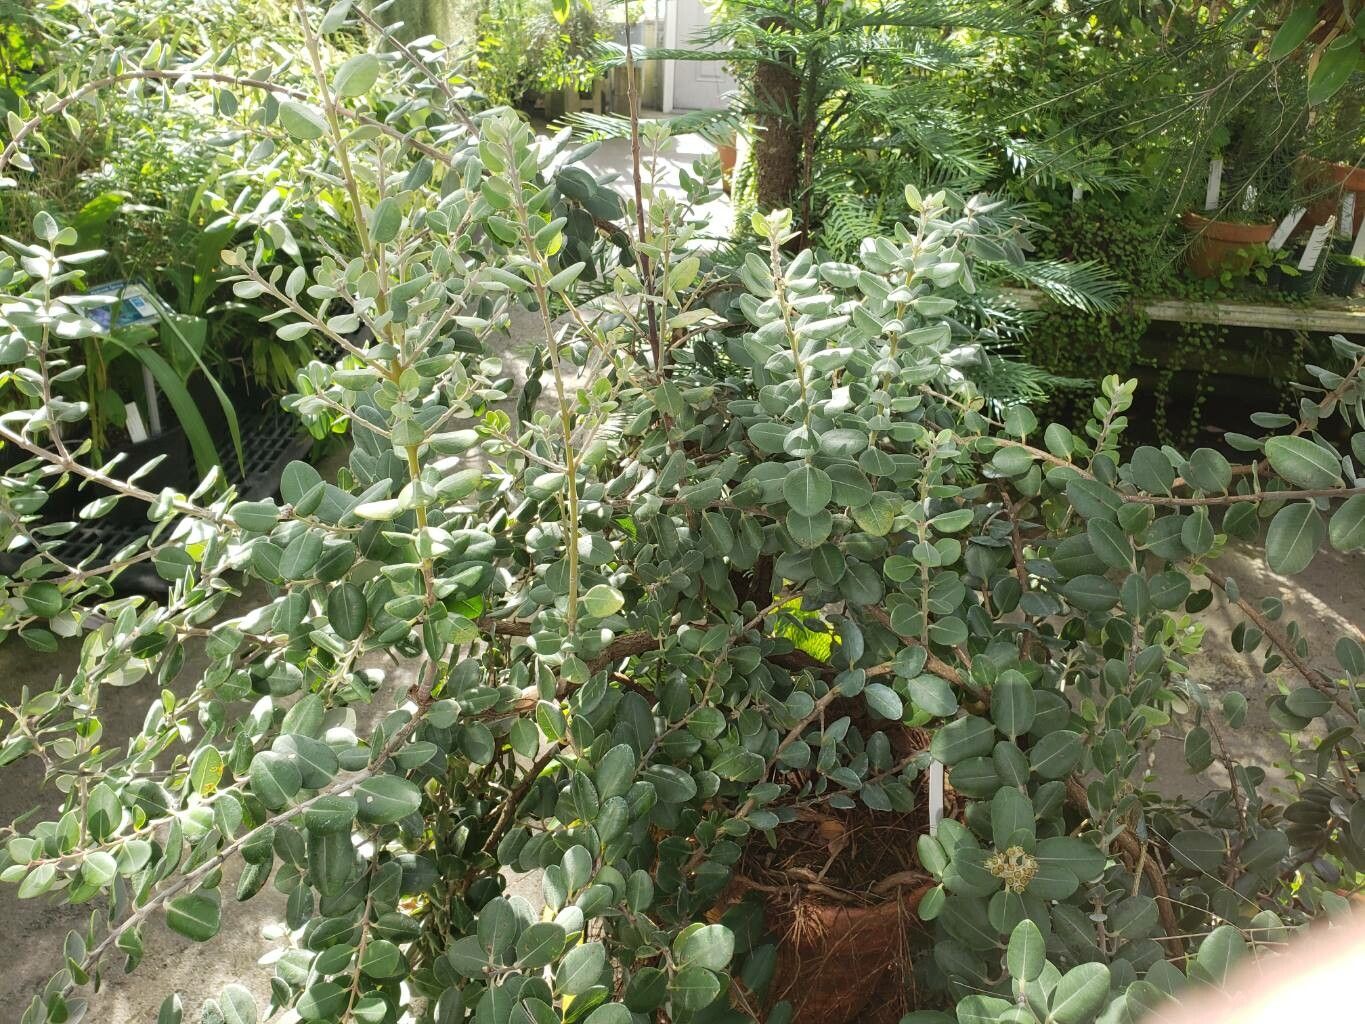
These ‘Pohutukawa’ or ‘Rata’ relatives are such a joy to have around. Their lush, glossy green leaves and the explosion of color from their flowers are simply captivating. Propagating them is a delightful way to expand your collection without breaking the bank, and there’s a special kind of satisfaction that comes from nurturing a tiny cutting into a thriving plant. For beginners, I’d say Metrosideros can be a moderately challenging plant to propagate. It’s not as foolproof as some, but with a little care and attention, you’ll absolutely have success.
When to Get Your Hands Dirty
The absolute best time to take cuttings from your Metrosideros kermadecensis is during its active growing season, which is typically late spring through early summer. You want to select stems that are semi-hardwood – they should be firm but not woody. You can tell this by trying to snap a piece; it should break cleanly rather than bend. New growth that’s still quite soft might be too fragile, and older, woody stems can be slower to root.
Your Propagation Toolkit
Gathering your supplies beforehand makes the whole process so much smoother. Here’s what you’ll want to have ready:
- Sharp pruning shears or a clean knife: For making clean cuts. Sterilize them between plants if you’re taking multiple cuttings.
- Rooting hormone: This is a crucial helper, especially for semi-hardwood cuttings. Look for a powder or gel specifically for cuttings.
- A well-draining potting mix: A good blend is 50% perlite and 50% peat moss, or a commercial seed-starting or cutting mix. Avoid heavy garden soil.
- Small pots or seedling trays: Clean pots are a must to prevent disease.
- Plastic bags or a propagator: To create a humid environment for your cuttings.
- Water spray bottle: For keeping cuttings moist.
- Labeling tags: So you don’t forget what you’ve planted!
Let’s Get Propagating!
I find that stem cuttings are the most reliable method for Metrosideros kermadecensis. Here’s how I do it:
- Take Your Cuttings: Using your sterilized shears or knife, take cuttings that are about 4-6 inches long. Make the cut just below a leaf node (where a leaf meets the stem).
- Prepare the Cuttings: Gently remove the lower leaves from the bottom half of the cutting, leaving just a few at the top. This encourages rooting and prevents leaves from rotting in the soil.
- Apply Rooting Hormone: Dip the cut end of each stem into your rooting hormone, ensuring it’s coated evenly. Tap off any excess.
- Plant the Cuttings: Fill your clean pots with your prepared potting mix. Make a hole in the center with your finger or a pencil, and insert the cutting. Firm the soil gently around the stem.
- Create a Humid Environment: Water the soil lightly. Then, cover the pot and cuttings with a clear plastic bag, or place them in a propagator. Make sure the leaves don’t touch the plastic if possible.
The “Secret Sauce” from My Garden
Through years of trial and error, I’ve learned a few tricks that really boost my success rate.
- Bottom Heat is Your Friend: Metrosideros absolutely loves a bit of warmth from below. Placing your pots on a heat mat specifically designed for propagation can significantly speed up root formation. It’s like giving them a warm hug to encourage them to get growing!
- Don’t Overwater, But Don’t Let Them Dry Out: This is a delicate balance. The soil should be consistently moist, like a wrung-out sponge, but never soggy. If you’re using a propagator, you can often see condensation. If it’s too much, vent it for a bit; if there’s none, it might be time for a light misting.
- Patience, Young Grasshopper: Seriously, patience is the biggest secret. Sometimes it feels like nothing is happening, but underneath the surface, those roots are developing. Resist the urge to pull cuttings up to check too often!
Aftercare and What to Watch For
Once you can gently tug on a cutting and feel resistance, or you see new leaf growth, roots are likely forming! At this point, you can gradually acclimate your cuttings to normal room humidity by opening up the plastic bag or propagator a little more each day over a week.
The biggest thing to watch out for is rot. If your cuttings turn mushy, black, or develop fuzzy mold, it’s a sign of too much moisture and not enough airflow. Unfortunately, once they rot, they’re usually beyond saving. If you see this, ensure better drainage and airflow for your remaining cuttings.
Keep Nurturing and Enjoy the Journey!
Seeing those roots develop is such a thrill! Propagating Metrosideros kermadecensis might take a little practice, but the payoff is so worth it. Be patient, keep an eye on them, and don’t be discouraged by the occasional setback. Each attempt is a learning experience. Happy propagating!
Resource:
https://identify.plantnet.org/k-world-flora/species/Metrosideros%20kermadecensis%20W.R.B.Oliv./data