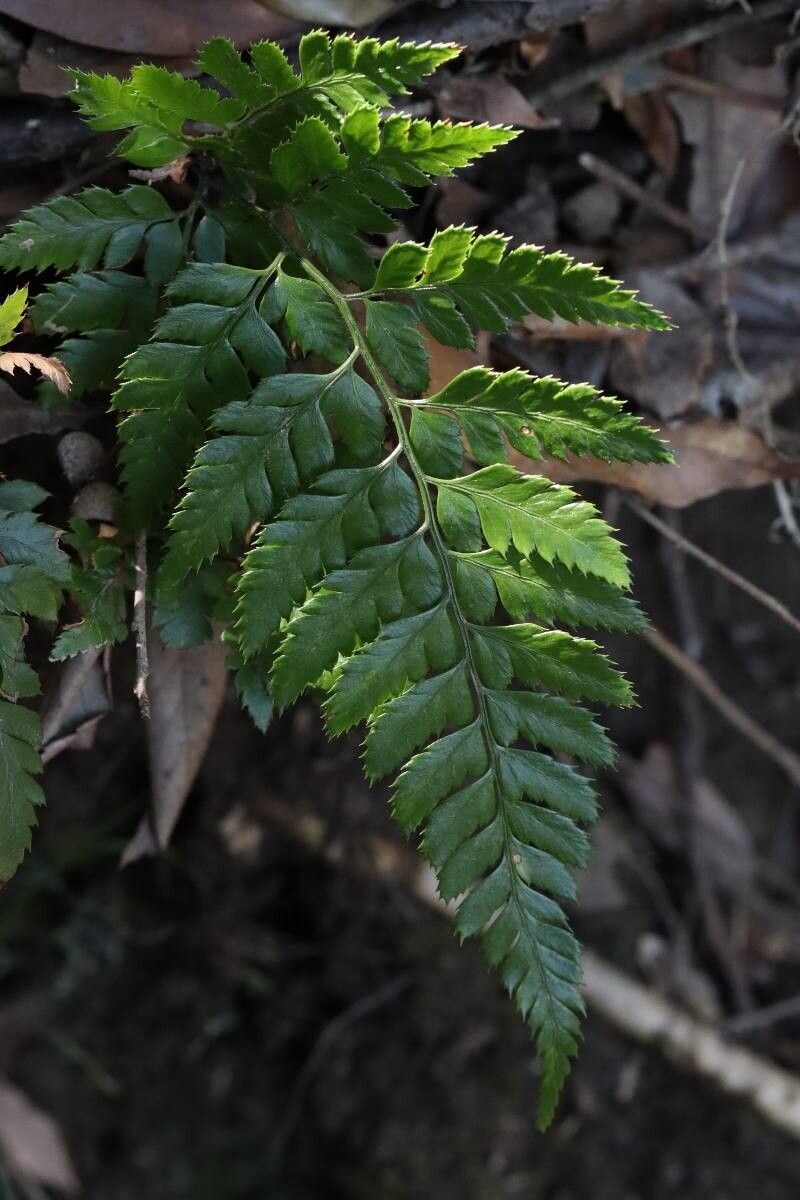
Oh, hello there! Come on in, pull up a chair. Let’s chat about one of my favorite ferns: Arachniodes pseudoaristata, often called the Evergreen Holly Fern or Japanese Holly Fern. This beauty is just stunning with its elegant, deep green fronds that have a lovely, almost architectural shape. It brings such a sophisticated touch to shady corners, both indoors and out. And the best part? It’s actually quite rewarding to propagate. Don’t let its sophisticated look fool you; while it might not be the absolute easiest plant for a complete beginner, it’s certainly very achievable with a little patience and know-how. You’ll be sharing your own little holly ferns before you know it!
The Best Time to Start
For the highest success rates, I find the late spring to early summer is when Arachniodes pseudoaristata is most eager to grow. That’s when it’s typically putting on a vigorous new flush of fronds. It’s also a good time to propagate in early autumn as things start to cool down a bit but the plant still has some warmth to work with. Basically, you want to propagate when the plant is actively growing and days are lengthening, or just as it’s starting its period of active growth.
Supplies You’ll Need
- Sharp pruning shears or clean knife: For making clean cuts.
- Small pots or propagation trays: Cleanliness is key here!
- Well-draining potting mix: A good quality seed-starting mix or a blend of peat moss and perlite works wonders. You can also use a soilless mix specifically for ferns.
- Rooting hormone (optional but helpful): I prefer the powdered kind for cuttings.
- Plastic bags or a clear propagation lid: To create a humid environment.
- Watering can with a fine rose or a spray bottle: For gentle watering.
- Labels and a waterproof pen: To keep track of what you’ve planted and when.
Propagation Methods
The most successful way I’ve found to propagate Arachniodes pseudoaristata is through division. Ferns are fantastic for this because they naturally form clumps.
Method: Division
- Prepare Your Plant: Gently remove the fern from its pot. If it’s in the ground, carefully dig around the root ball and lift it out.
- Assess the Clump: Look at the base of the fern. You’ll see where new shoots are emerging from the main rhizome (the thick underground stem). You want to find sections that have their own roots and at least one or two healthy fronds.
- Make the Cut/Pull Apart: Using your clean shears or knife, carefully cut through the rhizome to separate a section. Sometimes, if the roots aren’t too dense, you can gently pull sections apart with your hands. Aim for divisions that are roughly the same size and look well-balanced.
- Potting the Divisions: Take your newly separated divisions and pot them into their own containers using your prepared potting mix. Make sure the rhizome is just barely covered by soil. You don’t want to bury it too deeply.
- Water Gently: Water thoroughly until water drains from the bottom of the pot.
The “Secret Sauce” (Pro Tips)
Here are a couple of things I’ve learned over the years that make a real difference:
- Bottom Heat is Your Friend: Ferns, especially young ones, absolutely adore a little warmth from below. I often use a seedling heat mat under my propagation trays. It encourages root development much faster than just relying on room temperature.
- Don’t Drench, Mist: While you want to keep the soil consistently moist, you don’t want it soggy. Overwatering is the quickest way to invite root rot. I find misting the fronds and the surface of the soil daily is often enough, especially when they’re covered with a plastic bag or lid. You can also water from the bottom by placing pots in a shallow tray of water for about 15-20 minutes until the soil surface feels damp.
Aftercare & Troubleshooting
Once you’ve potted up your divisions, the key is to maintain consistent moisture and high humidity. Keep them out of direct sunlight, as young plants can scorch easily. The plastic bag or lid method is perfect for this – it creates a miniature greenhouse.
You’ll know your division is rooting when you start to see new frond growth emerging from the center. This can take anywhere from a few weeks to a couple of months, so be patient!
The most common sign of trouble is wilting that doesn’t perk up after watering, or soggy, mushy rhizomes. This is usually a sign of too much water and not enough air circulation, leading to rot. If you see this, try to remove the affected parts carefully with clean tools. If the whole division is gone, don’t despair. Just try again!
A Little Patience Goes a Long Way
Watching something you’ve propagated sprout new life is such a special feeling. It’s a unique connection to the plant and the natural cycle of growth. Don’t get discouraged if your first few attempts aren’t perfect. Gardening is a journey, and with Arachniodes pseudoaristata, that journey is often a beautiful one. Just keep trying, observe your plants, and most importantly, enjoy the process! Happy propagating!
Resource: