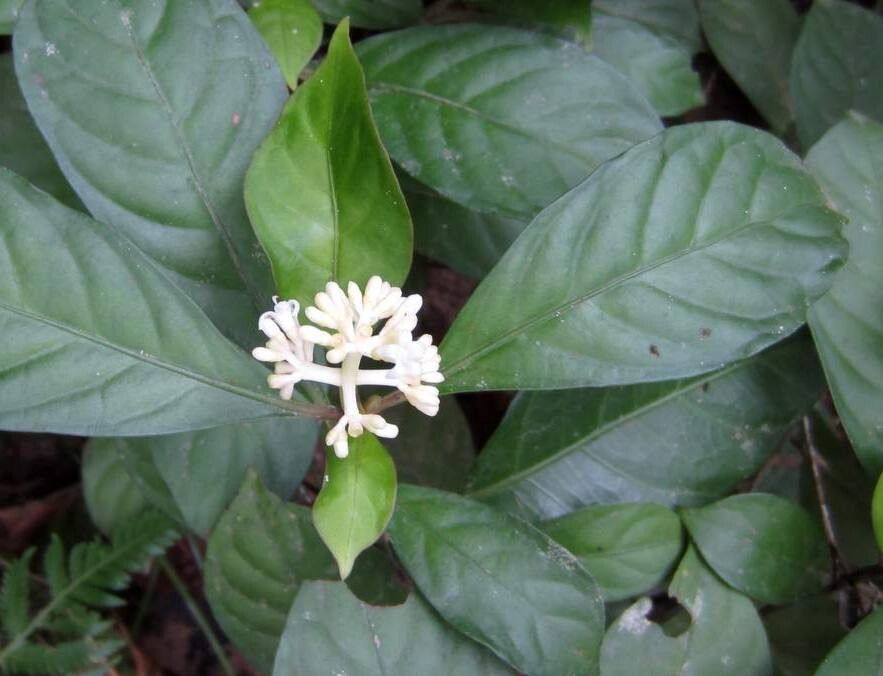
Oh, hello there! Come on in, grab a cup of your favorite brew. I’m so glad you’re interested in Rudgea cornifolia. It’s a truly lovely plant, isn’t it? Its glossy, dark green leaves and occasional delicate blooms remind me of so many happy afternoons spent in the garden. Propagating it yourself adds a special kind of joy, watching something small and new unfurl its potential. Most folks find Rudgea cornifolia to be a joy to propagate, and I think you will too!
The Best Time to Start
For the highest chance of success, I always aim to propagate my Rudgea cornifolia during its active growing season. This is typically from late spring through early summer. The plant is full of energy then, and the new cuttings readily develop roots. You can also have good luck in late summer, but I find spring offers the most robust growth.
Supplies You’ll Need
You don’t need a whole lot of fancy equipment to get started. Here’s what I usually have on hand:
- Sharp pruning shears or a clean, sharp knife: Essential for making clean cuts.
- Rooting hormone powder or gel (optional, but helpful): Encourages faster root development.
- Well-draining potting mix: A good mix of peat moss, perlite, and a little bit of coco coir works wonders. You can also use a commercial seedling mix.
- Small pots or seed trays with drainage holes: About 4-6 inches in size is perfect.
- Clear plastic bags or a propagation dome: To create a humid environment.
- Watering can or spray bottle: For gentle watering.
Propagation Methods
I’ve found two methods work particularly well for Rudgea cornifolia.
1. Stem Cuttings: My Go-To Method
This is my favorite way to multiply Rudgea cornifolia. It’s straightforward and yields great results.
- Select a healthy stem: Look for a stem that’s not too woody but also not super soft and new. It should be about 4-6 inches long.
- Make the cut: Using your clean shears or knife, make a clean cut just below a leaf node (where a leaf attaches to the stem).
- Prepare the cutting: Gently remove the lower leaves, leaving just a few at the top. This prevents them from rotting in the soil.
- Apply rooting hormone (optional): Dip the cut end into your rooting hormone powder or gel.
- Plant the cutting: Stick the cut end about an inch deep into your prepared potting mix. Gently firm the soil around it.
- Create humidity: Water the soil lightly until it’s evenly moist. Then, cover the pot with a clear plastic bag or a propagation dome. Make sure the leaves don’t touch the sides of the bag if possible.
- Place it in bright, indirect light: Find a spot that gets good light but no direct sun, which can scorch the young cutting.
2. Water Propagation (for the impatient souls!)
If you’re eager to see progress, water propagation can be fun.
- Follow the same steps as above for selecting and preparing your stem cutting.
- Place the cutting in water: Fill a clean jar or glass with fresh water and place the cutting in it. Ensure the leaf nodes are submerged, but don’t let the leaves themselves touch the water.
- Change the water regularly: Every few days, refresh the water to keep it clean and oxygenated.
- Wait for roots: You’ll start to see tiny white roots emerge from the nodes. This can take a few weeks.
- Potting up: Once the roots are about an inch long, carefully transplant the cutting into your well-draining potting mix. Treat it like you would a new stem cutting from this point on.
The “Secret Sauce” (Pro Tips)
Here are a couple of little tricks I’ve learned over the years that really seem to help.
- Bottom Heat is Your Friend: My cuttings always do better with a little warmth from below. Investing in a seedling heat mat makes a noticeable difference, especially if your home isn’t particularly warm. It encourages root development much more quickly.
- Don’t Overwater, Especially Early On: It’s a common mistake! Too much water is the quickest way to invite rot. Keep the soil consistently moist, not soggy. A good rule of thumb is to check the soil with your finger. If the top inch feels dry, it’s time for a drink.
- A Gentle Mist Can Work Wonders: If you’re not using a plastic bag, giving your cuttings a light misting with water every day or two can help keep humidity levels up, which they absolutely adore.
Aftercare & Troubleshooting
Once you start seeing new growth or visible roots poking out the bottom of the pot, you’re well on your way!
- Acclimate slowly: Gradually remove the plastic bag or dome over a week or so. This helps the new plant adjust to the normal humidity of your home.
- Water carefully: Continue to water as needed, keeping the soil evenly moist.
- Fertilize sparingly: Once the plant is established and showing good new growth, you can start feeding it with a diluted liquid fertilizer once a month during the growing season.
What if things go wrong? The most common culprit is rot. If your cutting turns black and mushy, it’s likely too much moisture or not enough air circulation. If you see signs of rot, it’s best to discard the affected cutting and try again, double-checking your moisture levels and ensuring good airflow. Sometimes, a cutting just doesn’t take for reasons we’ll never fully understand – that’s just part of the gardening journey!
A Little Encouragement
Remember, gardening is a practice in patience. Don’t get discouraged if your first few attempts aren’t perfect. Each cutting you take, each pot you start, is a learning experience. Enjoy the process of nurturing something new, and soon enough, you’ll have a whole collection of beautiful Rudgea cornifolia to share or keep for yourself. Happy propagating!
Resource:
https://identify.plantnet.org/k-world-flora/species/Rudgea%20cornifolia%20(Kunth)%20Standl./data