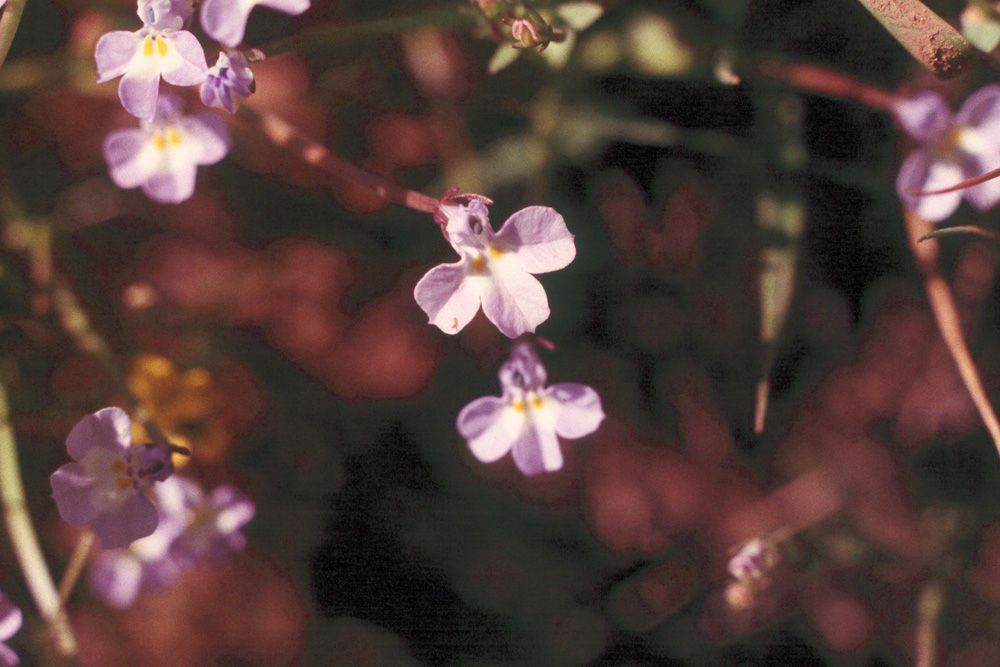
Oh, hello there! I’m so glad you’re here. Today, we’re diving into the delightful world of Downingia ornatissima. If you’ve ever seen these beauties gracing a garden with their vibrant, almost jewel-like blooms, you know exactly why I’m so excited to talk about them. They’re such a cheerful addition, aren’t they? And the best part? You can easily bring that cheerfulness to other parts of your garden by propagating them yourself! It’s a wonderfully rewarding feeling to nurture a new plant from a tiny cutting or a few seeds. If you’re new to gardening, don’t you worry. Downingia ornatissima can be a bit particular, but with a little guidance, you’ll be a pro in no time.
When to Get Your Hands Dirty
For Downingia ornatissima, spring is really your sweet spot. This is when the parent plants are typically bursting with energy and ready to grow. Think of it as their prime time for creating new life. While you might get away with it at other times, starting in spring gives you the best chance for strong, healthy new growth.
What You’ll Need for Your Propagation Adventure
Gathering your supplies before you start is always a good idea. It keeps things smooth and prevents you from dashing around mid-process! Here’s what you’ll want to have on hand:
- Sterilized Pots or Trays: Cleanliness is key to preventing disease.
- Well-Draining Potting Mix: Something light and airy is best. A mix of perlite and peat moss, or even a specialized seed-starting mix, works well.
- Sharp Pruning Shears or a Clean Knife: For taking clean cuttings.
- Rooting Hormone (Optional but Recommended): This can give your cuttings a little boost, especially if they’re a bit stubborn.
- Small Watering Can or Spray Bottle: For gentle watering.
- Labels and a Pen: Trust me, you’ll thank yourself later for labeling your efforts!
Taming the Downingia: Propagation Methods
While Downingias are often grown from seed, propagating from cuttings is a fantastic way to get more of your favorite individuals.
-
Stem Cuttings: This is my go-to for Downingia.
- Take a Cutting: Look for healthy, non-flowering stems. Gently snip off a piece about 3-4 inches long, just below a leaf node. A leaf node is that little bump where a leaf grows from the stem – that’s where the magic happens for root development.
- Prepare the Cutting: Carefully remove the lower leaves from the cutting, leaving just a few at the top. This prevents them from rotting when they’re in the medium.
- Dip in Hormone (if using): Lightly dip the cut end into your rooting hormone powder. Tap off any excess.
- Pot it Up: Gently insert the cut end into your prepared potting mix. I like to make a small pilot hole with a pencil so I don’t rub off all that precious rooting hormone.
- Water Sparingly: Give it a good, gentle watering to settle the soil.
-
Water Propagation: Some gardeners love this method for its visual appeal.
- Prepare the Cutting: Follow the same steps as above for taking and preparing the cutting.
- Place in Water: Put the prepared cutting into a clean jar or glass filled with fresh water. Crucially, make sure no leaves are submerged. They’ll rot quickly in water.
- Change Water Regularly: Refresh the water every few days to keep it clean and oxygenated.
- Watch for Roots: You should start to see little white roots developing from the nodes within a few weeks. Once they are about an inch long, it’s time to transplant them into soil.
The “Secret Sauce” for Success
Now, for a couple of my little industry secrets that really make a difference with Downingias:
- The Power of Humidity: Downingia cuttings love high humidity. I often create a mini-greenhouse effect by covering the pots with a clear plastic bag or a propagation dome. Just be sure to poke a few small holes in the bag for ventilation to prevent mold.
- Gentle Heat is Your Friend: If you have the space, bottom heat can truly accelerate root development. A seedling heat mat placed under your pots provides that gentle warmth without drying out the top layer of soil too quickly. It mimics nature’s cozy embrace!
Aftercare and What to Watch For
Once you see those beautiful new roots appearing – hooray!
- Transplanting: When the roots are well-established (you might see some new leaf growth, too!), it’s time to transplant them into their own small pots. Handle the delicate roots as little as possible.
- Continued Care: Keep them in a bright spot, but out of direct, scorching sun. Water them when the top inch of soil feels dry. They’re still getting established, so they need consistent moisture but not soggy feet.
- Troubleshooting: The most common issue you might encounter is rot. This usually happens if the soil stays too wet or if the leaves are sitting in water. If you see a cutting becoming mushy or turning black, sadly, it might be time to discard it and try again. Good airflow is really important, so don’t overcrowd your cuttings.
Don’t be discouraged if not every single cutting takes. Gardening is all about patience and learning. Each attempt is a lesson, and with a little practice, you’ll be surrounded by your very own Downingia ornatissima. Enjoy the process, and happy growing!
Resource:
https://identify.plantnet.org/k-world-flora/species/Downingia%20ornatissima%20Greene/data