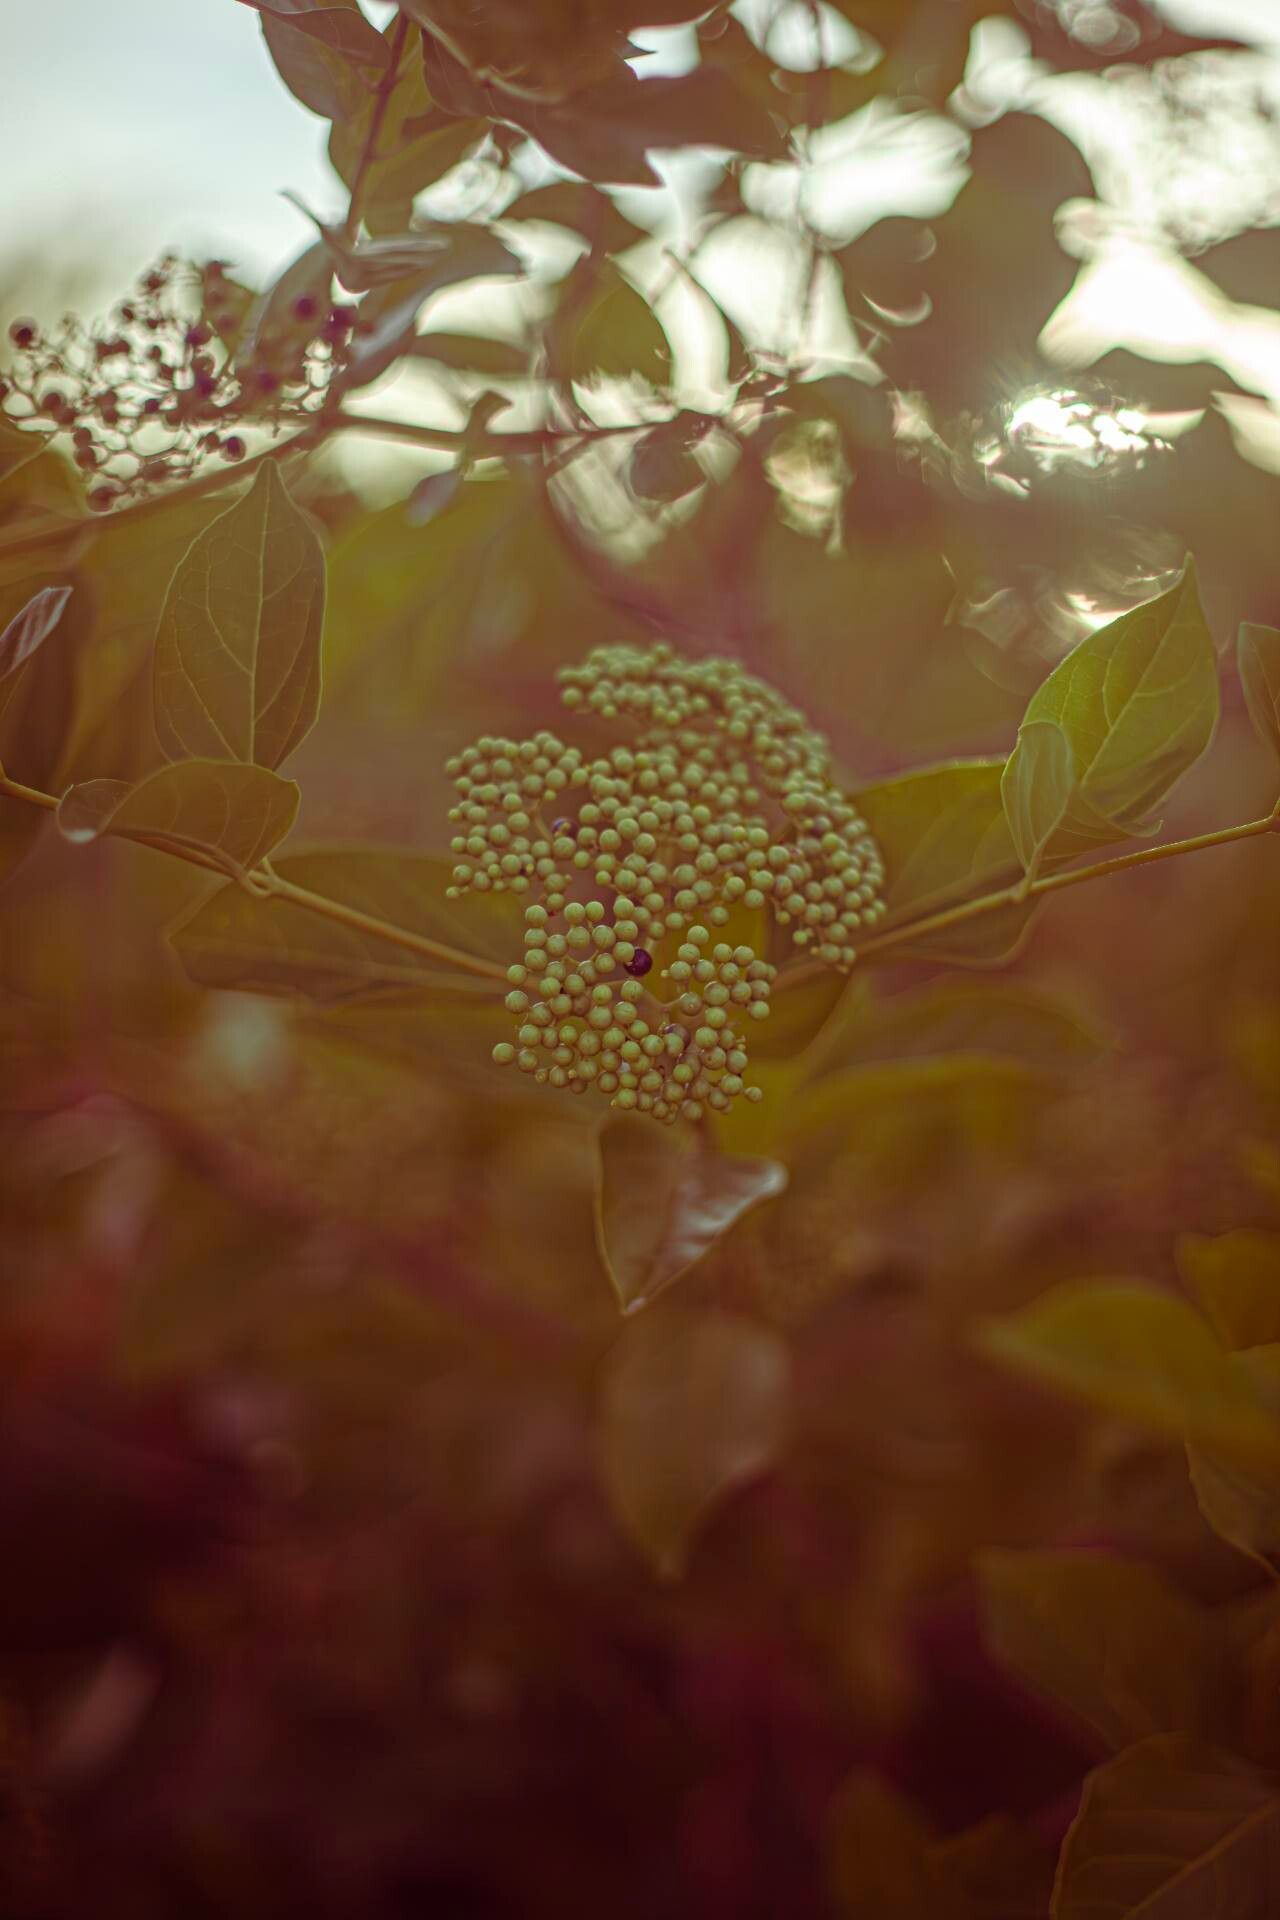
Oh, Premna serratifolia! What a joy it is to talk about this gorgeous plant. Known for its beautiful glossy leaves and sometimes a lovely, subtle fragrance, it’s a real star in many gardens, especially those of us who love a bit of the exotic. Growing your own Premna from scratch isn’t just about saving a few bucks; it’s about the sheer satisfaction of nurturing a new life from a tiny piece. It bridges that magical gap between just “having” a plant and truly “knowing” it. For many, I’d say propagating Premna is a moderately easy endeavor. A little patience and the right approach will see you successful.
The Best Time to Start
The sweet spot for propagating Premna serratifolia is definitely late spring to early summer. This is when the plant is in active growth. You’re looking for young, semi-hardwood stems. These are usually the current season’s growth that has started to firm up a bit but isn’t super woody yet. Think of it as that perfect stage – not too soft and easily bruised, not too tough and slow to root.
Supplies You’ll Need
Gathering your tools beforehand makes the whole process so much smoother. Here’s what I always have on hand:
- Sharp Pruning Shears or a Craft Knife: Clean cuts are key, and you want something that won’t crush the stems.
- Rooting Hormone (Optional, but Recommended): A powder or gel can significantly speed up root development and improve success rates.
- Well-Draining Potting Mix: I love a mix of equal parts perlite and peat moss or coco coir. Some coarse sand can also be beneficial.
- Small Pots or Propagation Trays: Clean pots are a must to prevent disease.
- Plastic Bags or a Propagation Dome: This helps maintain humidity around your cuttings.
- Water: For watering and if you opt for water propagation.
- Labels and a Marker: Trust me, you’ll forget what you potted and when!
Propagation Methods
There are a couple of ways to go about multiplying your Premna. I find stem cuttings to be the most reliable, so let’s focus on that.
Stem Cuttings
- Select your stems: Look for those promising, semi-hardwood stems we talked about.
- Take your cuttings: Using your sharp shears, cut stems that are about 4-6 inches long. Make your cut just below a leaf node (where a leaf attaches to the stem).
- Prepare the cuttings: Gently remove the lower leaves from the bottom 2-3 inches of the stem. This prevents them from rotting in the soil and encourages root growth from the nodes. If the upper leaves are very large, you can consider cutting them in half crosswise. This reduces water loss through transpiration.
- Apply rooting hormone (if using): Dip the cut end of the stem into your rooting hormone, tapping off any excess.
- Plant the cuttings: Make a hole in your prepared potting mix with a pencil or your finger. Insert the bottom of the cutting into the hole, ensuring at least two leaf nodes are below the soil surface. Gently firm the soil around the stem.
- Water gently: Water thoroughly but avoid waterlogging the soil.
- Create a humid environment: Cover the pots with a plastic bag or a propagation dome. Make sure the leaves don’t touch the plastic if possible. Prop your up the bag with small stakes if needed.
Water Propagation (A Simpler Alternative)
If you’re feeling a bit more adventurous or want a quicker visual cue of progress, water propagation works too!
- Prepare the cuttings: Follow steps 1-3 for stem cuttings above.
- Place in water: Put the prepared cuttings in a clean jar or vase filled with room-temperature water. Make sure the leaf nodes you removed the leaves from are submerged.
- Monitor and change water: Keep the jar in bright, indirect light. Change the water every few days to keep it fresh and prevent bacterial growth.
The “Secret Sauce” (Pro Tips)
- Bottom Heat is Your Friend: Especially if your home tends to be on the cooler side, placing your potted cuttings on a seedling heat mat can make a world of difference. It encourages root development from below, increasing your success rate significantly.
- Don’t Disturb Too Soon: Resist the urge to tug on your cuttings to check for roots! They are delicate. Wait until you see visible roots poking out of the drainage holes, or you feel a gentle resistance when you try to pull them out. This can take several weeks to a couple of months.
- The Power of the Mother Plant: Healthy parent plants produce healthy cuttings. Make sure your Premna is well-cared for and pest-free before you even consider taking cuttings. A stressed plant won’t give you its best material to work with.
Aftercare & Troubleshooting
Once your cuttings have developed a good root system (you’ll see roots, or the cuttings will feel firmly anchored), it’s time to move them into their own small pots.
- Potting Up: Use a good quality, well-draining potting mix, similar to what you used for propagation. Water them in gently.
- Acclimation: If your cuttings were under cover, gradually acclimate them to lower humidity over a week or two by opening the bag or dome a little more each day.
- Light: Provide bright, indirect light initially. You can slowly introduce them to more direct sunlight as they establish.
The most common sign of failure? Wilting and browning leaves, followed by the stem turning soft and mushy. This is usually a sign of rot, often caused by overwatering or a lack of drainage. Make sure your soil is airy and that pots have drainage holes. If you’re water propagating and see the stems turning slimy, it’s time to discard that cutting; the water likely wasn’t changed often enough, or the cutting was already weak.
A Encouraging Closing
Propagating plants is a journey, and Premna serratifolia is a wonderful companion on that path. Don’t be discouraged if your first few attempts aren’t perfect. Every cutting, whether it succeeds or not, teaches you something valuable. So, gather your supplies, find a sunny spot, and enjoy the gentle thrill of watching new life emerge. Happy growing!
Resource:
https://identify.plantnet.org/k-world-flora/species/Premna%20serratifolia%20L./data