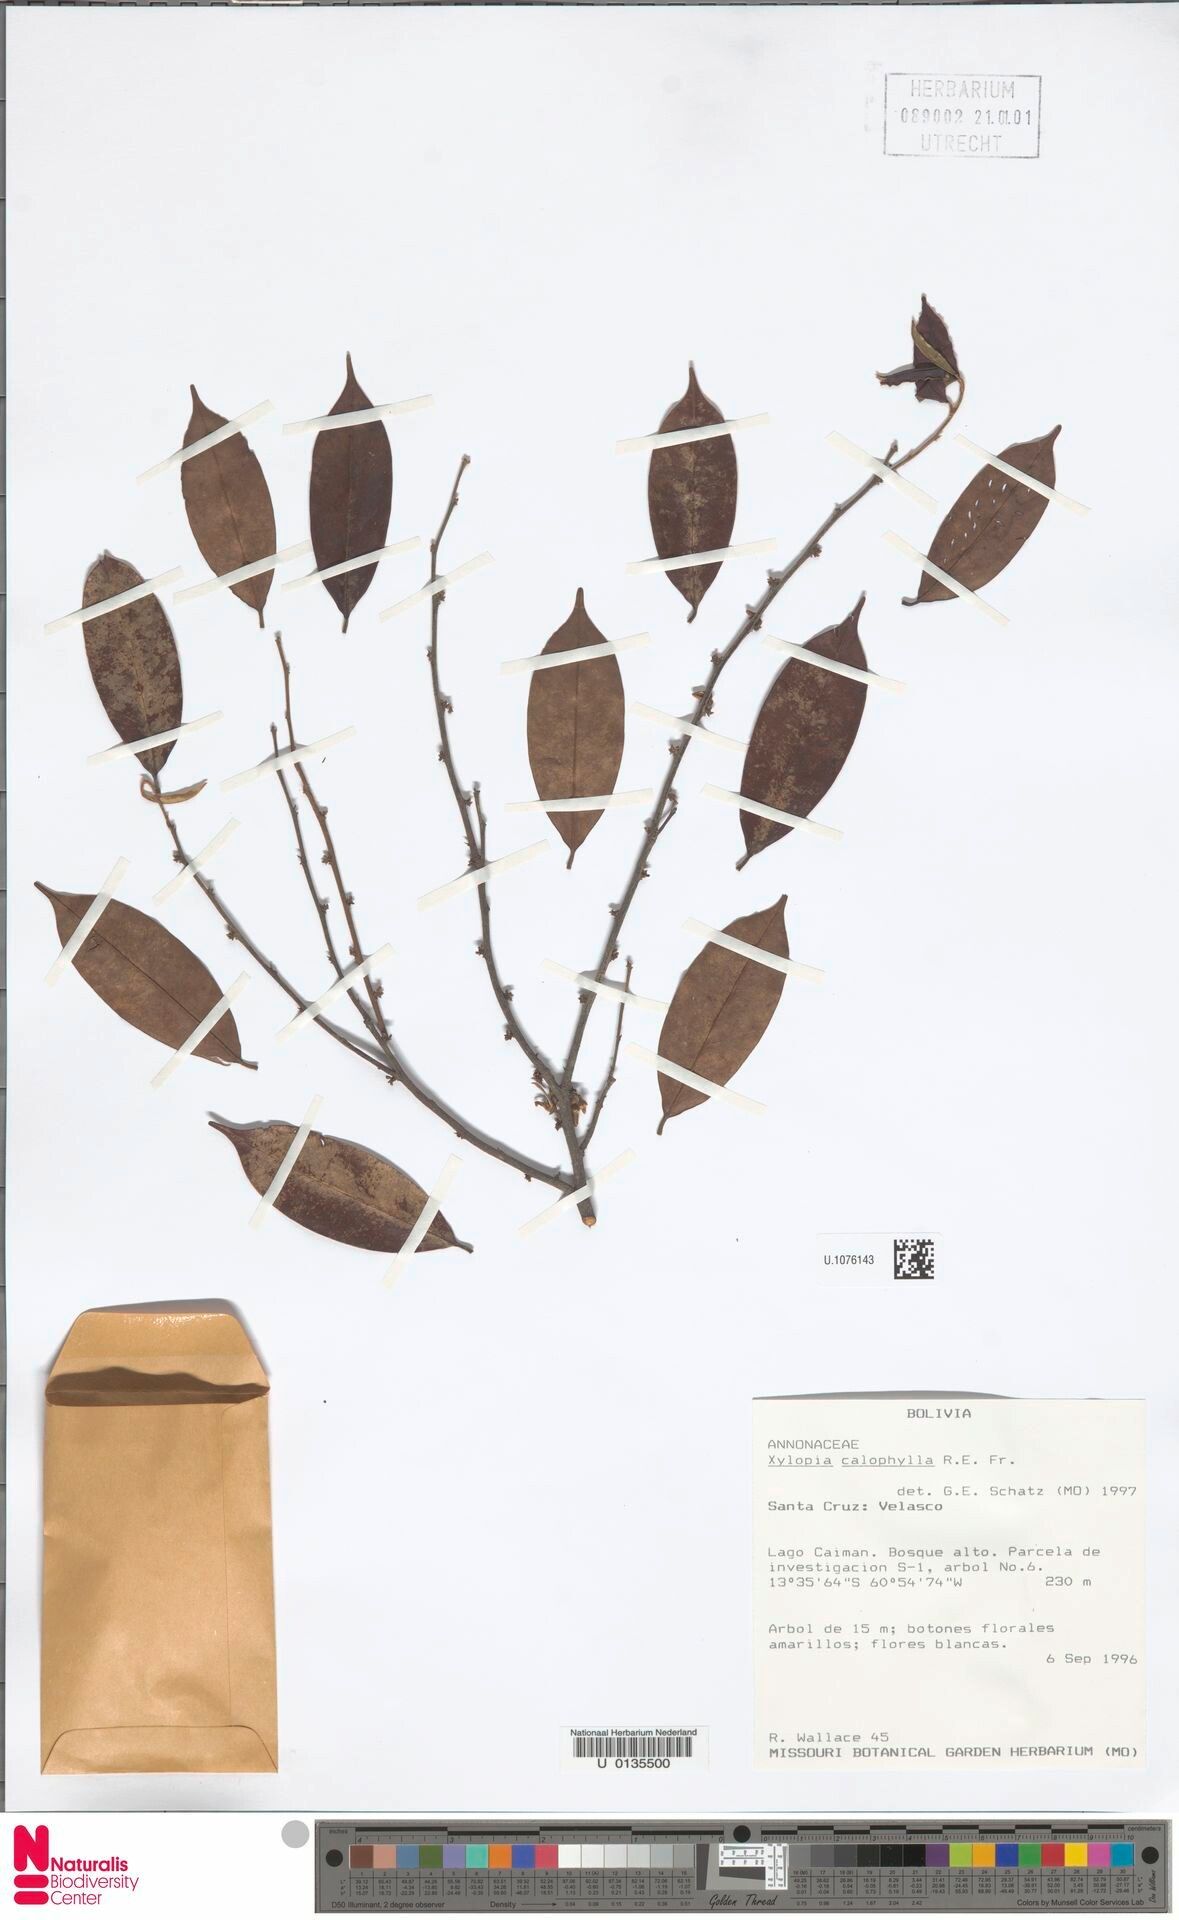
Oh, hello there! I’m so glad you’ve joined me today. We’re going to talk about a real gem: Xylopia calophylla. Seriously, if you haven’t encountered this beauty, you’re in for a treat. Its lovely foliage and fragrant flowers are just… well, they bring a smile to my face every single time. And the best part? You can bring that beauty into more of your home or garden by propagating it yourself! Now, I’ll be honest, Xylopia calophylla can be a little particular, so it might not be the absolute easiest plant for a complete beginner, but with a bit of patience and these tips, I know you can do it.
The Best Time to Start
My favorite time to get serious about propagating Xylopia calophylla is in the late spring to early summer. This is when the plant is really in its active growth phase. You’ll find it’s more receptive to taking cuttings then, and the warmer temperatures really help new roots get established. Look for stems that are firm and have some new growth, but aren’t completely woody.
Supplies You’ll Need
To set yourself up for success, gather these essential items:
- Sharp Pruning Shears or a Clean Knife: You want a clean, decisive cut.
- Rooting Hormone (Optional but Recommended): A little boost can work wonders. Look for one formulated for stem cuttings.
- Well-Draining Potting Mix: A good blend of potting soil, perlite, and a bit of peat moss is ideal. You want it to hold moisture but not get soggy.
- Small Pots or Propagation Trays: Make sure they have drainage holes!
- Plastic Bag or Humidity Dome: To keep the humidity high around your cuttings.
- Spray Bottle: For misting.
- Labels and a Pen: Never underestimate the importance of knowing what you’ve planted!
Propagation Methods
Let’s dive into how we’ll get these new little Xylopia plants going! I find stem cuttings to be the most successful for this plant.
Here’s how we’ll do it:
- Select Your Cuttings: Snip off healthy stems that are about 4-6 inches long. Make your cut just below a leaf node (where a leaf attaches to the stem).
- Prepare the Cuttings: Gently remove the lower leaves, leaving just a few at the top. This is important to prevent them from rotting in the soil. If you’re using rooting hormone, dip the cut end into it now, tapping off any excess.
- Plant Your Cuttings: Fill your pots or trays with your prepared potting mix. Make a small hole in the center for each cutting. Gently insert the cut end of the stem into the soil. Firm the soil gently around it.
- Create a Humid Environment: Water the soil lightly. Then, cover the pots with a plastic bag (propped up so it doesn’t touch the leaves!) or a humidity dome. This is crucial for keeping the cuttings from drying out.
The “Secret Sauce” (Pro Tips)
Now, for a few little tricks I’ve learned over the years that make a big difference:
- Don’t Let the Leaves Touch the Water (or Soil Too Much): This is a big one. Any leaves submerged in water or resting on constantly damp soil are prime candidates for rot. Keep them elevated!
- Bottom Heat is Your Friend: If you have the luxury, place your pots on a seedling heat mat. This gentle warmth from below encourages root development like nothing else. It really speeds things up and improves your success rate.
- Be Patient with Watering: Don’t drown your cuttings! Water when the soil feels slightly dry to the touch. Overwatering is the quickest way to kill a promising cutting. Mist the leaves periodically if they look a little sad.
Aftercare & Troubleshooting
Once you start seeing new growth appearing, that’s a great sign! It means roots are forming. You can gently tug on a cutting (ever so lightly!) to feel for resistance, which indicates roots.
When they’ve developed a decent root system, it’s time to transplant them into their own small pots. Continue to keep them in a bright, indirect light spot and maintain that consistent moisture. Gradually introduce them to more ambient humidity and eventually, normal watering routines as they mature into young plants.
Now, what if things don’t go as planned? The most common issue you’ll encounter is rot. If you see your cutting turning mushy or black, it’s usually a sign of too much moisture and insufficient air circulation. Don’t be discouraged! Just discard the rotted cutting and try again with a fresh one, paying extra attention to drainage and air.
A Little Bit of Patience Goes a Long Way
Propagating plants, especially ones with a bit of personality like Xylopia calophylla, is a journey. There will be successes, and there might be a few lessons along the way. But the joy of nurturing a new plant from a tiny cutting? It’s incredibly rewarding. So, grab your shears, get your hands in the soil, and enjoy the process. Happy gardening!
Resource:
https://identify.plantnet.org/k-world-flora/species/Xylopia%20calophylla%20R.E.Fr./data