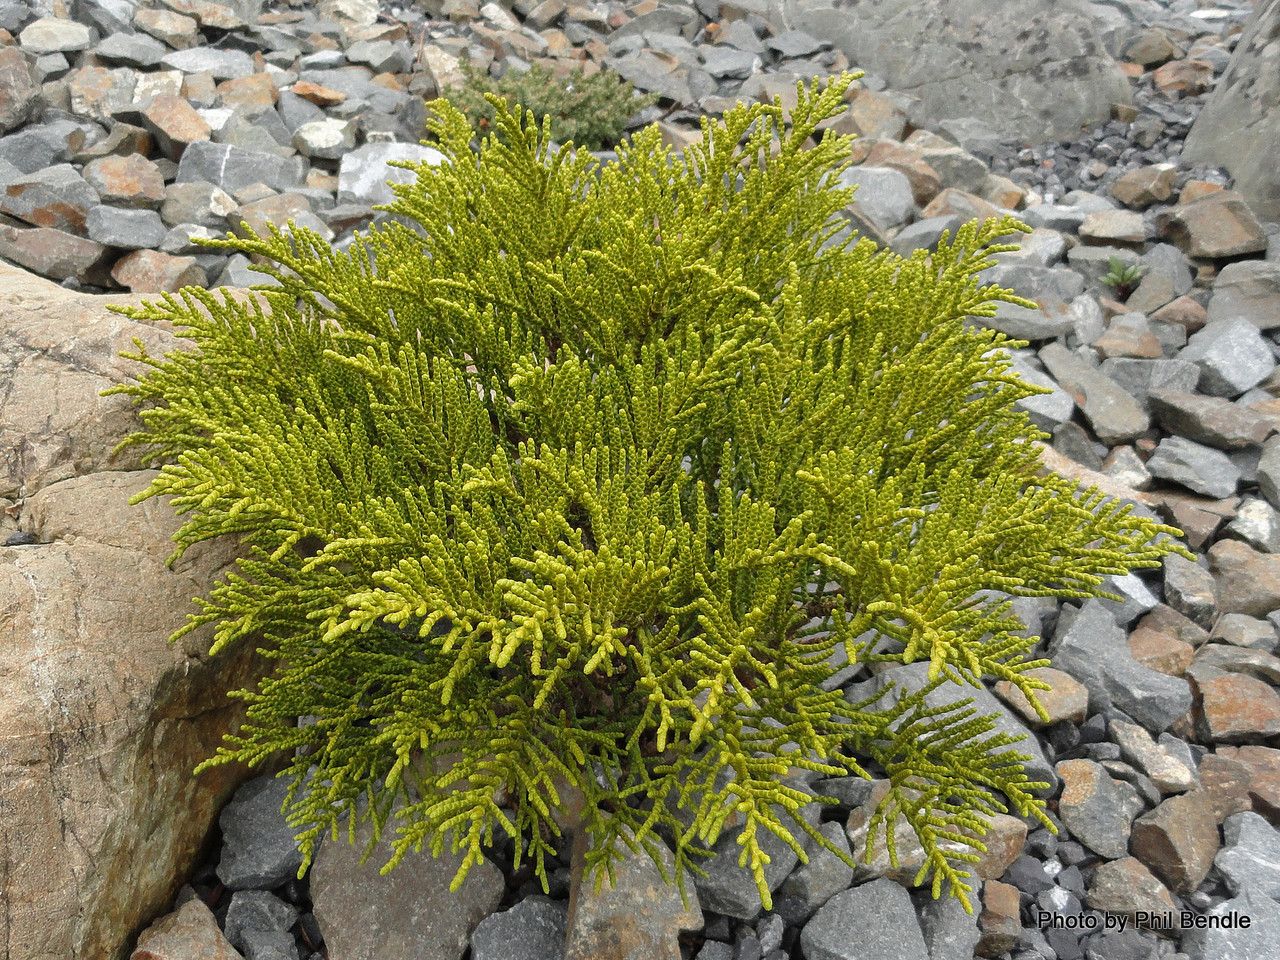
Oh, Veronica armstrongii! What a gem. If you’ve ever admired those beautiful, often strikingly colored, spires of flowers gracing your garden, you know exactly what I mean. Bringing that beauty into more corners of your landscape, or even sharing it with friends, is such a rewarding feeling. And guess what? Propagating Veronica armstrongii is absolutely doable, even for those of you just dipping your toes into the wonderful world of plant propagation. Let’s get this done!
The Best Time to Start
For Veronica armstrongii, spring is really your sweet spot. Think the months of April or May here in the Northern Hemisphere. This is when the plant is waking up from its winter rest and putting on new, vigorous growth. You’re looking for those nice, tender shoots that are about 4-6 inches long. Trying to propagate woody, old stems rarely yields great results.
Supplies You’ll Need
Here’s what you’ll want to gather before you get started. It’s not much, but having everything ready makes the process smoother.
- Sharp Pruning Shears or a Knife: Clean cuts are essential! Sterilize them with rubbing alcohol before you begin.
- Potting Mix: A good seed starting mix or a blend of half peat moss and half perlite works beautifully. It needs to be well-draining.
- Small Pots or Trays: For your cuttings or divisions. Make sure they have drainage holes.
- Rooting Hormone (Optional but Recommended): This little helper significantly increases your chances of success. Look for one that’s formulated for softwood cuttings.
- Plastic Bag or Propagation Dome: To maintain humidity around your cuttings.
- Watering Can with a Fine Rose: For gentle watering.
- Labels and a Marker: To keep track of what you’ve propagated and when.
Propagation Methods
Veronica armstrongii is generally quite amenable to propagation by stem cuttings. It’s my go-to method for this plant.
Stem Cuttings – My Favorite Approach
- Take Your Cuttings: With your clean shears, select a healthy, non-flowering stem that’s about 4-6 inches long. Make a clean cut just below a leaf node (where a leaf attaches to the stem). This is crucial because roots often form from these nodes.
- Prepare the Cuttings: Carefully remove the lower leaves from the stem, leaving just a couple of sets at the top. This prevents them from rotting when buried and also reduces water loss. If the stem has any flowers or developing buds, pinch those off too.
- Apply Rooting Hormone (If Using): Dip the cut end of the stem into your rooting hormone powder, tapping off any excess.
- Plant Your Cuttings: Fill your small pots or trays with your prepared potting mix. Make a pilot hole with a pencil or your finger, then gently insert the cutting into the hole, ensuring the leaf nodes are buried. Firm the soil gently around the stem.
- Water and Cover: Water your cuttings gently to settle the soil. Then, cover the pot or tray with a plastic bag or a propagation dome. This creates a humid environment that’s perfect for rooting.
- Find a Cozy Spot: Place your cuttings in a bright location but out of direct sunlight. A warm windowsill is usually ideal.
The “Secret Sauce” (Pro Tips)
After years of messing with plants, you learn a thing or two! Here are a couple of things that really make a difference with Veronica cuttings:
Firstly, with stem cuttings, make sure absolutely none of the leaves are touching the soil mixture. If they are, they’re much more prone to developing fungal issues or rot before they even have a chance to root. Trim them carefully if needed.
Secondly, don’t underestimate the power of a little warmth. While bright, indirect light is key, placing your pots on a gentle heat mat can significantly speed up the rooting process. You don’t want it too hot, just a consistent, mild warmth from below. It really encourages those roots to get going.
Aftercare & Troubleshooting
Once your cuttings are tucked in, patience is your best friend. You’ll want to check the moisture of the soil regularly, keeping it consistently moist but not waterlogged. If you see condensation on the inside of your plastic cover, it means the humidity is good.
You’ll know your Veronica armstrongii has rooted when you see new leaf growth emerging from the top or feel a slight resistance when you gently tug on the cutting. This usually takes anywhere from 3 to 6 weeks, sometimes a bit longer.
If you notice your cuttings wilting and staying wilted even when the soil is moist, or if you see blackening or mushiness at the base of the stem, that’s a sign of rot. This usually means conditions are too wet or there isn’t enough air circulation. Sadly, these are usually a lost cause, and it’s best to discard them and try again.
Once roots have formed, you can gradually remove the plastic cover over a few days to acclimate them to normal humidity. Then, when they’re a good size and seem sturdy, you can pot them up into slightly larger individual pots with your regular potting mix.
A Encouraging Closing
Propagating plants is a bit of an art, and it takes practice. Don’t be discouraged if your first few attempts aren’t perfect. Each time you try, you learn a little more. Enjoy the process of coaxing new life from your existing plants. You’ve got this, and soon you’ll be enjoying even more of that lovely Veronica armstrongii!
Resource: