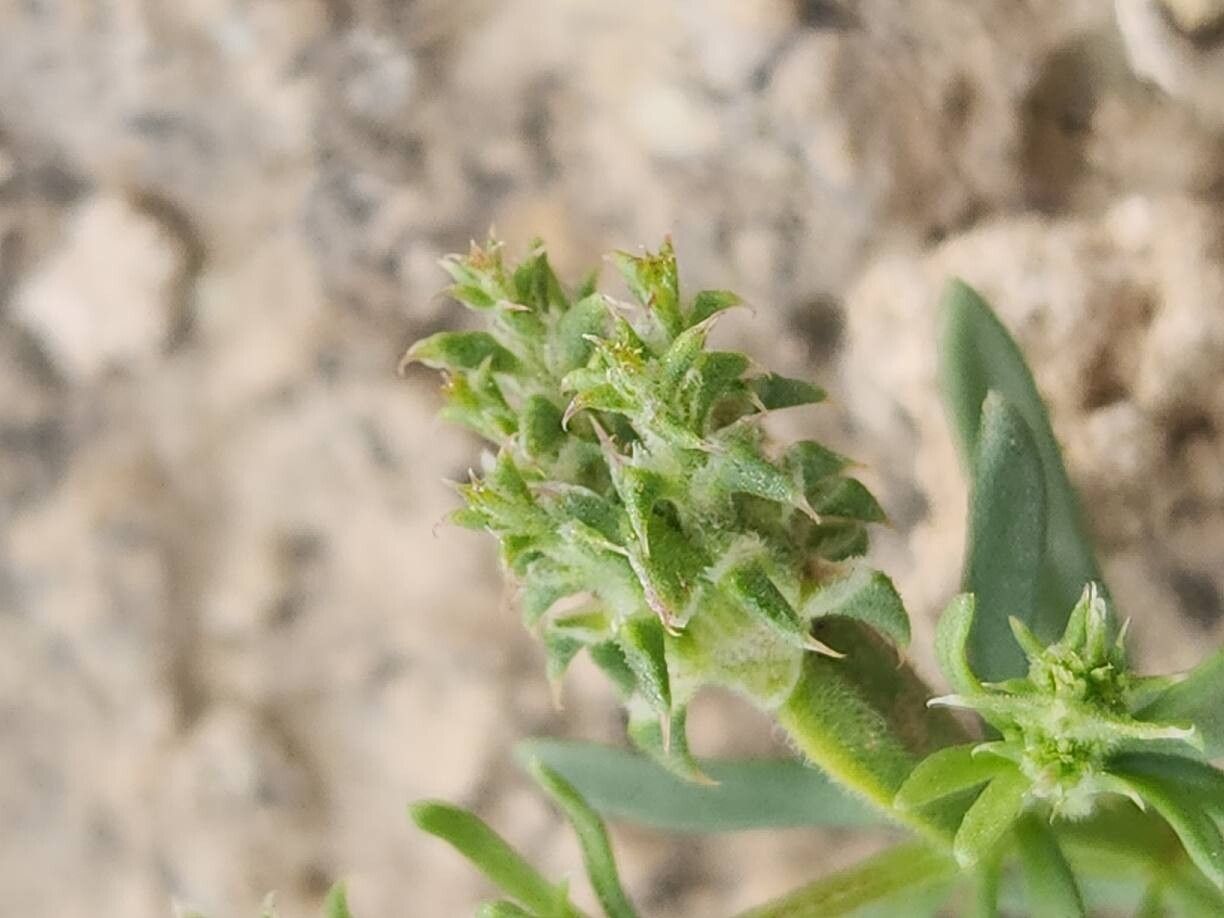
Oh, the Pteranthus dichotomus! Isn’t it just a marvel? With its delicate, fern-like foliage and often a whisper of soft color, it brings such an airy elegance to any space. And the best part? Sharing this beauty by propagating it yourself is incredibly satisfying. It’s like giving a little piece of your garden’s magic to friends, or simply expanding your own collection without breaking the bank. Now, as for difficulty, I’d say Pteranthus dichotomus is moderately easy to propagate. It’s not quite as foolproof as, say, a spider plant, but with a little attention, you’ll be well on your way to success.
The Best Time to Start
For the highest success rates with Pteranthus dichotomus, I always recommend starting in the late spring or early summer. This is when the plant is actively growing and has plenty of energy to put into developing new roots. You’re essentially taking cuttings when the plant is feeling its most vigorous. Waiting until after it’s finished any major flowering can also be a good idea, as you won’t be taking away energy that it’s using to bloom.
Supplies You’ll Need
Gathering your tools beforehand makes the whole process smoother. Here’s what I usually have on hand:
- Sharp pruning shears or clean knife: For making clean cuts.
- Well-draining potting mix: A blend of peat moss, perlite, and a little bit of sand works wonders. Or, a good quality seedling mix.
- Small pots or propagation trays: Clean ones are key to preventing disease.
- Rooting hormone (optional but recommended): This really gives your cuttings a boost.
- Plastic bags or a clear dome: To create a humid microclimate.
- Watering can with a fine rose or a spray bottle: For gentle watering.
Propagation Methods
Let’s get our hands dirty! The most reliable method for Pteranthus dichotomus is by stem cuttings.
1. Taking the Cuttings:
First, select healthy, non-flowering stems from your established plant. You want stems that are a bit firm but not woody. Using your sharp pruning shears or knife, take cuttings that are about 4-6 inches long. Make your cut just below a leaf node (where a leaf attaches to the stem). This is where the plant’s natural rooting hormones are concentrated.
2. Preparing the Cuttings:
Gently remove the lower leaves from your cuttings, leaving just a few at the top. This prevents them from rotting when they’re in the soil or water. If you’re using rooting hormone, dip the cut end into it, tapping off any excess.
3. Planting the Cuttings:
Fill your small pots or trays with your well-draining potting mix. Make a small hole in the center of the mix using your finger or a pencil. Carefully insert the cut end of your prepared stem cutting into the hole, gently firming the soil around it.
4. Creating Humidity:
This is a crucial step! Water the soil gently until it’s evenly moist but not sodden. Then, cover the pot or tray with a plastic bag or a clear plastic dome. This traps moisture and creates a humid environment, which is what cuttings need to root. Make sure the leaves aren’t touching the sides of the bag if possible.
The “Secret Sauce” (Pro Tips)
Now for a couple of little tricks that I’ve found make a big difference:
- Bottom Heat is Your Friend: If you have an old heating mat or even just a sunny windowsill that gets consistently warm, placing your pots on it can significantly speed up root development. Think of it like giving those sleepy root cells a gentle nudge to wake up.
- Don’t Be Afraid to Mist: While a plastic bag keeps things humid, I like to give the leaves a light misting every few days inside the bag. This mimics a gentle dew and keeps the foliage plump and happy. Just don’t overdo it – you don’t want standing water on the leaves.
Aftercare & Troubleshooting
Once your cuttings have been planted, it’s all about patience and observation. Keep them in a bright spot, out of direct sunlight. The soil should remain consistently moist but never waterlogged. You’ll know your cuttings are rooting when you see new growth appearing, or if you gently tug on a cutting and feel a slight resistance. This usually takes anywhere from 4 to 8 weeks.
The most common issue you’ll encounter is rot. If you notice any of your cuttings turning black or mushy, it’s usually a sign of too much moisture and not enough air circulation. In this case, sadly, that cutting is probably lost. You can try to salvage others by ensuring the soil is draining well and maybe increasing air circulation slightly if the humidity is too high.
A Little Bit of Patience Goes a Long Way
Propagating plants is a beautiful dance with nature. There will be times when a cutting just doesn’t take, and that’s okay! Don’t get discouraged. Each attempt is a learning experience. Just keep trying, observe your plants, and enjoy the rewarding process of creating new life. Happy propagating!
Resource:
https://identify.plantnet.org/k-world-flora/species/Pteranthus%20dichotomus%20Forssk./data