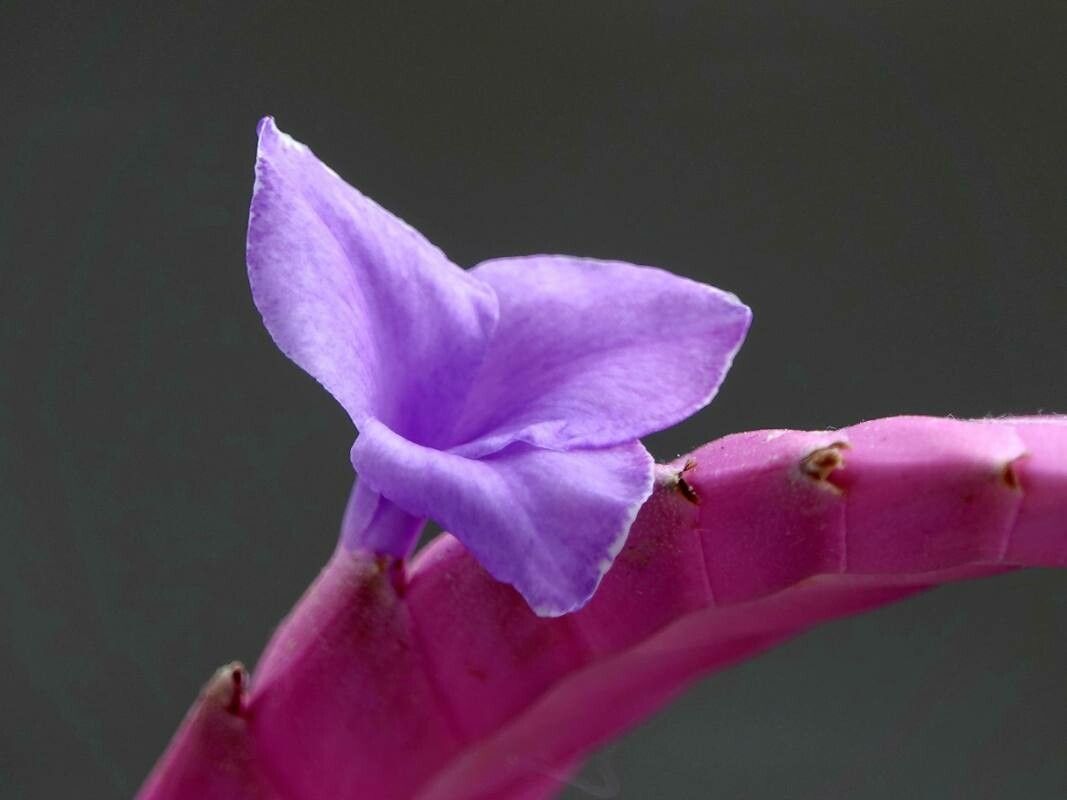
Oh, Wallisia cyanea! That’s a lovely choice. If you’ve ever seen one of these beauties, you know why they capture our hearts, don’t you? With their striking blue flower spikes that seem to shimmer, they bring such a unique pop of color to any space. And the best part? They’re surprisingly rewarding to propagate! For beginners, I’d say it falls into the “moderately easy” category. With a little know-how and a sprinkle of patience, you’ll be well on your way to more of these stunners.
The Best Time to Start
I’ve found that the spring and early summer are your golden ticket for propagating Wallisia cyanea. This is when the plant is really gearing up for active growth, meaning it’s brimming with energy to put into new roots. You’re looking for healthy, non-flowering stems. If your plant just finished blooming, wait a little while for it to recover and push out new growth.
Supplies You’ll Need
Gathering your supplies before you start makes the whole process smoother. Here’s what I usually have on hand:
- Sharp pruning shears or a clean knife: You want a clean cut to prevent disease.
- Well-draining potting mix: A mix formulated for succulents or cacti works wonderfully. I often add a bit of perlite or pumice for extra aeration.
- Small pots or trays: Terracotta pots are great because they breathe!
- Rooting hormone (optional, but recommended): This little helper can significantly speed up root development.
- Spray bottle: For misting.
- Clear plastic bag or propagator: To create a humid environment.
- Watering can with a fine rose: For gentle watering.
Propagation Methods
Wallisia cyanea is pretty adaptable, but I’ve had the most luck with stem cuttings.
- Take Your Cuttings: Find a healthy, mature stem that’s not in bloom. Using your sharp shears or knife, make a clean cut about 3-4 inches below a leaf node (where the leaves attach to the stem). Gently remove the lower leaves, leaving about 2-3 leaves at the top.
- Let Them Callus: This is a crucial step, especially in humid climates! Lay your cuttings on a dry paper towel in a well-lit spot for at least 24-48 hours. You’ll see the cut end start to dry and form a protective “scab” – this is called callusing, and it helps prevent rot when you plant them.
- Apply Rooting Hormone (Optional): If you’re using rooting hormone, dip the callused end of your cutting into the powder or gel. Tap off any excess.
- Plant Your Cuttings: Fill your small pots with your prepared, well-draining potting mix. Make a small hole in the center with your finger or a pencil. Gently insert the callused end of your cutting into the hole, making sure at least one leaf node is below the soil surface. Firm the soil around the cutting.
- Water Gently: Water the soil lightly. You don’t want to drown them, just moisten the mix.
- Create Humidity: Place the potted cuttings inside a clear plastic bag or a propagator to maintain a humid environment. You can prop the bag open slightly to allow for some air circulation.
The “Secret Sauce” (Pro Tips)
Now, for a couple of tricks I’ve learned over the years.
- Don’t let the leaves touch the water (if water propagating): Honestly, I skip water propagation for Wallisia cyanea because these guys are so prone to rot. But if you do go that route, make sure only the stem is submerged, not the leaves. The leaves on water can quickly become a breeding ground for yucky stuff.
- Bottom heat is your friend: If you can manage it, placing your pots on a gentle heat mat can make a world of difference. It encourages those roots to form much faster, giving your cuttings the boost they need to thrive. Just a little warmth from below works wonders!
Aftercare & Troubleshooting
Once your cuttings show signs of rooting – usually after 4-6 weeks – you can begin to acclimate them to normal conditions. Gradually remove the plastic bag or propagator over a week or so, allowing them to get used to the ambient humidity. Continue to water sparingly, letting the soil dry out almost completely between waterings.
The most common issue you might encounter is rot. This happens when the soil stays too wet, and the cutting becomes mushy and brown. If you see this, sadly, it’s usually a goner. The best prevention is good drainage and that crucial callusing step.
A Encouraging Closing
Propagating plants is such a wonderful way to multiply your green treasures and share the joy with others. Be patient with your Wallisia cyanea cuttings. Not every single one will make it, and that’s perfectly normal. Just enjoy the process, watch for those little signs of life, and celebrate each new root and leaf as a miniature victory. Happy propagating!
Resource:
https://identify.plantnet.org/k-world-flora/species/Wallisia%20cyanea%20Barfuss%20&%20W.Till/data