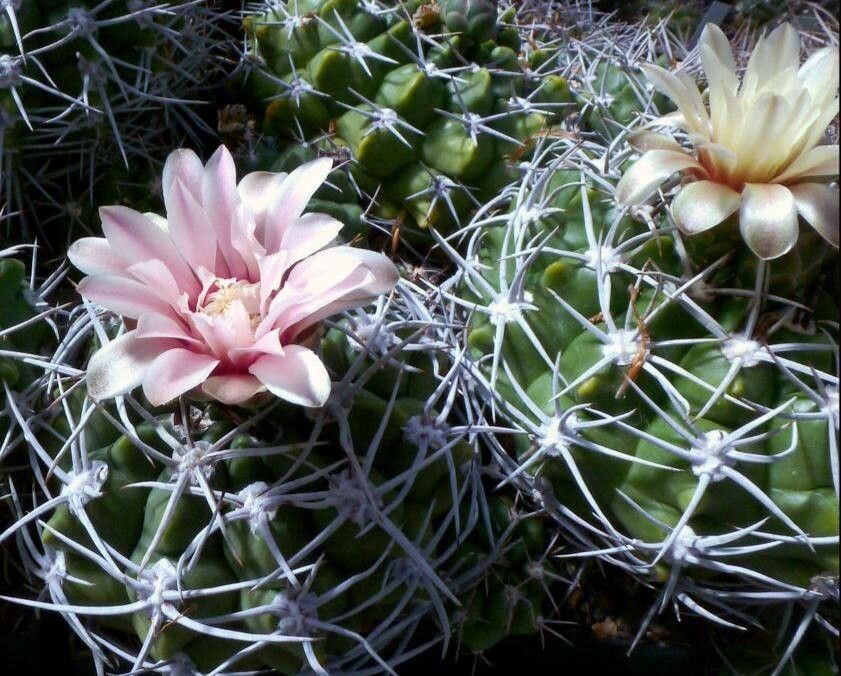
Hello there, fellow plant lovers! It’s so lovely to have you join me as we delve into the wonderful world of propagating Gymnocalycium mostii. If you’ve ever admired the ribbed beauty and vibrant bloom of this charming cactus, you’re in for a treat. Getting more of these little gems to call your own is surprisingly achievable, and honestly, it’s one of the most rewarding gardening pursuits. Don’t let the cactus spikes intimidate you; propagating Gymnocalycium mostii is quite forgiving and absolutely doable, even for those just starting their plant journey.
The Best Time to Start
My favorite time to get propagating is when our plants are really hitting their stride – spring and early summer. This is when they’re actively growing and have the energy to bounce back and establish new roots. You want to start when the plant is healthy and vigorous, not when it’s stressed from extreme heat or cold. Look for offsets or pups that have developed a bit of their own body; that’s usually a good indicator of readiness.
Supplies You’ll Need
To give your Gymnocalycium mostii the best possible start, gather these essentials:
- Well-draining potting mix: A cactus and succulent mix is perfect. I often add a little extra perlite or pumice for even better drainage.
- Sharp, clean pruning shears or a strong knife: Sterilize them with rubbing alcohol to prevent disease.
- Rooting hormone (optional, but helpful): A powder or gel formulation.
- Clean pots or trays: Small ones are usually best for starting off.
- Gravel or small stones: For the bottom of pots if you’re worried about drainage.
- A spray bottle: For gentle watering.
- Labels and a marker: To keep track of your babies!
Propagation Methods
Gymnocalycium mostii is a champion of producing offsets, making it wonderfully easy to propagate from them.
Propagating from Offsets (Pups)
This is my go-to method for Gymnocalycium mostii, as they naturally form little baby plants around their base.
- Identify a healthy offset: Look for a pup that is at least an inch or two in diameter and looks plump and well-formed. It should have its own little body attached to the mother plant.
- Gently detach the offset: Using your clean, sharp knife or shears, carefully slice the offset away from the mother plant. Try to get a bit of the areole (where the spines emerge) with the offset. If it detaches easily with a gentle twist, even better.
- Allow it to callus: This is crucial! Place the detached offset on a dry surface, out of direct sun, for 3-7 days. This allows the cut end to dry out and form a protective callus. This step prevents rot when you plant it.
- Plant your offset: Once callused, gently press the base of the offset into your well-draining potting mix. You don’t need to bury it deeply; just ensure it has good contact with the soil. For extra security, you can prop it up with small pebbles.
- Wait for roots: Resist the urge to water immediately! Wait for about a week after planting before giving it its first gentle watering.
The “Secret Sauce” (Pro Tips)
Here are a couple of things I’ve learned over the years that make a big difference:
- Don’t water too soon! I know it’s tempting, but letting that callus heal completely and waiting a bit before the first watering is the absolute key to preventing rot and encouraging strong root development. Patience here is a virtue.
- A little bottom heat can work wonders. If you’re propagating in a cooler environment or during a less warm period, placing your new offsets on a seedling heat mat (set to a gentle warmth, not hot) can significantly speed up root formation. It mimics that lovely warm soil they love.
Aftercare & Troubleshooting
Once your offset is planted and you’ve given it that first gentle drink, here’s how to care for it:
- Light: Place your newly potted offset in bright, indirect light. Avoid harsh, direct sun until it’s well-established.
- Watering: Water sparingly for the first few weeks. Allow the soil to dry out completely between waterings. You’ll know it has rooted when you see signs of new growth or it feels more stable in the pot.
- Troubleshooting: The most common issue is rot. If your offset starts to look mushy, discolored (often black or brown), or just collapses, it’s likely rotted. This is usually due to overwatering or not letting it callus properly. If you catch rot early, you might be able to cut away the rotten part and try callusing and replanting the healthy section. Sometimes, sadly, it doesn’t work out, but don’t get discouraged – it happens to all of us!
And there you have it! Propagating Gymnocalycium mostii is a simple yet incredibly satisfying way to multiply your cactus collection. Be patient with your new babies – they take their time to settle in and send out roots. Enjoy watching them grow, and soon you’ll have a whole windowsill full of your own lovely cacti! Happy propagating!
Resource: